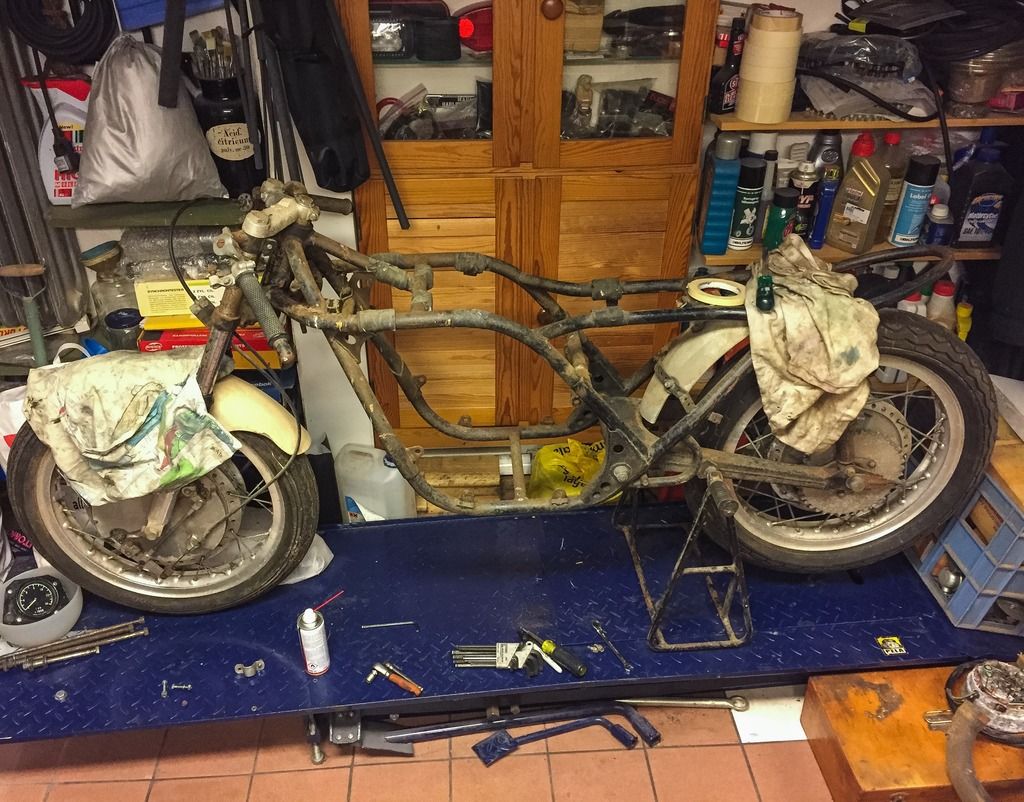
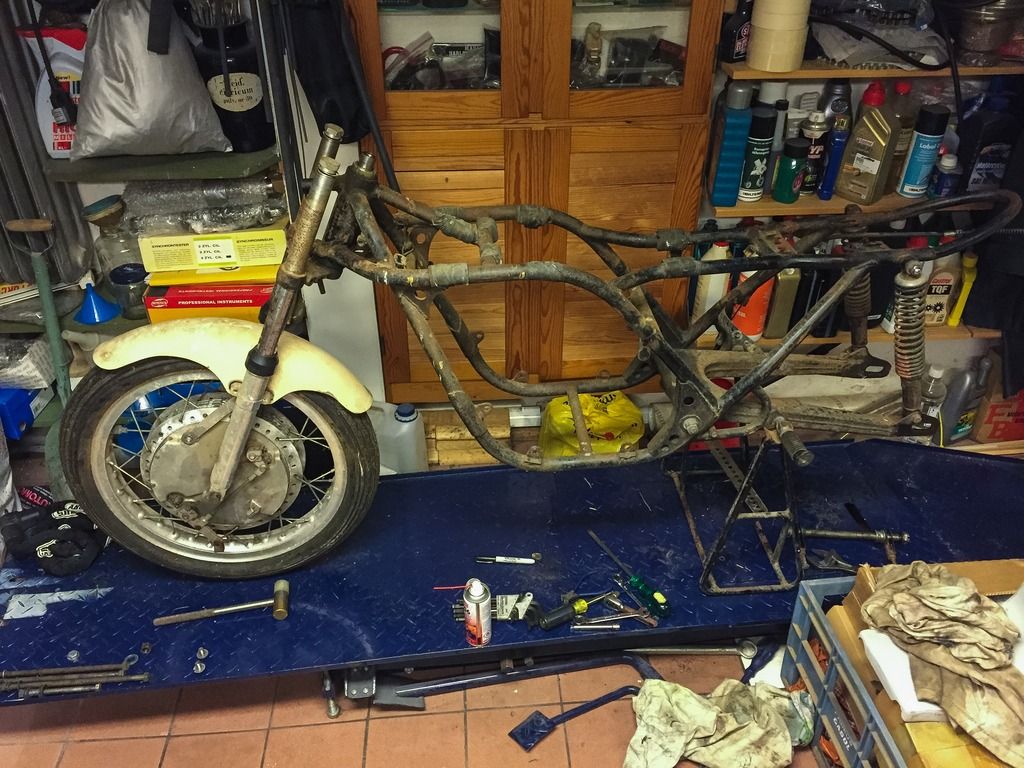
After dealing with the seat cover for a few days and tinkering with the last missions of the bathroom restoration I´m ready to take the chassis apart. I need to find replacement front fork legs or restore the ones I have. A good sweep of the garage floor and a bit of organizing parts and boxes I finally got within reach of the bike, there on the lift. I started taking a whole lot of pictures on every detail, safety wirings, nuts, bolts and everything else you need to remember when putting it all back together again. Thankfully there´s not that many parts on a racer...
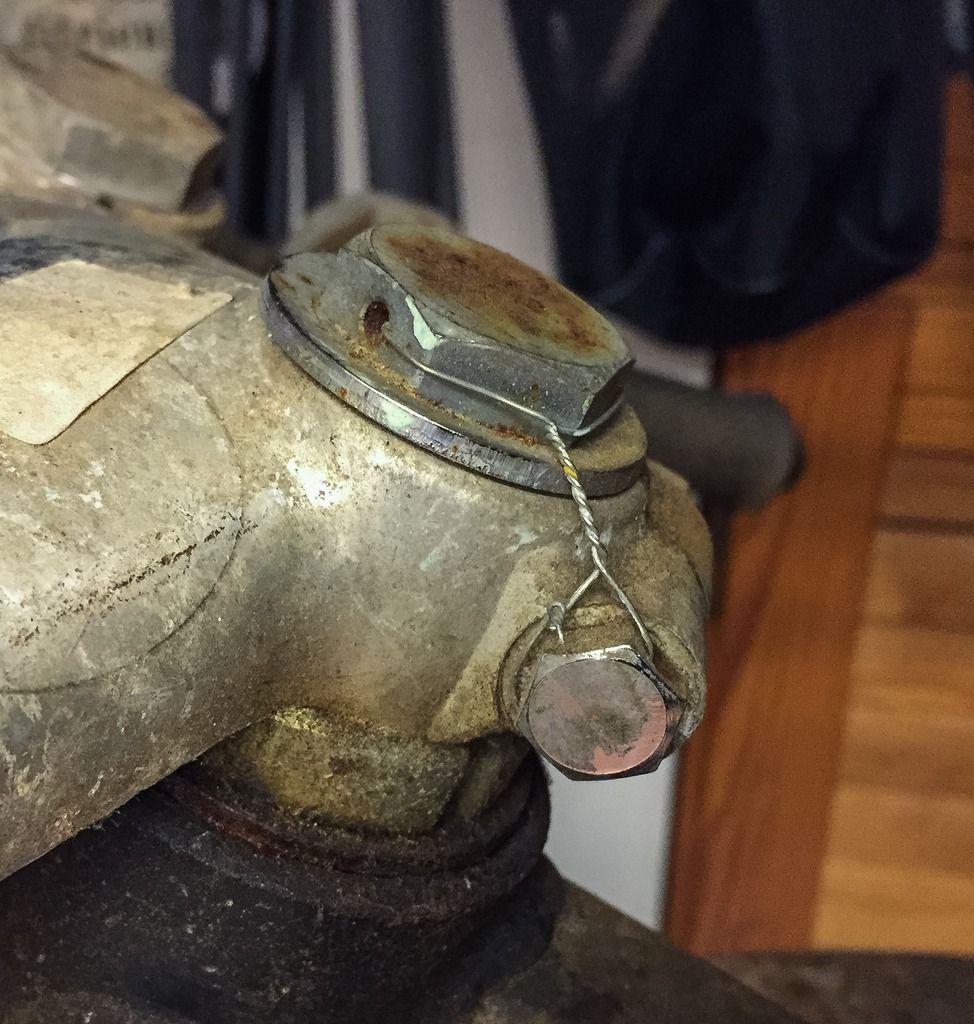
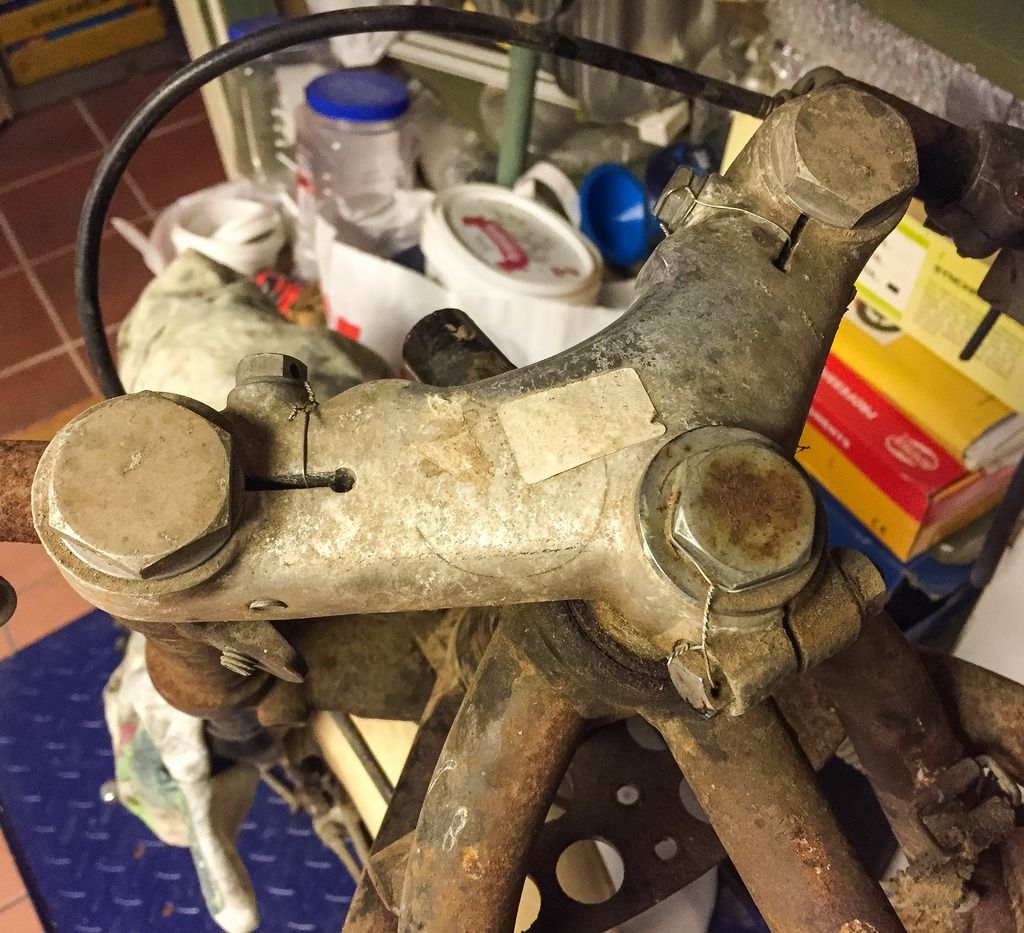
Here´s another example how most every bolt and nut is safety wired. Still some muck and dirt around even though I tried cleaning it with a vacuum and some compressed air. I decided not to use water and my Kärcher high pressure cleaner. It just didn´t feel right! I´ll have to clean all parts bit by bit in white spirit instead and use polish and wax... And that´s a fine sort of relaxation in the shop when you have some good music on and fettle with your parts.
First off was the entire ignition system still strapped to the bike. It all came off easy and I put it all together in a box for later attention. This is the Kröber system (or parts of it...) the rest was disassembled from the engine at Ebbe´s shop last autumn. Those parts are also back home and waiting to be fixed!
In this picture you can see the top triple tree, the empty holder for the front fairing bracket and the brake cable. Everything comes off easy and without any trouble. That saves me some headaches!
I wanted to get the front fork legs off the frame to adress the rust and pitting on them. At this stage it became clear I´d have to remove the rear wheel first. The stand holds the frame in a way that the rear wheel spins freely and the front is on the ground (the lift...) OK, first thing first....
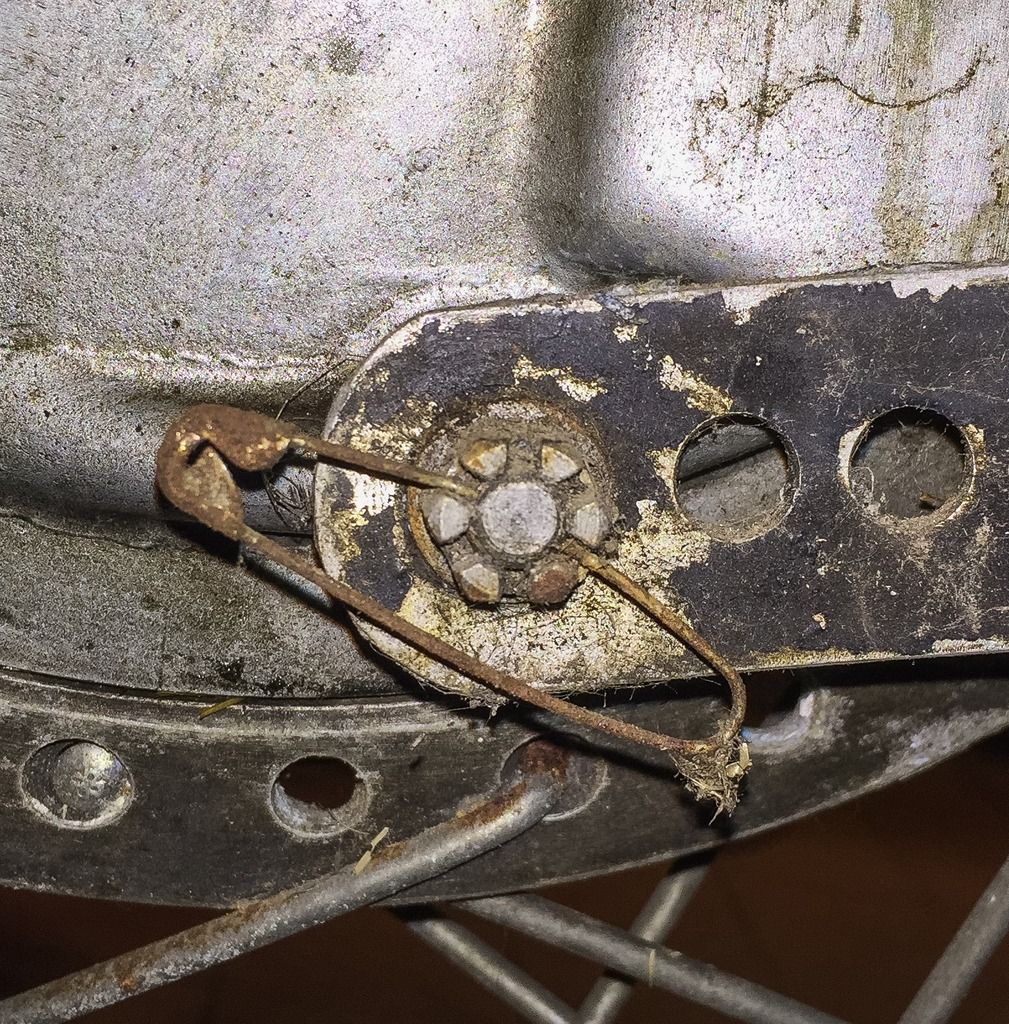
That swing looks like trouble. In fact all fasteners loosened up without much effort so I was ready to take the wheel off. Unhooked the brake cable, loosened the axle nut and, of course, forgot the nut holding the brake torque arm...
What a pleasant surprise! It was actually fixed with a safety pin (sort of...) just as it is supposed to be!
I wonder who put that one there? Did he race with that safety pin? Did it pass pre-race inspection? Well, all I know it has been sitting there for 40+ years! I think it´s a remarkable sign of the times. I´ll get a new cotter pin installed when that time comes!
When that was sorted the wheel came off nicely! Next was the swing arm bolt and the rear shocks.
No big deal at all. Came right off. One thing that strikes you when handling the parts on the bike is how light everything is compared to ordinary street bikes. The rear brake torque arm is drilled for weight, the rear brake panel very thin and light. It is obvious the Japs meant business when they built these bikes.
Next off was the front wheel. I tried to remove the fender first but that wasn´t a good idea... Some bikes have a bit too long screws for the fender and they are impossible to remove without first removing the wheel. I didn´t expect that to be the case here, but it sure was... So, the wheel goes off first!
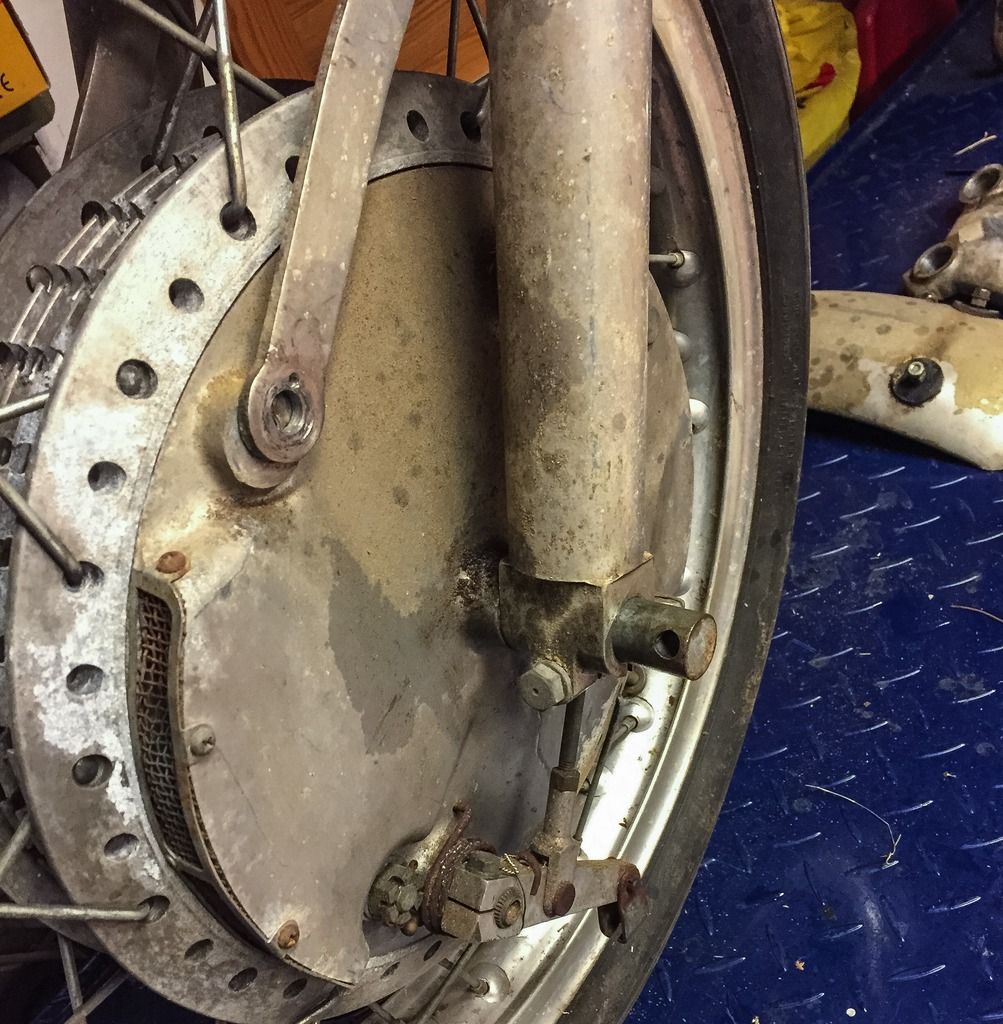
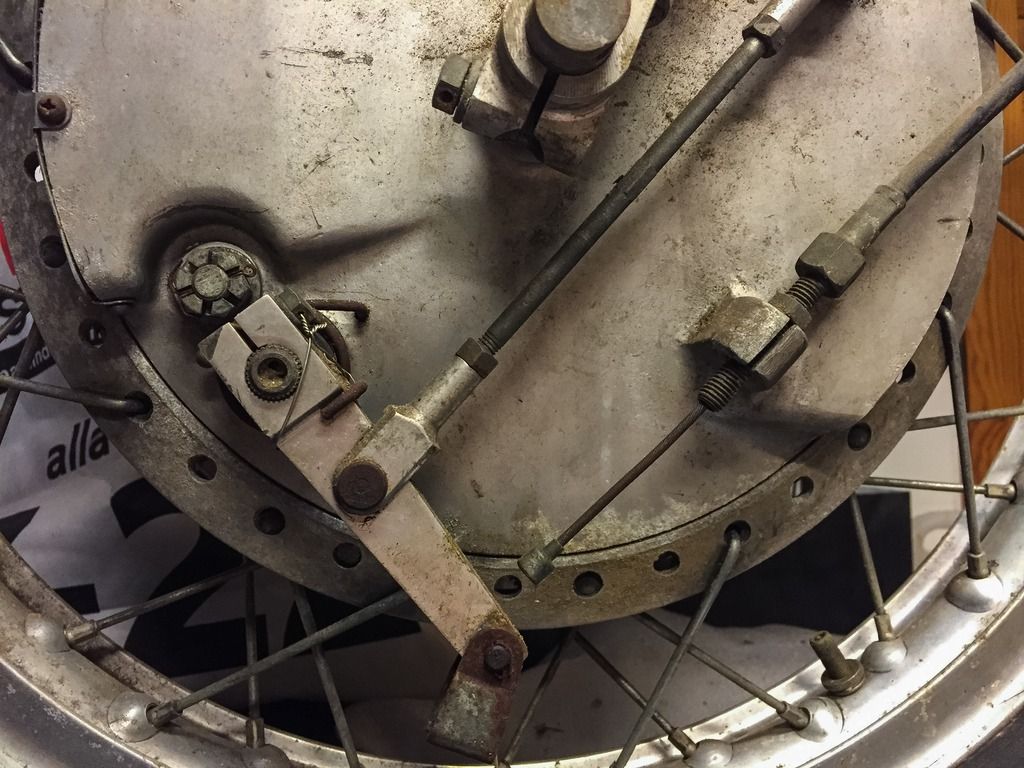
Here I had to unscrew the brake torque bolts first (I remembered these...!), loosen the bolt that clamps the axle to the outer leg and unhook the front brake cables. Very obvious also here how light and optimized all parts are. The torque links are aluminium and weighs next to nothing!
The unhooked brake cable. Note the brake actuators are aluminium as well as the "forks" for the adjuster. Lightweight!
I sincerely hope I´ll be able to just clean the wheel and use it as it is. I am having big problems with not going too far in restoring things on the racer. Big problems.
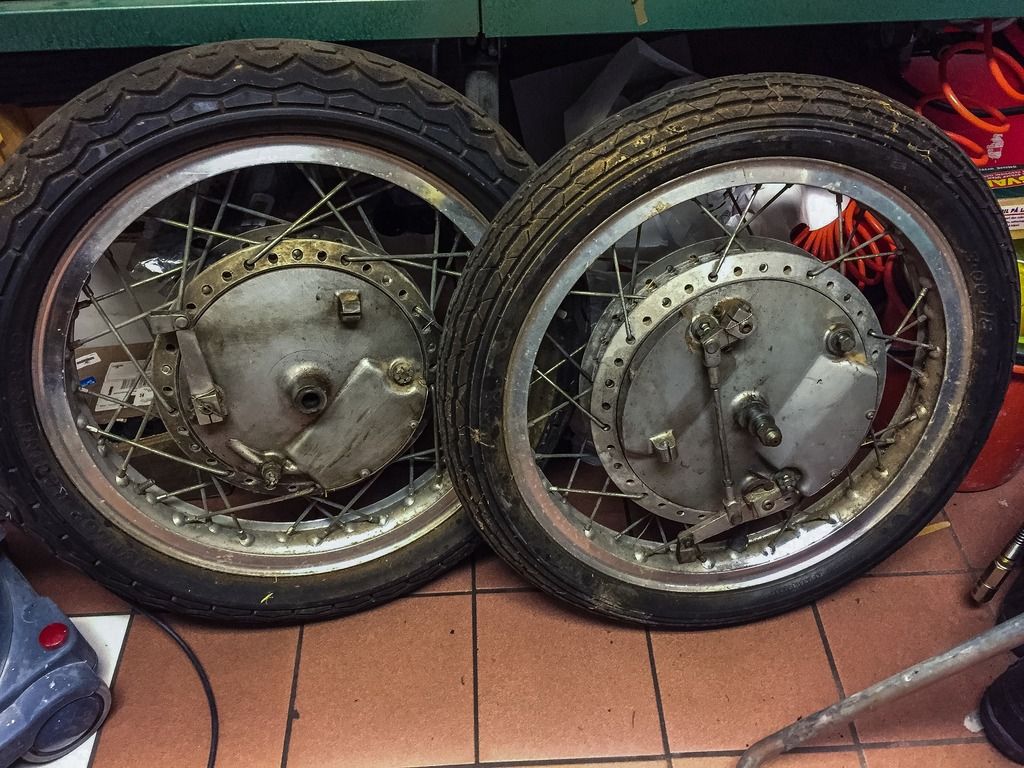
Now it was supposed to be easy to get the wheel off... Well, it proved not to. These tires are old, very old, and hard as ice hockey pucks! I had to use a big pair of pliers (polygrip) to squeeze the tire and get it out from between the fender bolts. Once again I´m struck with the difference in weight of parts. These wheels are much lighter and still has bigger drum up front and a larger hub in the rear, compared to the H1 -69.
Here they are, ready to be worked on later! Nice pair of wheels for anyone building a cool caféracer, right? I wonder how much they would bring at an auction just the way they are...?
Wheels, swing arm and most everything else is off the frame. Time to get the front fork. First goes the fender. Easy removal of the four bolts and the fender is ready to be cleaned and hopefully reused as is.
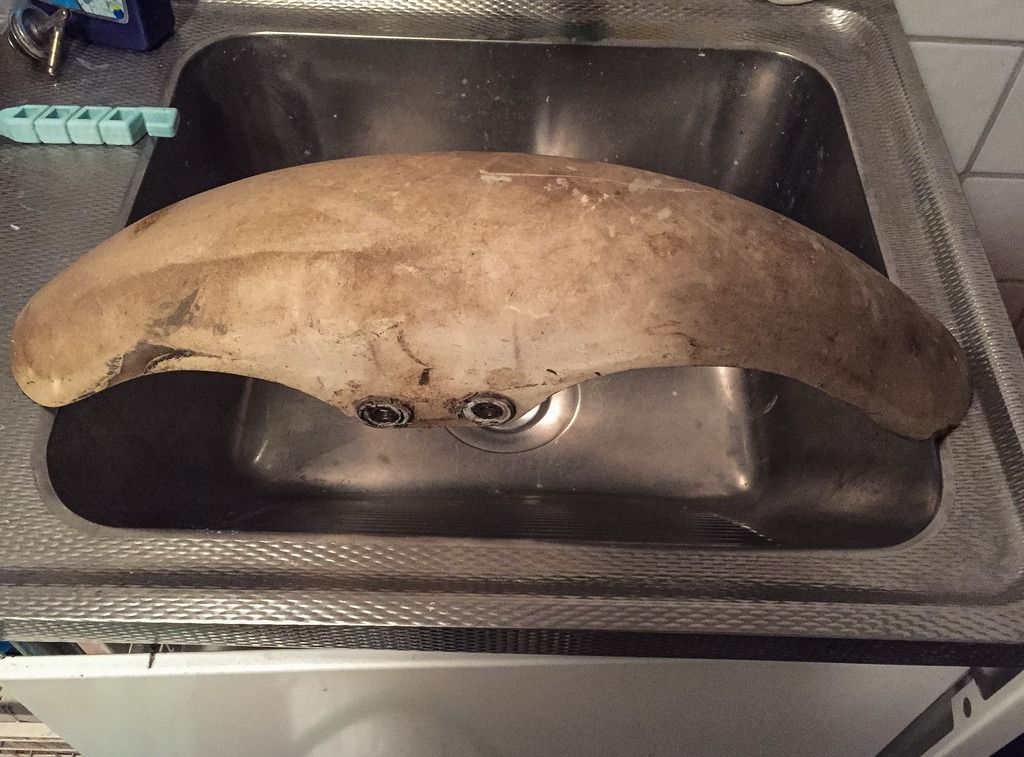
The fender in the bath tub... I once again use our laundry room. Has to be done daytime when the wife is at work. It takes a good cleaning of the room each time I use it. Dirt in the laundry room is a future "deal braker" in buying new bikes!
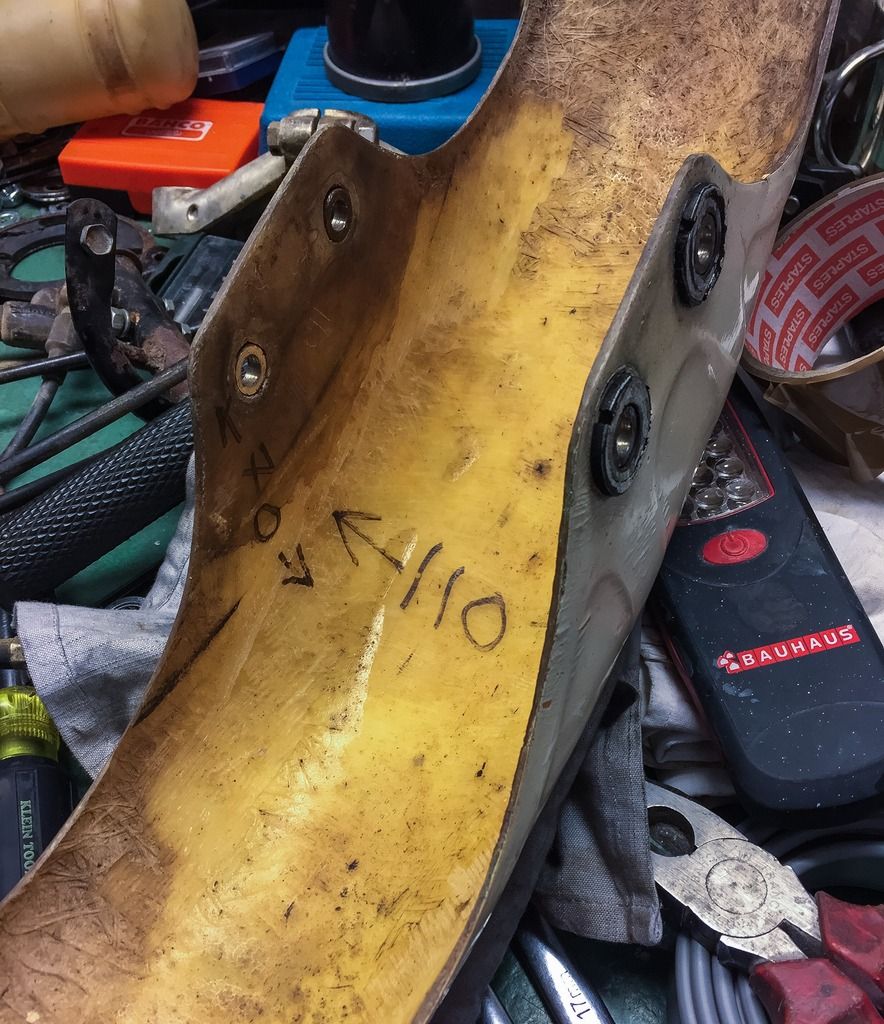
After that bath the fender could be more thoroughly investigated. I believe it is a copy made sometime during the seventies. It looks genuine on the outside but I doubt the original fenders had these measurements written on the inside...??
It doesn´t matter that much to me as I intend to use it anyway, but it would be interesting to know. If you know, please let me do the same! Write me a line at kawapilot@gmail.com
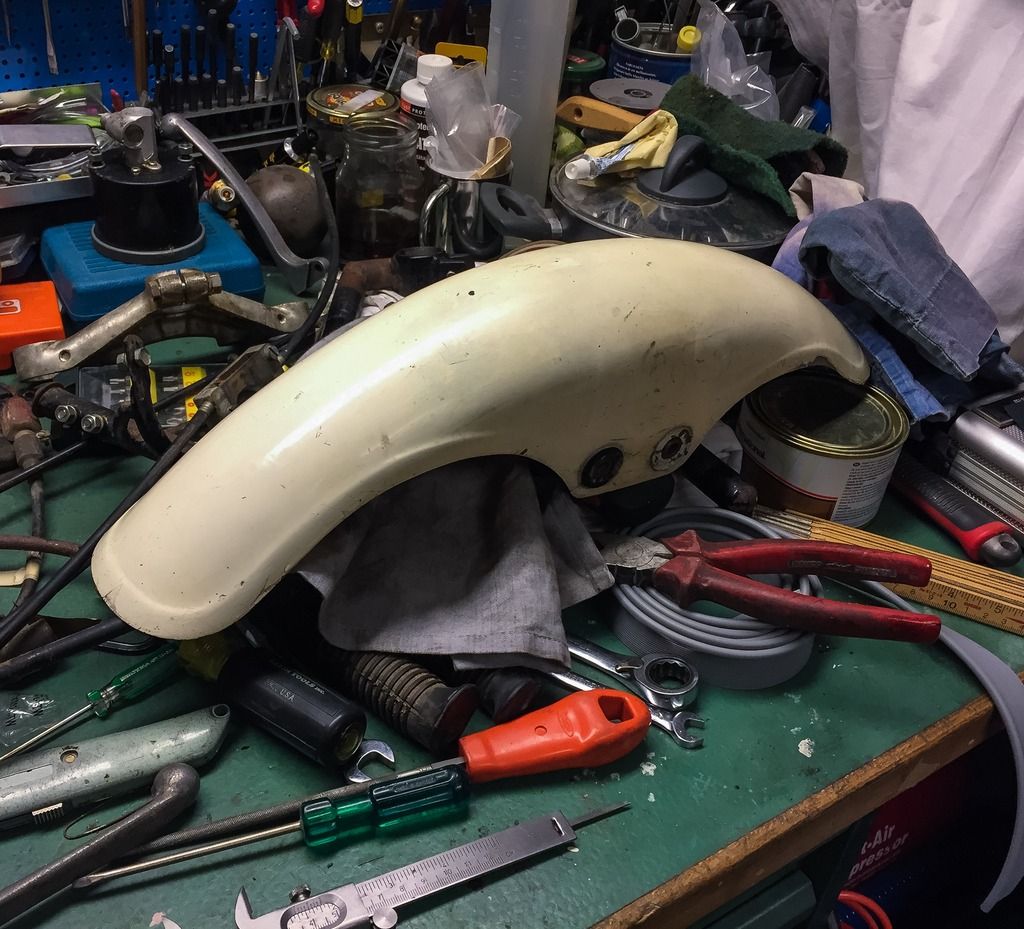
A quick sweep with my POL polish on one end of the fender had me convinced! I´ll use this one! And I don´t think I´ll even repaint it. The final decision will be taken when the rest of the body is going off to the painter.
Slightly cluttered bench as parts gets taken off the frame. I couldn´t resist a bit of polishing on the fender before continuing the dismemberment.. Next was the steering bearing!
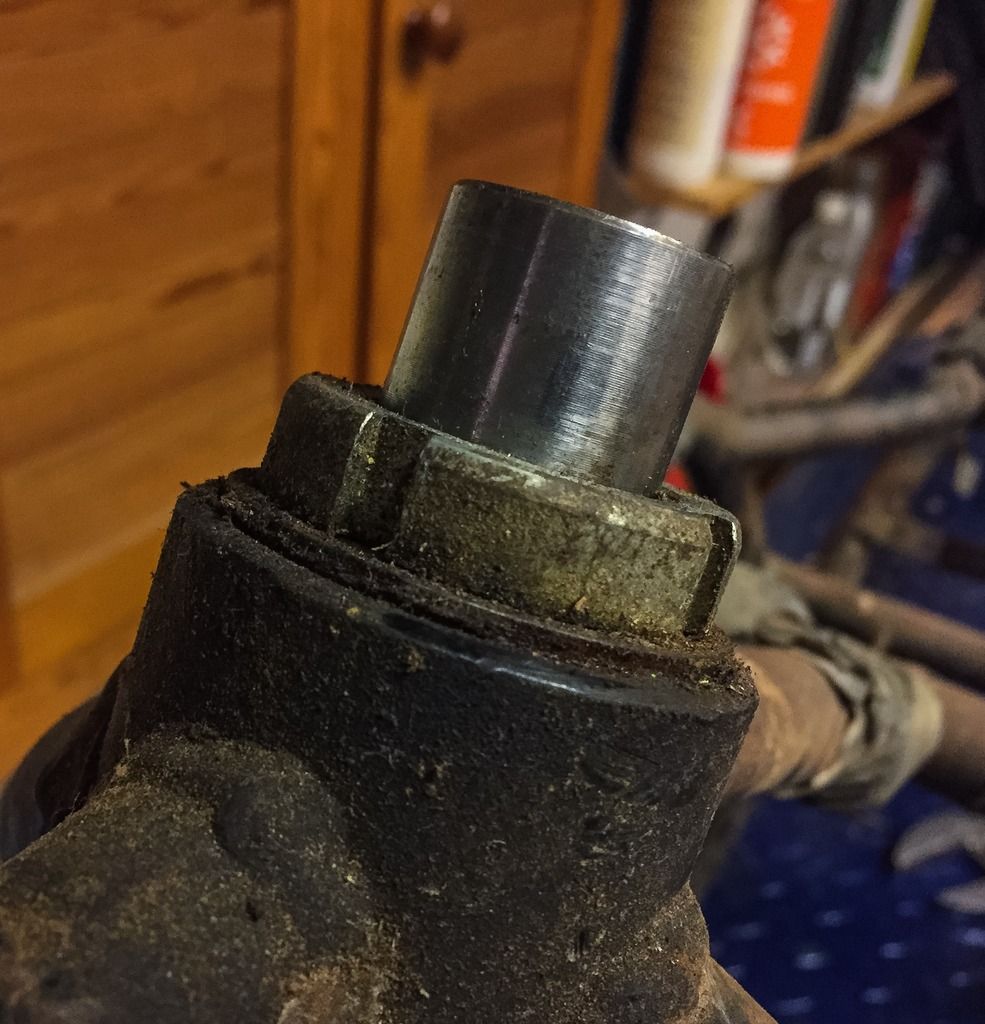
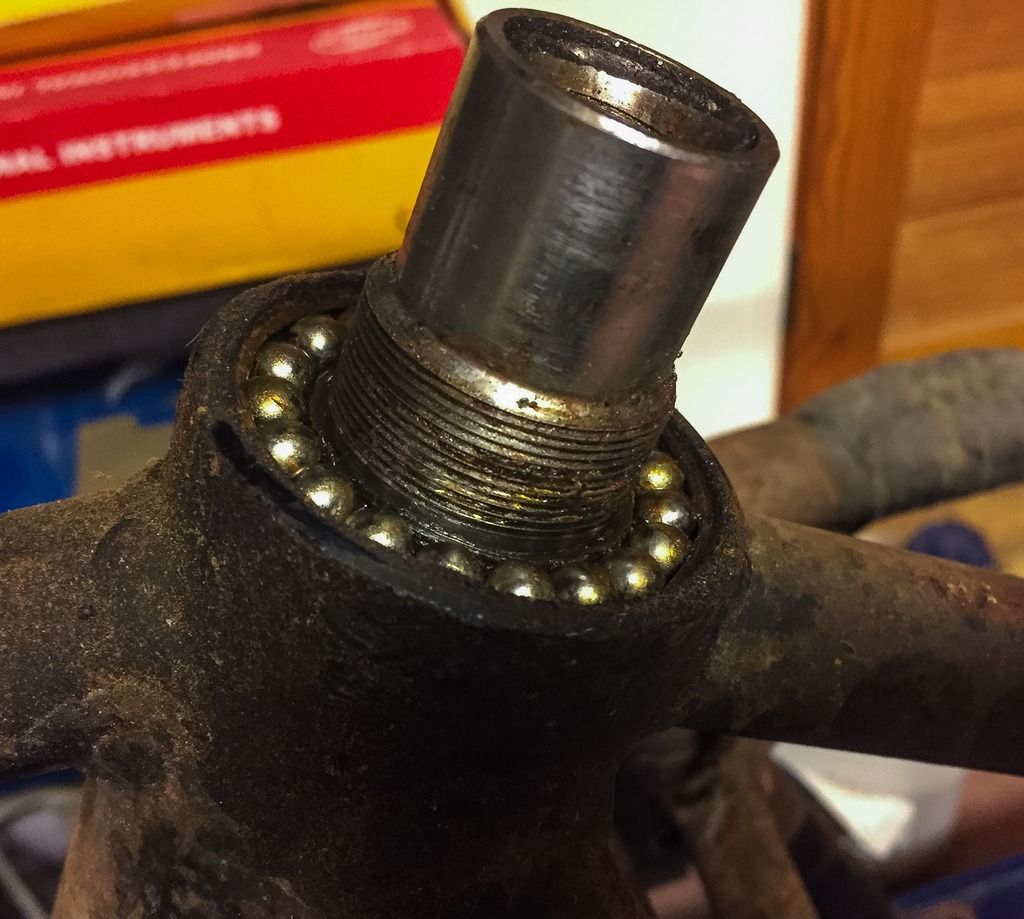
As I said before, everything on these bikes is very simple, basic and focused on function, not looks. Take the steering bearing. No extras here, no fancy covers or stuff to make it look good. Here´s just what´s needed, no more!
When the top triple tree is removed there´s the bearing, right there, below the big nut you tension the bearing with. That nut sits right on top of the top bearing race. Function.
For the next part of the operation you need to be prepared... There are 18 (or so..) steel bearing balls in the top bearing and 18 in the lower. A total of 36 small balls that end up everywhere on the garage floor if you loose them! Believe me! I speak from experience. A magnetic tool to carefully pick them up, one by one and a jar to put them in.
Here they are! The little rascals... Nice to see the bearing seems OK. Still plenty of grease on the balls and the races. I have good hope these can be used again!
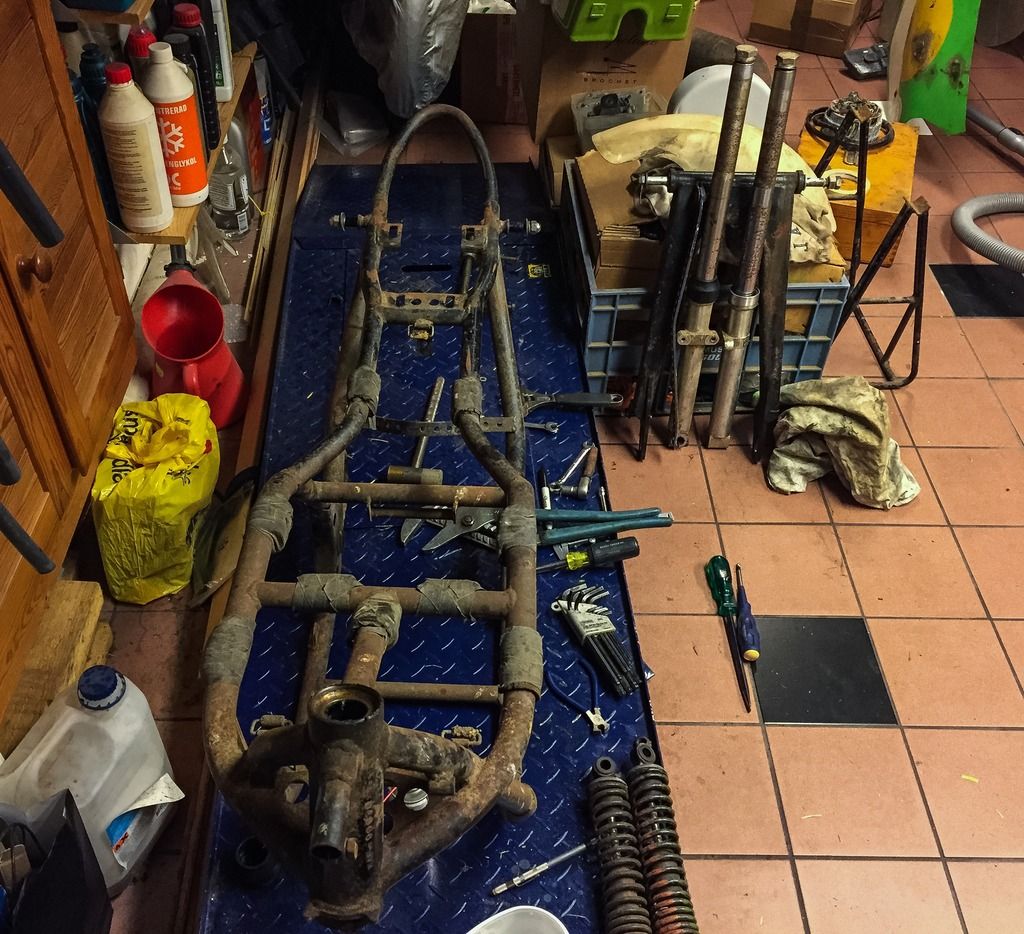
After a few, really nice, hours in the garage it is in parts! Just a few days after the disassembly I got an offer from the magazine "Classic Bike" to exhibit the project on their display in the Swedish Motorcycle exhibition late January. Bugger, that would have been fun!
Not much to display right now....
The frame looks great, though. Seems to me to be straight and no cracks, strange welds or anything else out of the ordinary. As you can see, the fork stanchions need to be rechromed or replaced. If you have a couple of 44013-024 TUBE fork-inner, I´m VERY interested! I could also use a set of 45014-052 SHOCK ABSORBER, rear. Or if you have a set of vintage KONI´s model 76, 325 mm long (12 3/4 inches) I´m game! Girling in the same dimension works as well. "Esso" actually used Girlings....
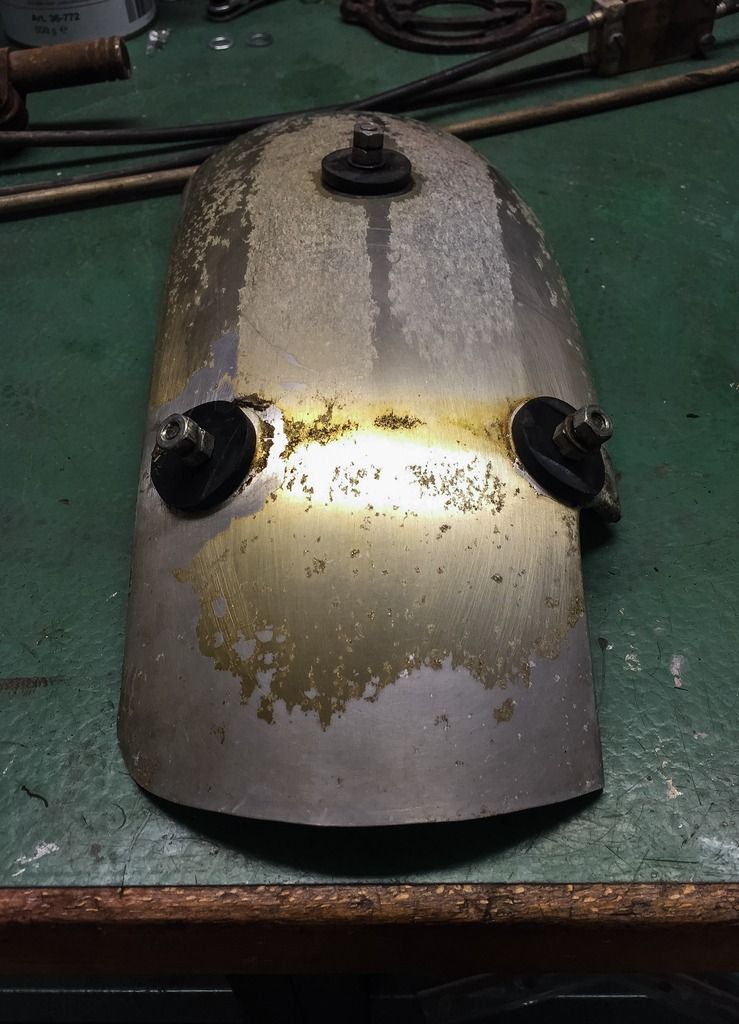
I´m going to end this post with the rear fender. I couldn´t resist tinkering a bit with that one as well. This fender is also a bit of a mystery. Aluminium? All fenders I´ve seen in pictures of the H1R 1970 seems to be plastic. Part number, 35023-010 FENDER rear, doesn´t say what material is used. It looks the same as in the parts manual, fits perfect and has the same amount of bolts and rubber parts to keep it in place. I´m not worrying too much since I know I´ll use this one all the same, but knowledge is cool.. What do you think?
The fender is held in place by double nuts as safety feature (correct according the manual) and has rubber "washers" on the inside and outside. The fender itself looks legit. Everything on this bike is more or less hand made anyway, so why not this one?! I´m going to polish the varnish away and apply a fresh coat. I can´t have it looking like this. That´s beyond me.
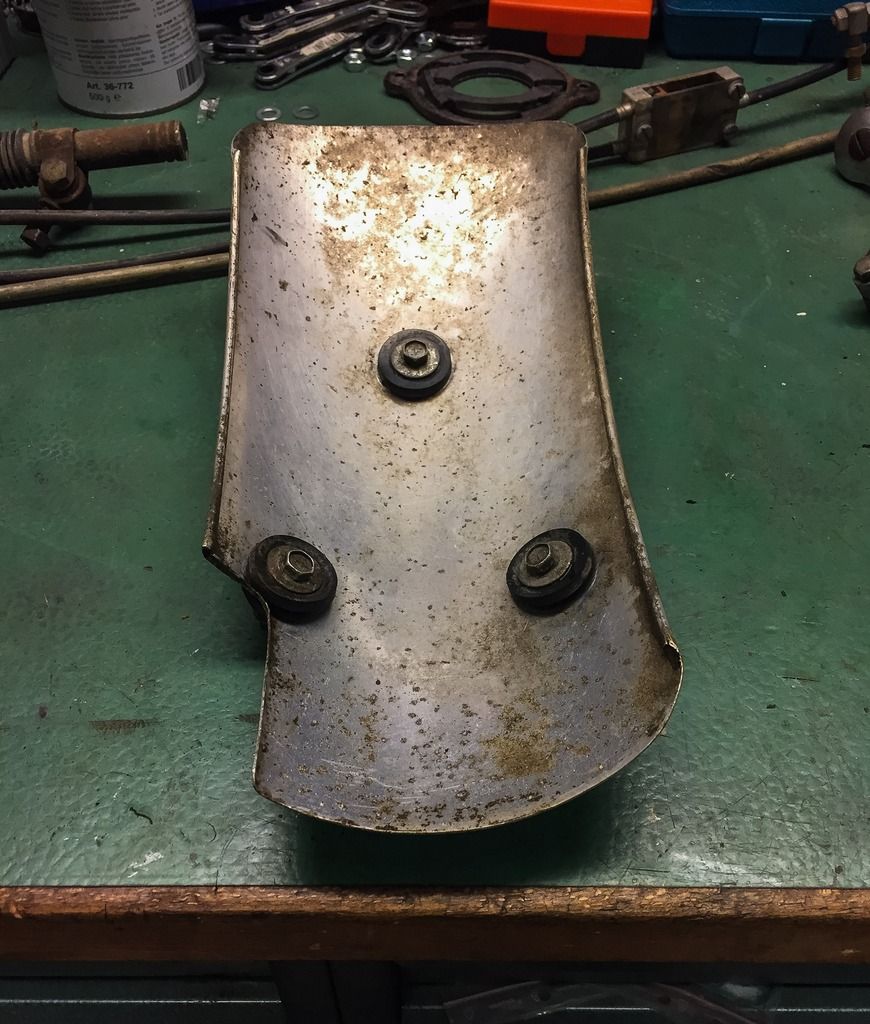
The inside looks the same. Can be stock, or a copy made from some other aluminium fender.... As I said, not that important, but it would be nice to know!
The next post will be about taking the front fork apart and cleaning out some smaller parts!
Hang in there...
/Per
'when you have some good music on and fettle with your parts.' ;)
SvaraRaderaNice work again. I can understand that you're having problems with the grade of restoration. I think as long as you don't irreversibly alter the parts, it will be fine. A surface finish can always be changed later on. Leave scars, scratches, dings and dents.
Thanks for the kind words!
RaderaIt is hard not to replace or restore everything to as new condition. I believe I´ve already gone too far on the engine, but I just couldn´t leave those 40 years worth of oxidation and muck on the surface. Tough decisions! Pleased don´t hesitate to tell me if I´m going off limits... /Per
I do believe the first bikes came with the aluminum rear fender then later models were changed to fiberglass.
SvaraRaderaThanks for the input!
RaderaI believe that could be correct. You´ve got fiberglass on your bike?
/Per