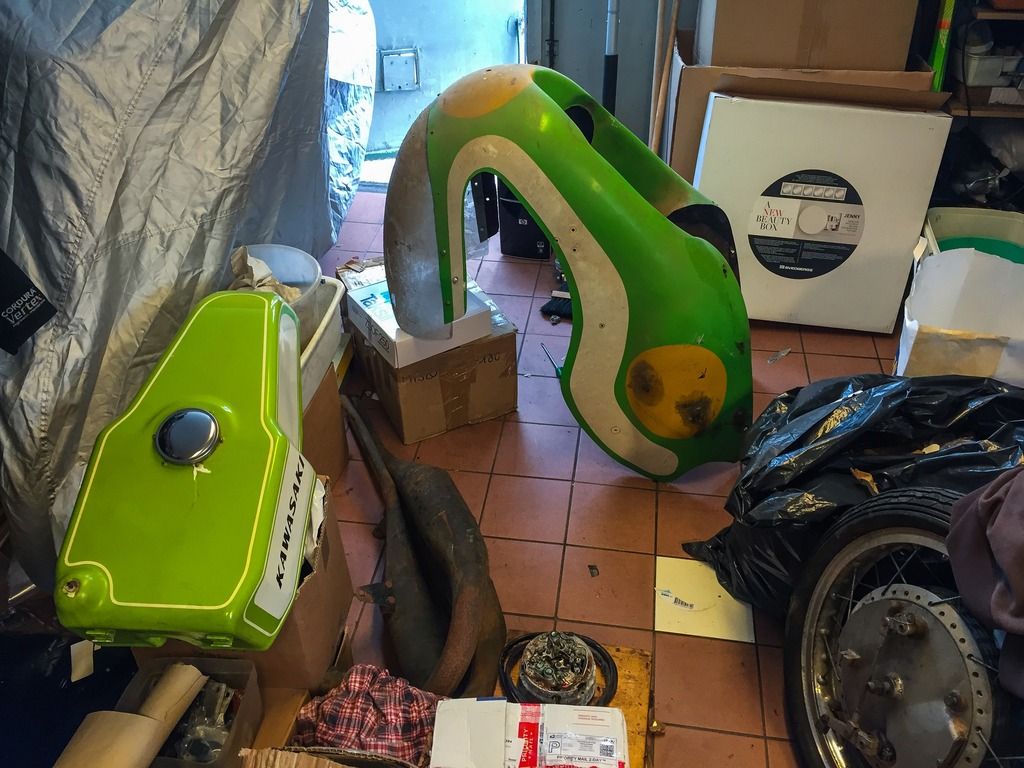
Spring is approaching fast... I´ll soon need more space in the garage for daily drivers and the H1R will have to move into a corner and not take up half the floor area. Time to get it together! Lots of work to do and precious little time to spare. last week it was time to get the frame ready for paint.
The thought of what technique to use has had me thinking things over and over again. I´ve talked to my painter (the guy who will paint the fairing and seat) and he suggested powder coat. I´ve used that on my latest street bike restorations and have been truly happy with the result. It is a super technique and beats wet paint every day of the week when it comes to durability and looks! Yes, it does mean a bit more work masking and cleaning threads etc, but once it is done, it is worth it!
On these old racers the story is different... It was obvious when looking at the original paint on the frame it was extremely thin. I doubt they even used primer on it! No way I would put powder coat on there. That would not work for me. So, a very thin layer of primer (preferably black) and a couple of thin coats of paint and then finally a semi-gloss clear coat. OK, it sounds like a lot, but I´ll have to tell the painter to keep everything thin and light.
Before painting everything has to be clean and dry and smooth etc. How to accomplish that. Elbow grease and sanding paper? Yeah, that works. I opted for the easy way out and prepared it all for a mild media blasting locally here in Stockholm.
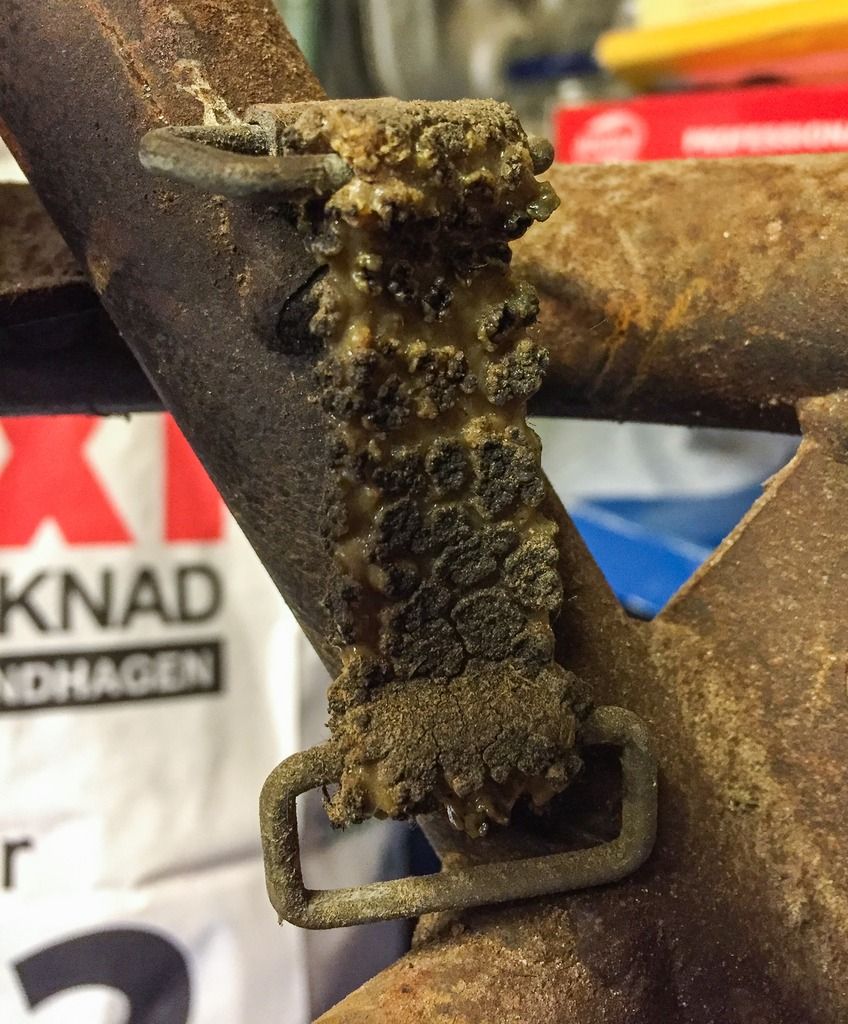 |
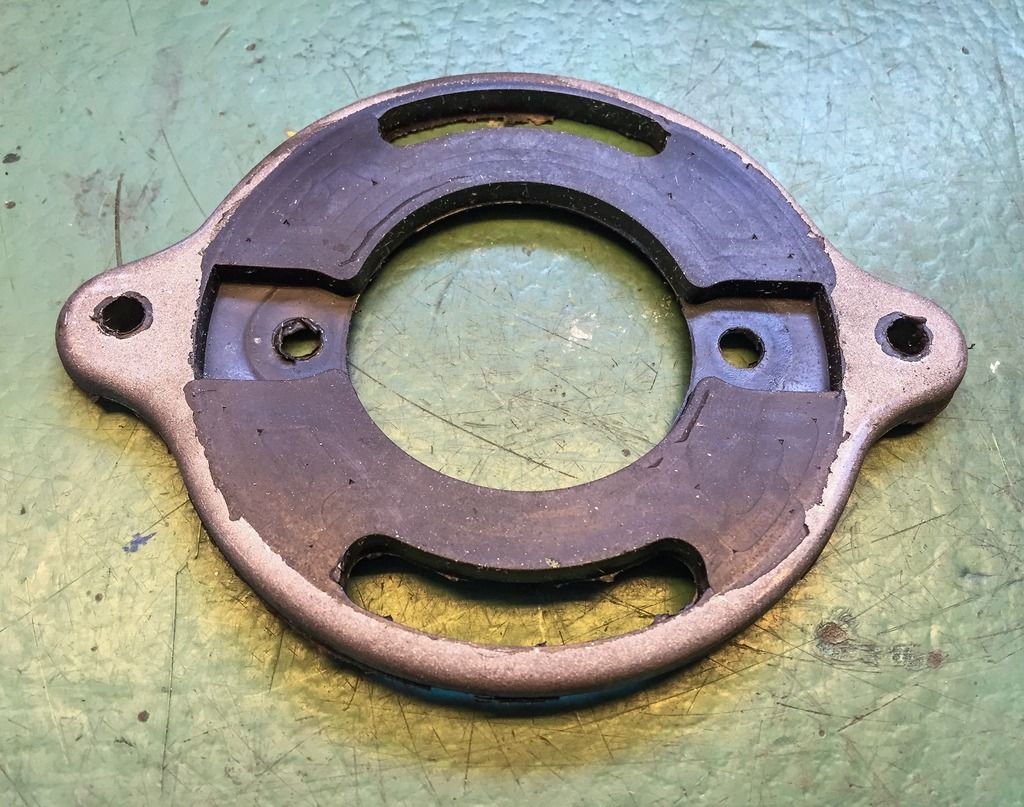
| Tank mounting rubber... |
First I had to remove all loose stuff on the frame, swing and other brackets etc. The above picture shows what rubber that has been sitting in a barn for 40+ years will look like! Not much elasticity left there.
 |
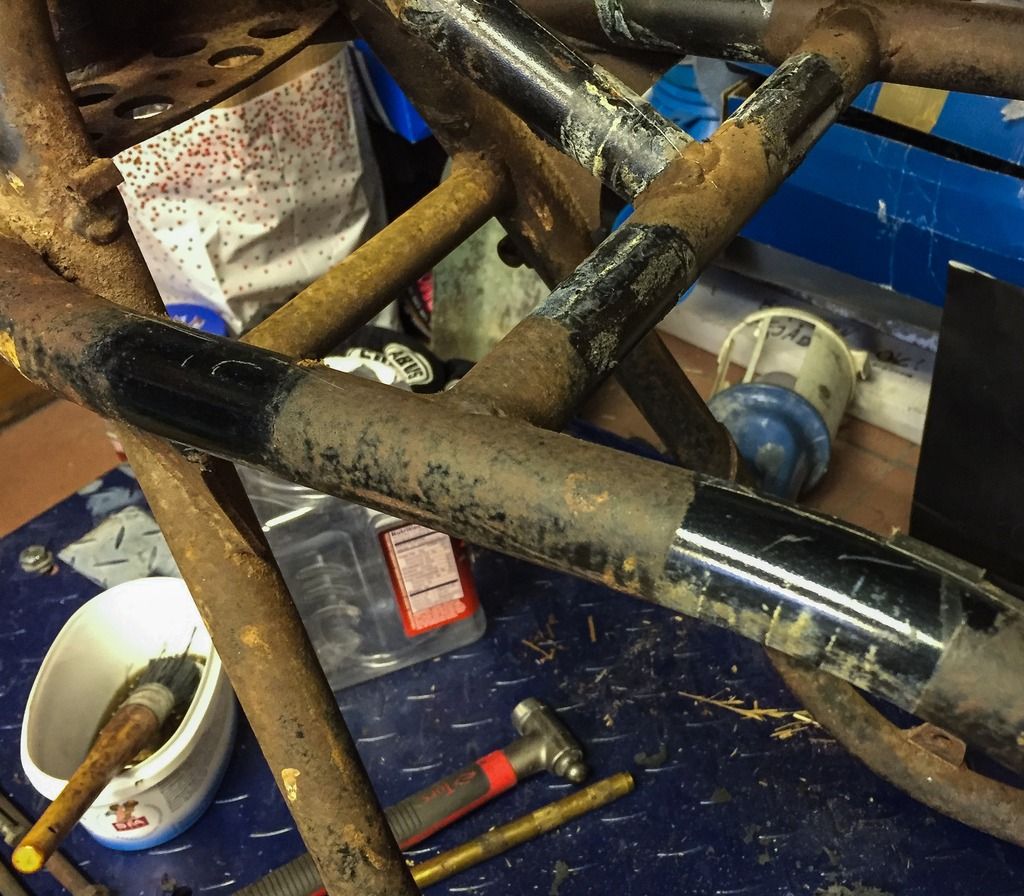
| Tank dampeners. |
The "home made" fuel tank support dampeners had to be removed. I´ll change these for the rubber ones used on Kawaski H1:s and H2:s. Looks and works a lot better. And they are easily available!
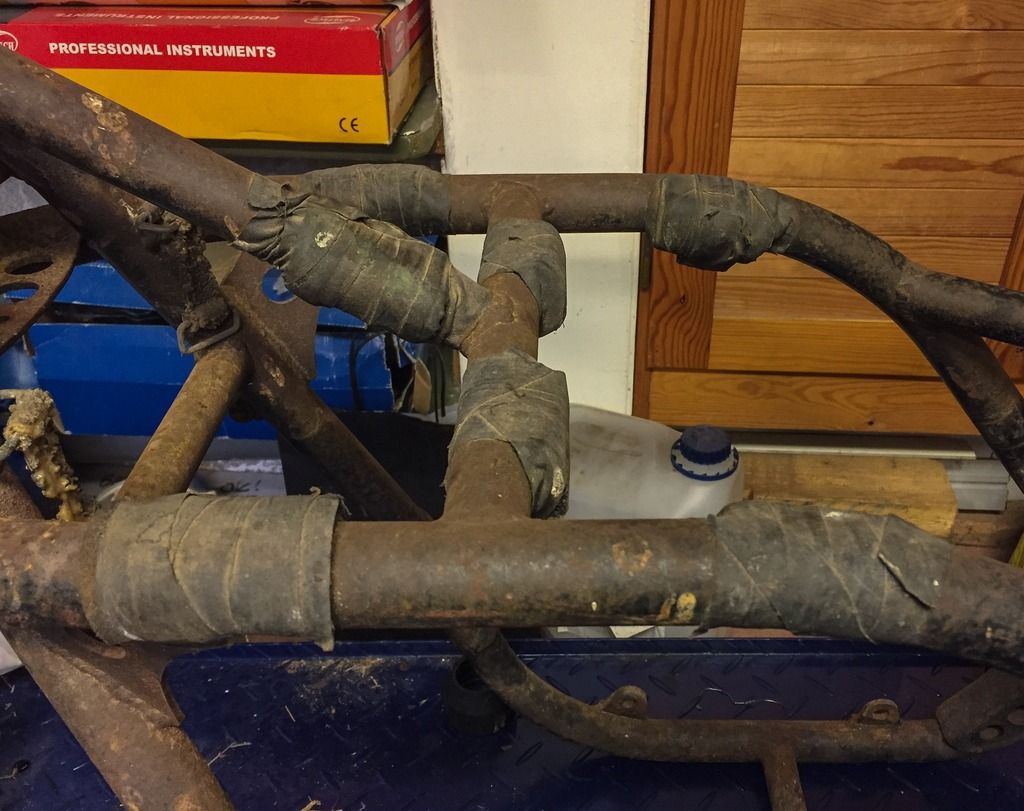
You can also see the sorry state of the paint on the frame. I tried to clean out a few spots and maybe save the frame from media blasting, but there really was no other way. Sorry to say!
 |
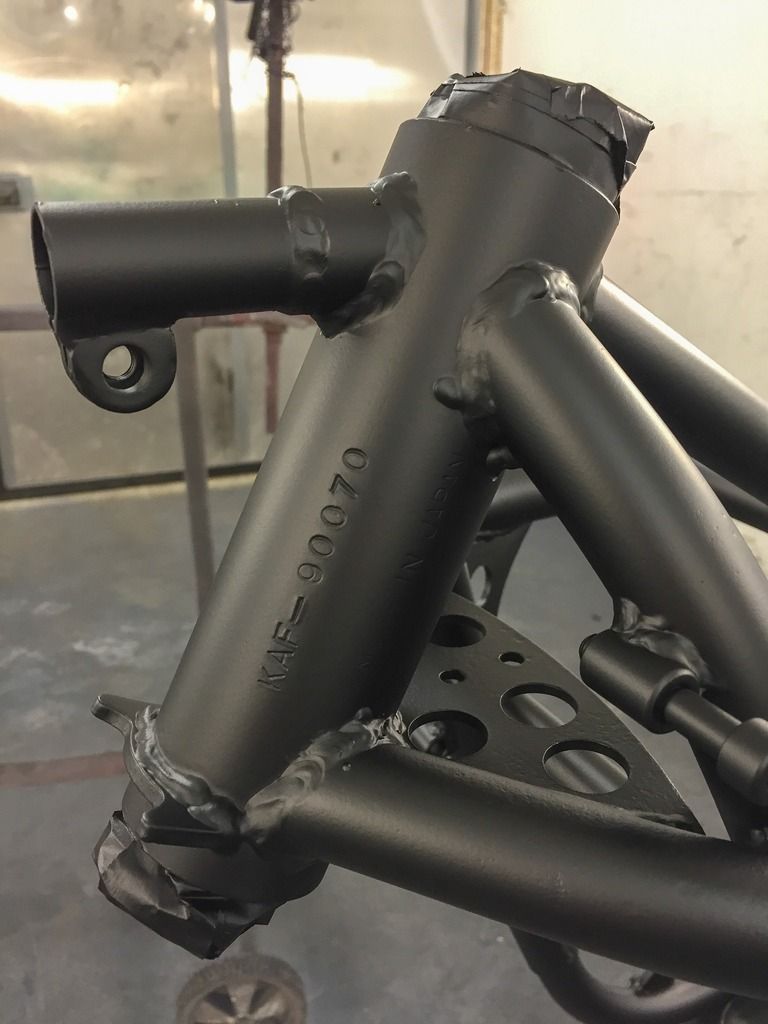
| Masking of the steering head. |
The steering bearings are sensitive to blasting media and need to be covered and protected. The bearing races were all removed, as a precaution. A simple way of masking it is with a long threaded pin, a few washers and some rubber or plastic covers. Tight and snug. The frame number was masked with duct tape. I want that number fully readable, of course!
The swing also needed some masking and disassembling done. I needed to check on those swing arm bearing anyway so it had to come out. This is a completely different set-up from the street bikes. not as many parts and all in all much lighter stuff. I had a bit of a struggle but finally came out winning... At least partly so. The sleeves were rather stuck but could be persuaded with a little 5-56 and a little heat. the bronze (or brass) bushings was another story... I got one out in my garage but had to borrow my friends auto press tool for the other. Finally got all of it out! Of course I managed to inflict slight damage to the bushings when driving them out. The sleeves actually needed replacement so the hunt for them started that evening. The bushings can be saved, no big deal.
 |
| Swing arm bushings and sleeves. |
The sleeves have some rust going through the hard chrome surface... Too bad. BUT, eBay was at hand again. I had found a NOS set of these sleeves earlier and tried to buy them at a very attractive price about a month ago... Nu luck, the seller lowered his price by only a few quid and stopped there. Fair enough. Since I desperately needed them now I made him another offer (at the same price he offered me before...) and he agreed to sell. Thanks! Got them from Britain in just a couple of days.
Another problem solved.
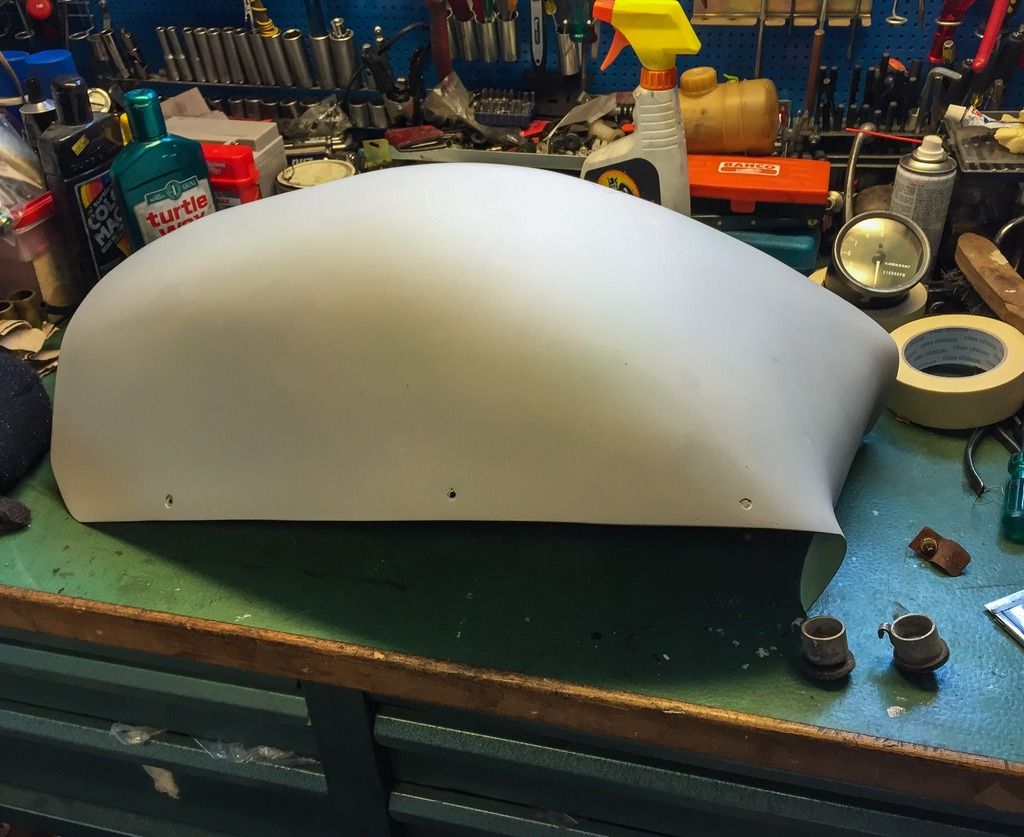
I mentioned earlier I was thinking a lot about the paint. Black is the obvious choice, but what shine on the paint, or clear coat. Semi-gloss, gloss or matte finish?
To find out more what the original structure of the paint was, I rubbed up a couple of spots. Beneath the fuel tank dampeners and on a spot on the swing arm.
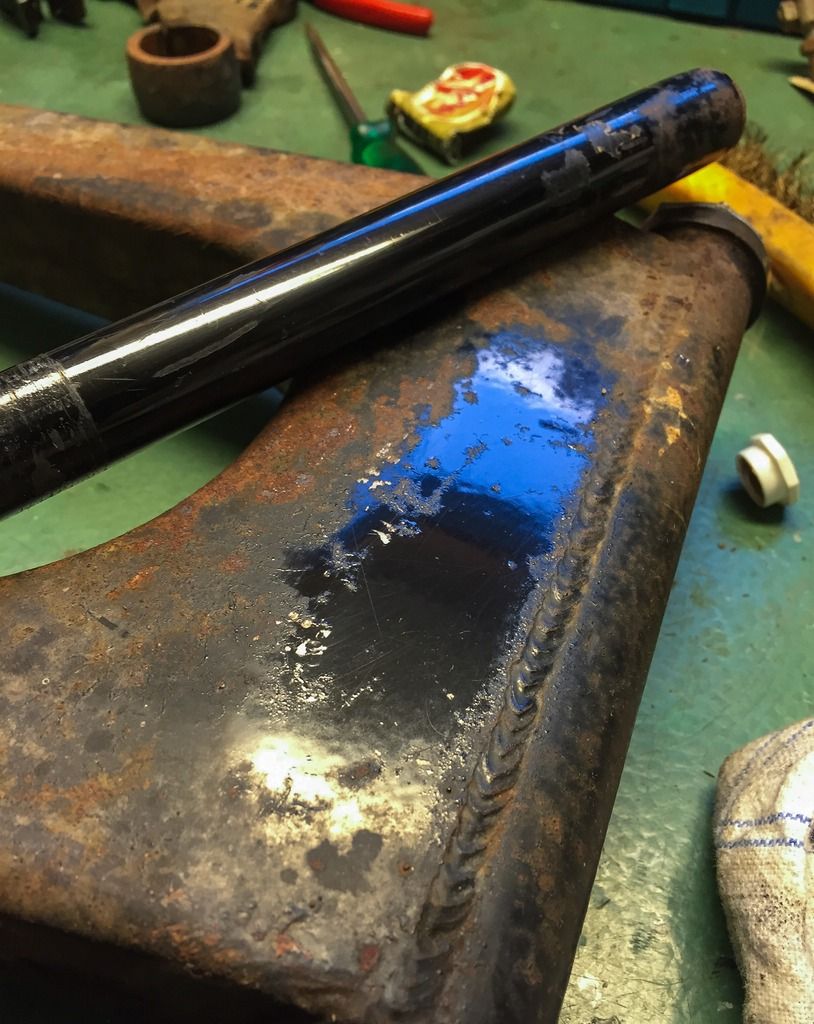 |
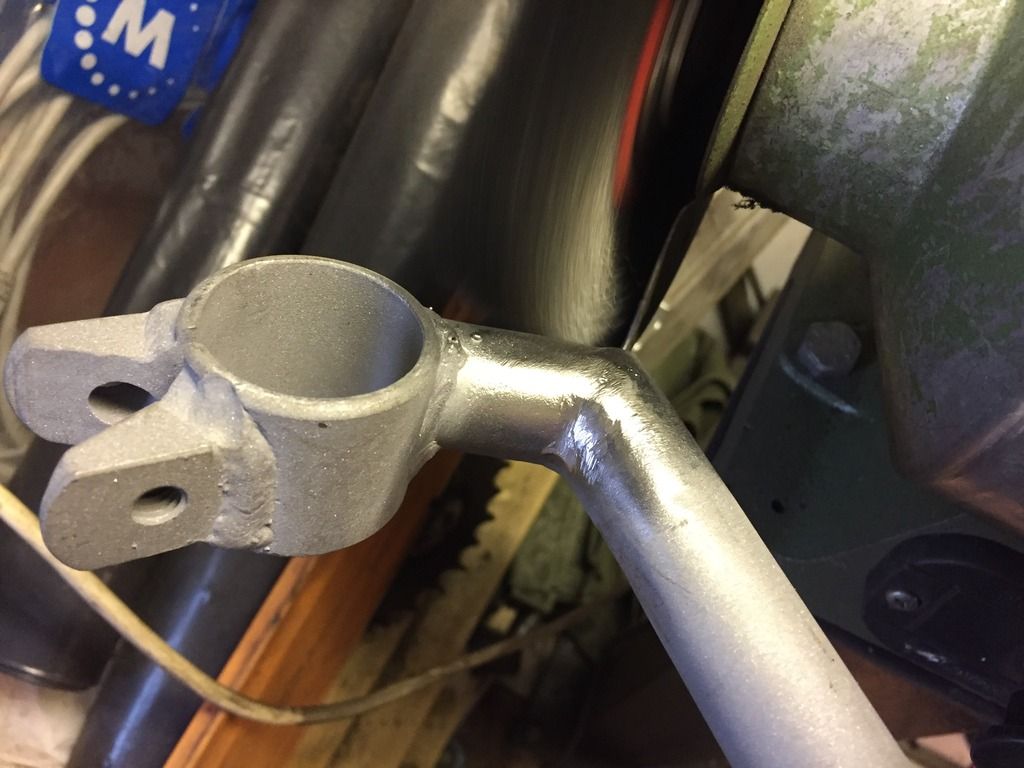
| Suprisingly glossy... |
The handle bar and the polished spot on the swing arm shows how surprisingly shiny the paint is. Looking at this you could easily go with the glossy clear coat or glossy black paint.
 |
| Original shine. |
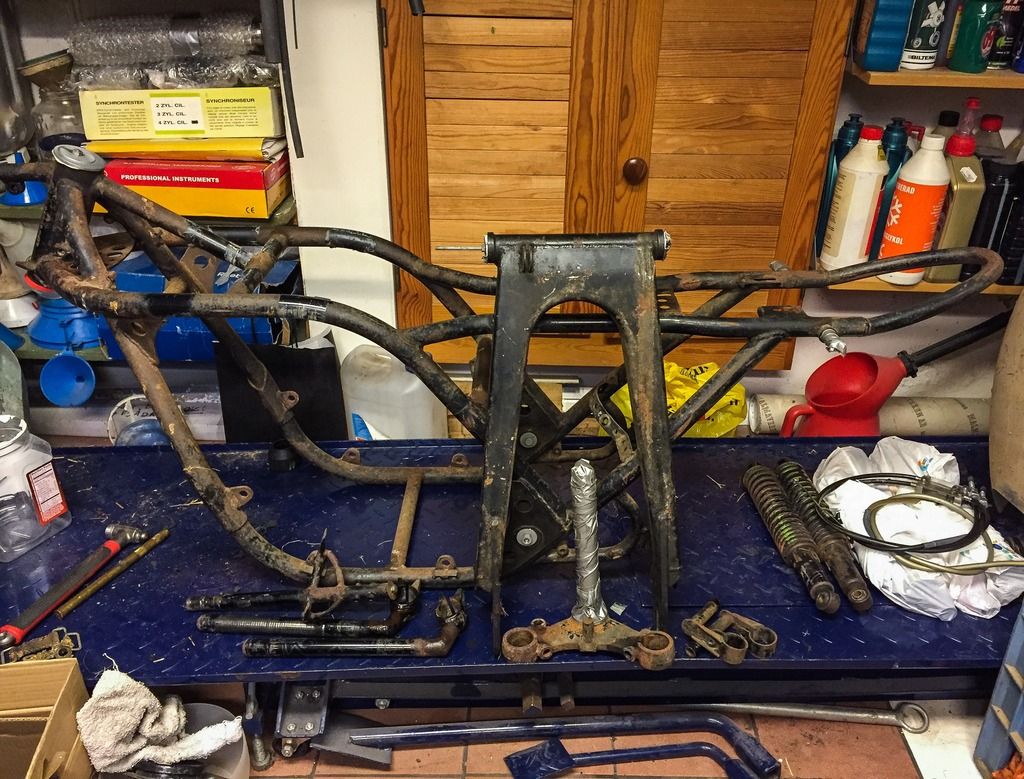
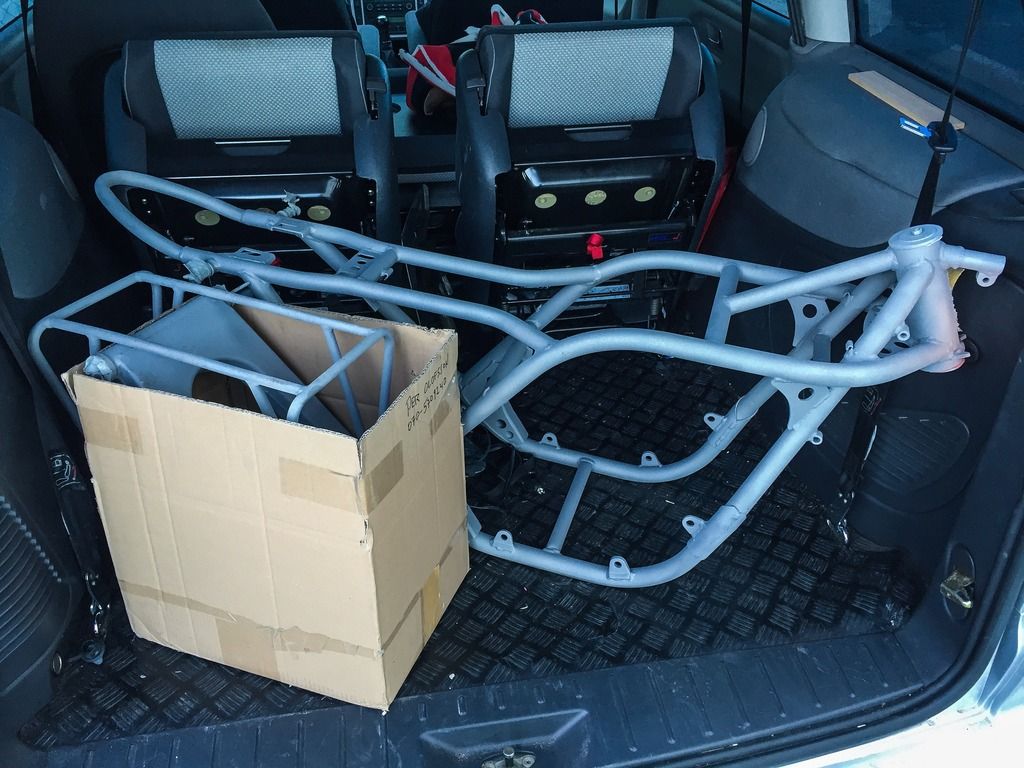
No hurry in deciding that just yet, just a good idea to check it out before it´s gone... In all I spent the better part of a full day preparing the parts for treatment. It all came together nicely and looked like this, ready for transportation.
 |
| Ready for the blaster. |
It doesn´t look like much here, but it´s almost all there... And this is the turning point on any of my restorations. When stuff gets back from blasting, and even more after paint, when you start assembling parts instead of taking them apart, things look a whole lot brighter and better.
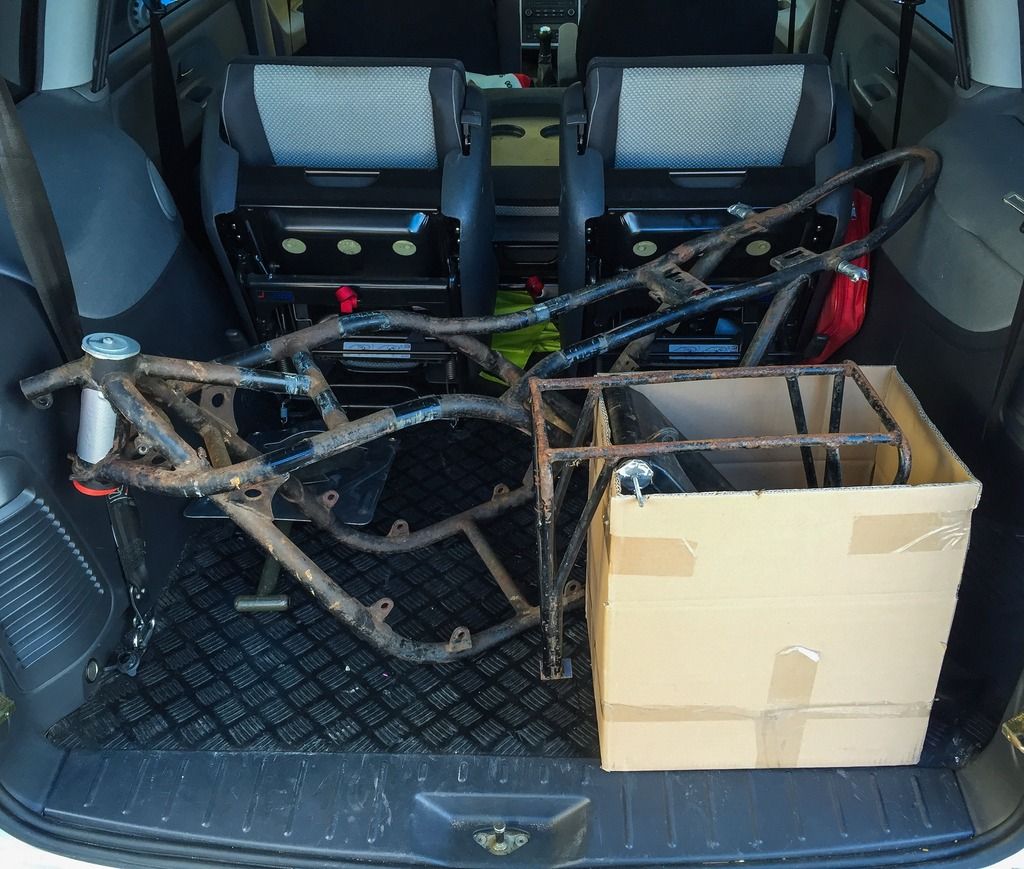 |
| Off we go! |
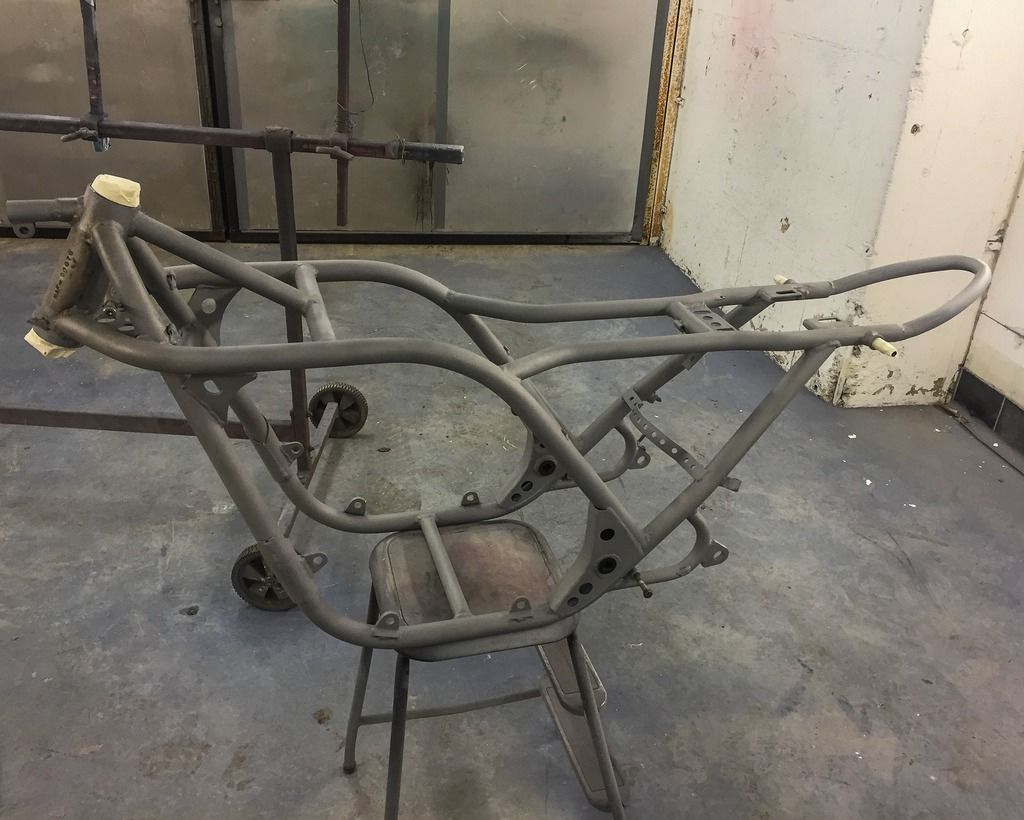
Such a sad pile of rubble... Who can imagine this is a super rare race bike from the early seventies. I can´t tell you enough how thoroughly I told Pelle at Allblastring in Laenna to be careful with the parts. Not to loose anything and to media blast as mildly as possible. He is a very understanding person and his guys did a superb job! Two days (!) later everything was finished and ready to be picked up.
 |
| Media blasted and on the way home. |
They did an awesome job. I´ve used them before and have never been disappointed with their work. Such a smooth and nice surface. Not too coarse, not too fine, just perfectly clean and ready for primer. No need to spend hours sanding. Perfect.
After a good cleaning of blasting media using compressed air I could go through everything and start masking it up for paint. Of course I had forgotten some of the small parts and they had to be sanded and cleaned for paint manually.
 |
| Foot pegs and parts. |
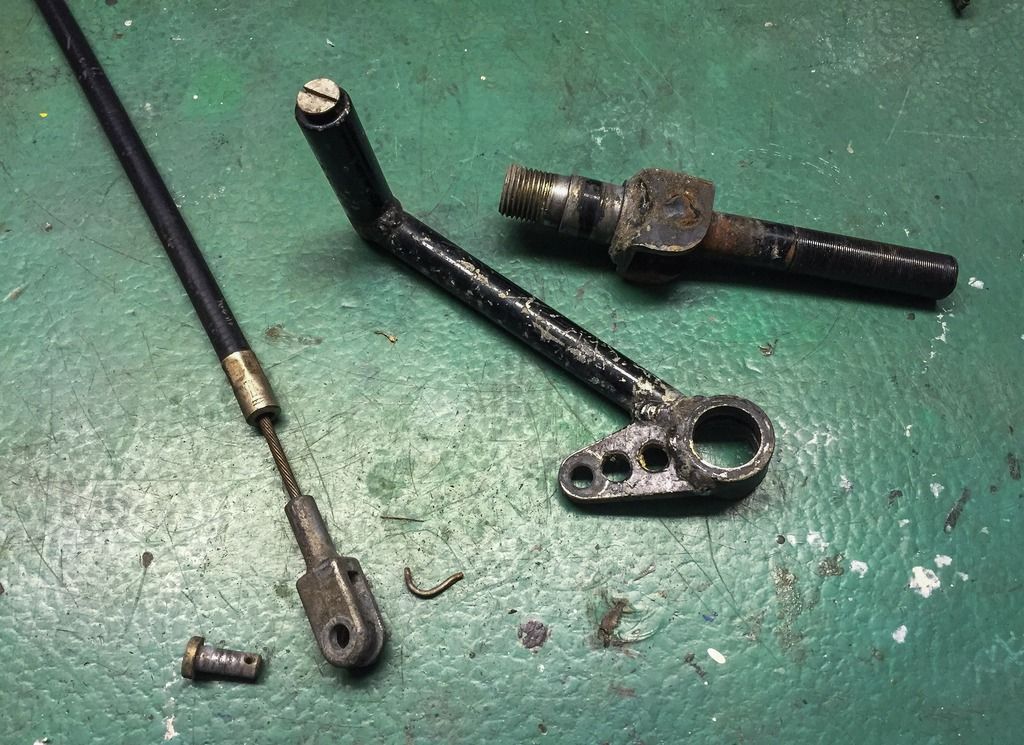 |
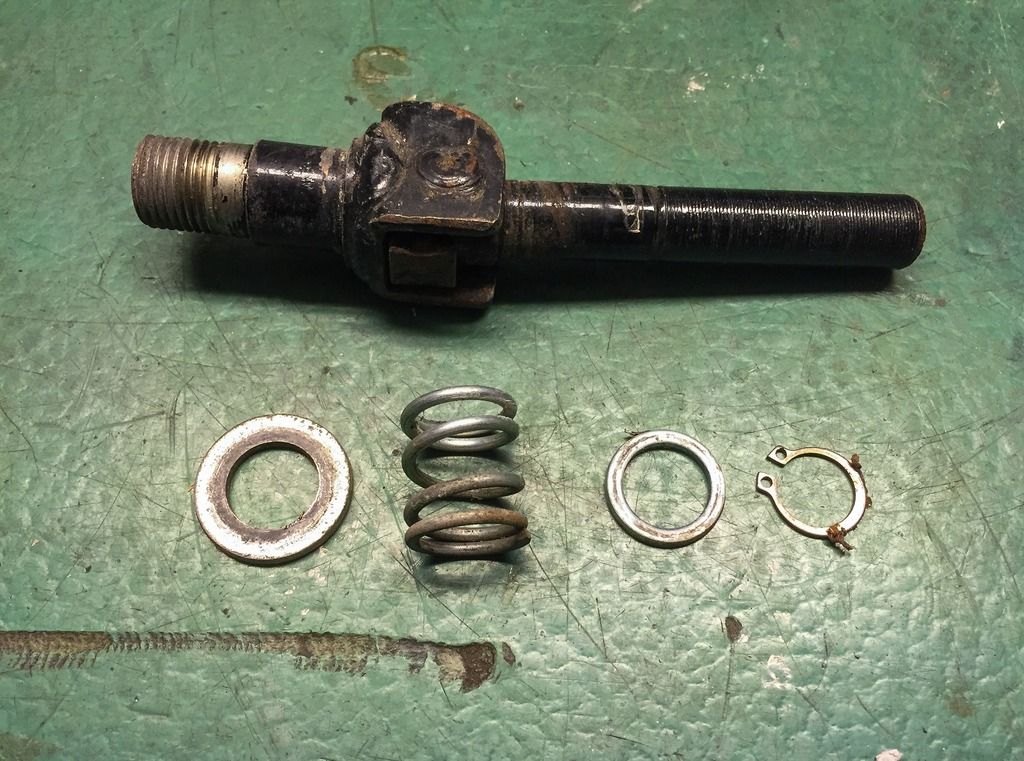
| Brake lever and cable. |
The foot pegs and the brake lever among others. The handle bars had to be straightened as well. The bike has seen its fair share of race track close-ups and the right bar had obviously taken a few hits. So, when straightening that one the weld cracked. Not too hard even for me to weld. Fixed it the other day when weather was OK and not too chilly or windy outside. My old MIG did what it is supposed to do...
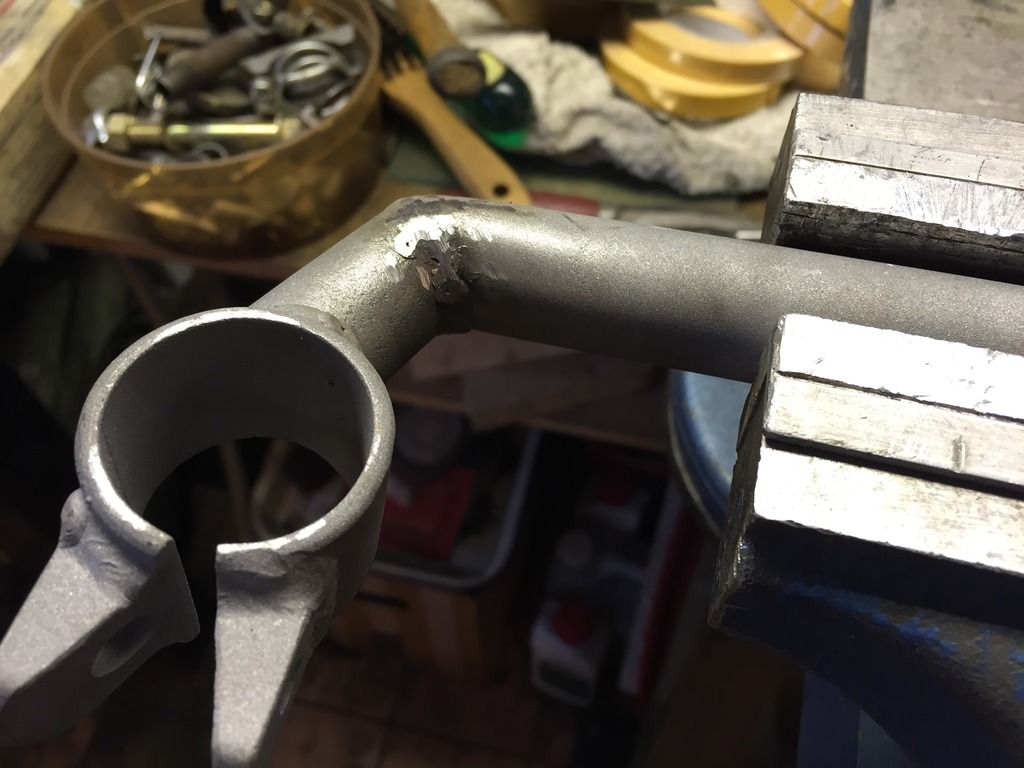 |
| Repair of handle bar. |
I think I got it good enough. At least my weld doesn´t look worse that the old ones from Japan 1970....
A little grinding on the wire brush got it ready for paint.
 |
| Wire brushing. |
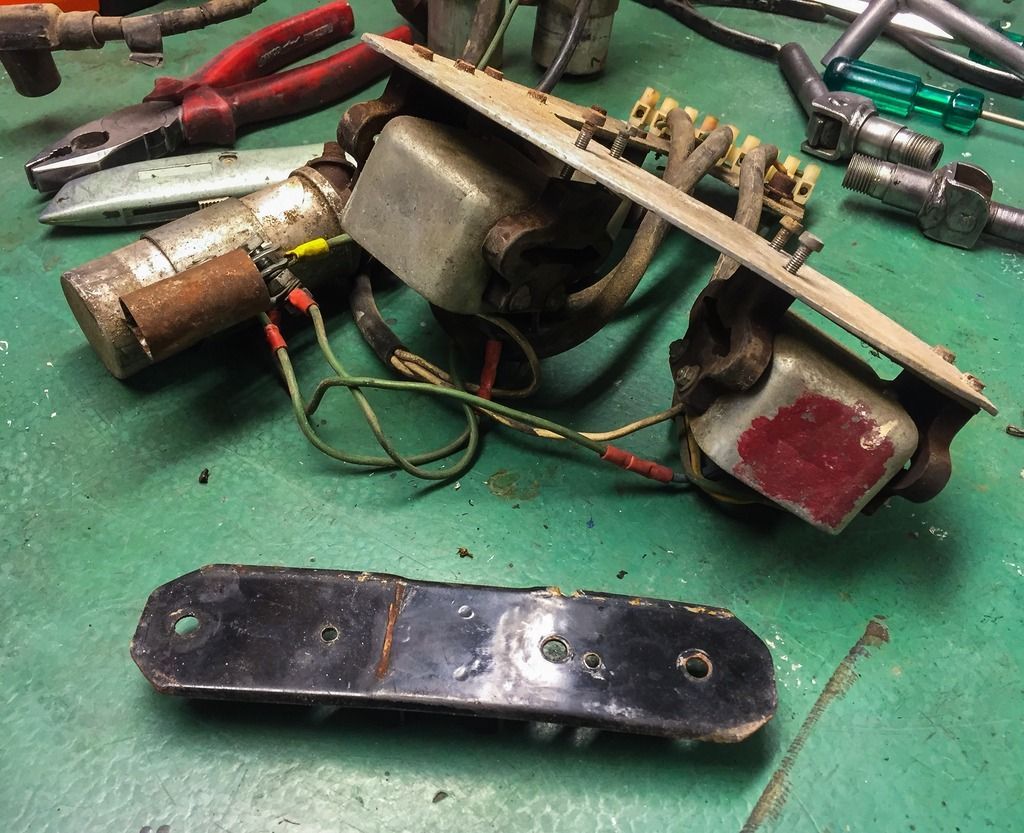
The small bracket that attaches the electrical parts up front shows up on the parts list. I need that one as well. Hmm, I wonder if it is still around here, below that home made bracket for the Kröber ignition?
It was! Well hidden, but easy to get out and prepare. It had been used to support the larger bracket and was actually in quite good shape. Someone ("ESSO") had adjusted it a bit to fit beneath the bracket. It was not too difficult to guess what it was supposed to look like.
 |
| Electrical bracket. |
It probably has a few extra holes drilled but I hope it hasn´t been cut or destroyed in any other way. We will see about that later. Just a small bending up of one of the edges needed... So far it looks OK!
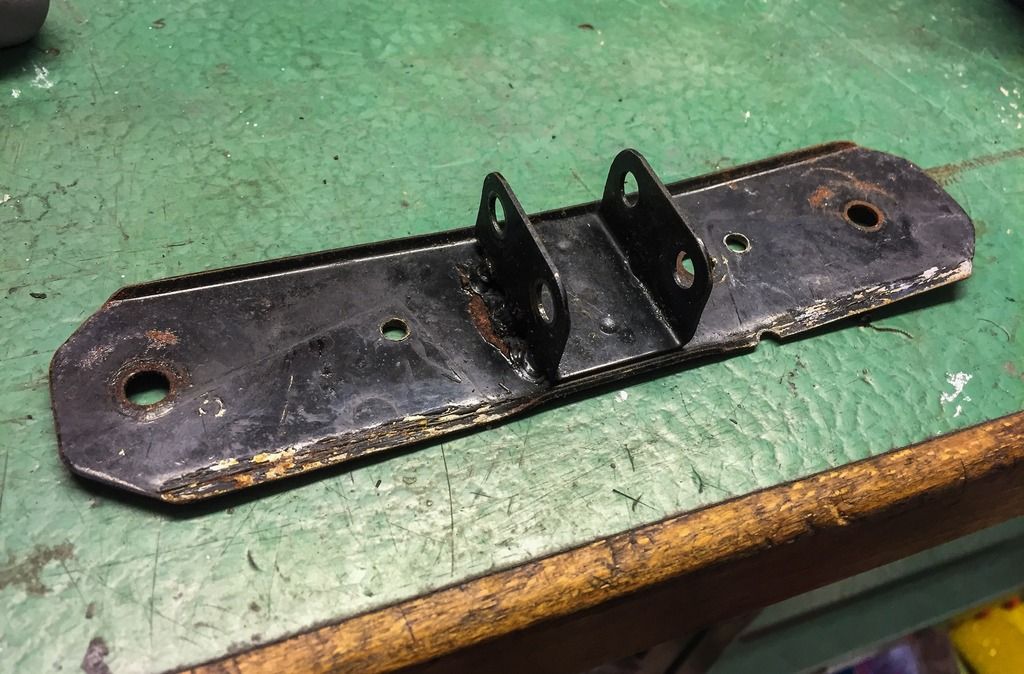 |
| Support bracket for rectifier and regulator. |
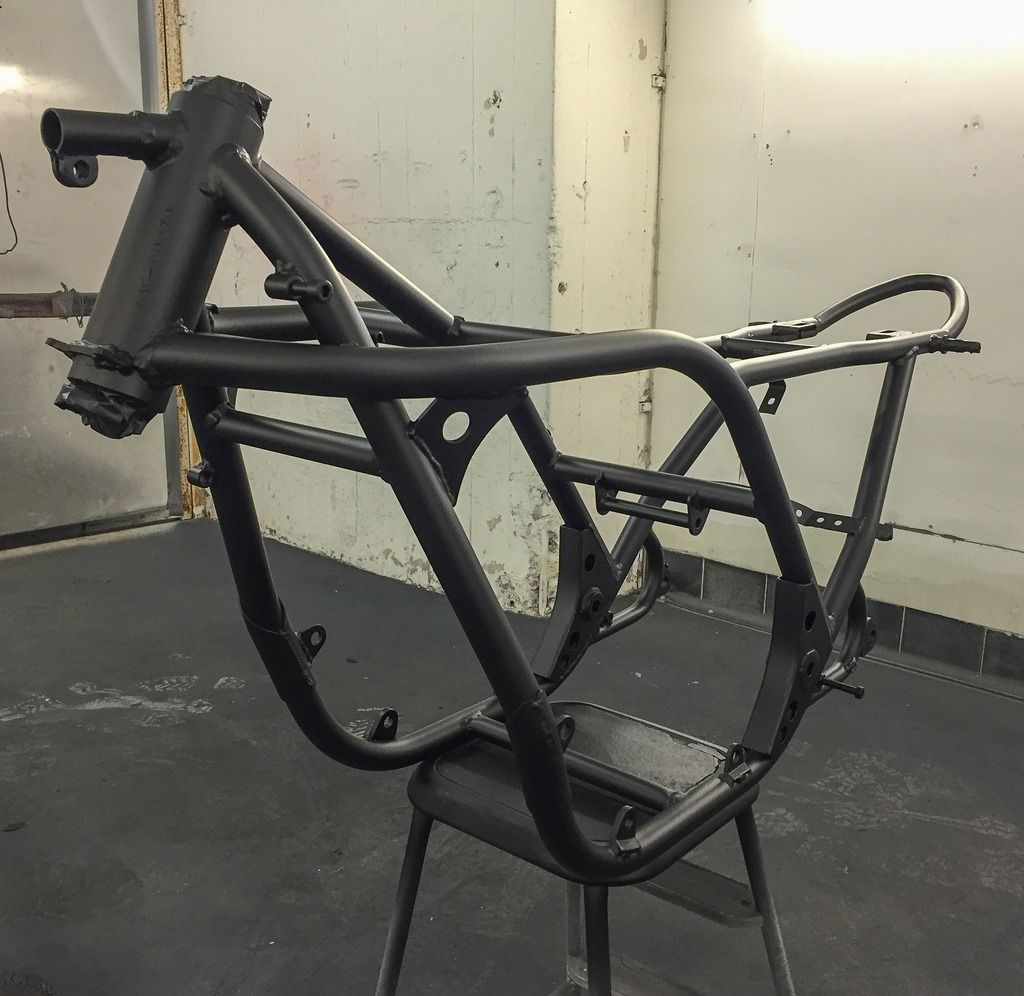
Once all these small parts were finished everything was ready to go off to paint! I talked to the guys running the automotive shop cross the street and they agreed to fix the paint. They do smaller paint jobs in-house and I like the chance of keeping things as close and local as possible. The painter (Eduardo) is a true talent and seemed pleased with the mission. He decided on an epoxi primer, black paint and a semi-gloss clear coat that I can polish to the shine I like.
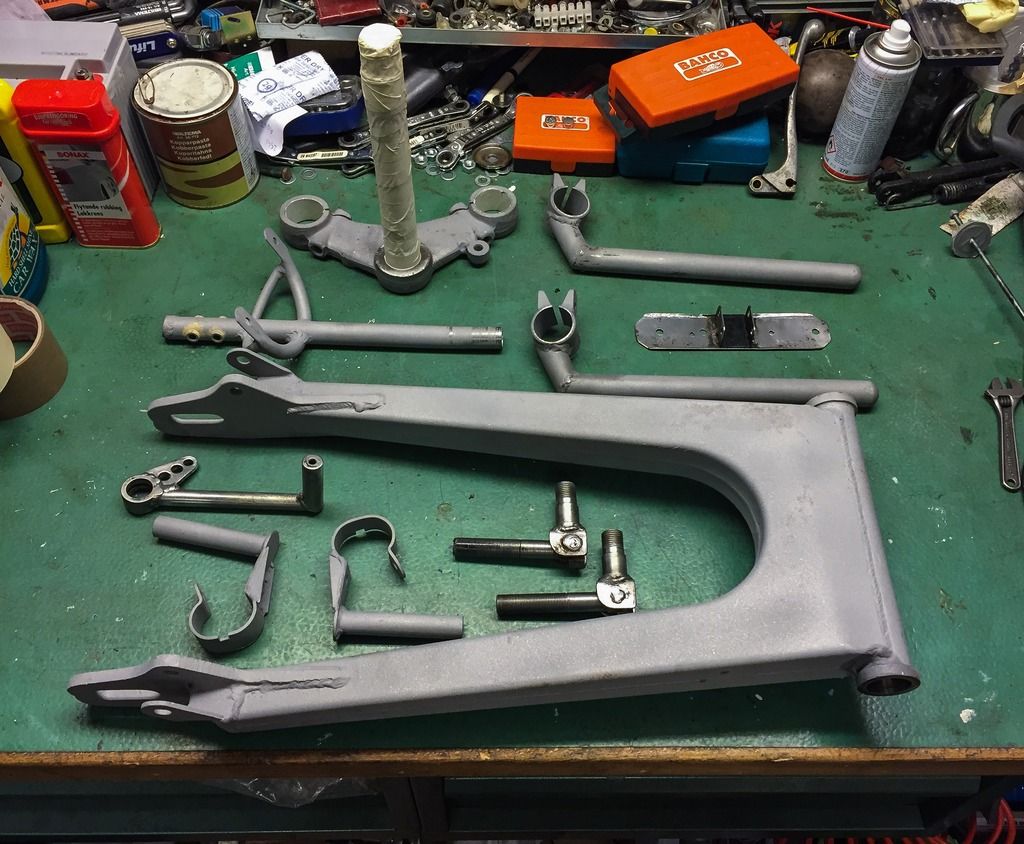 |
| Ready for paint! |
Here´s all the small stuff, straightened and ready to be painted. The frame had to be masked a bit as swell. No biggie, just mask the steering head and the swing arm bolt holes. The rest of the threads can easily be cleaned after painting with a tap.
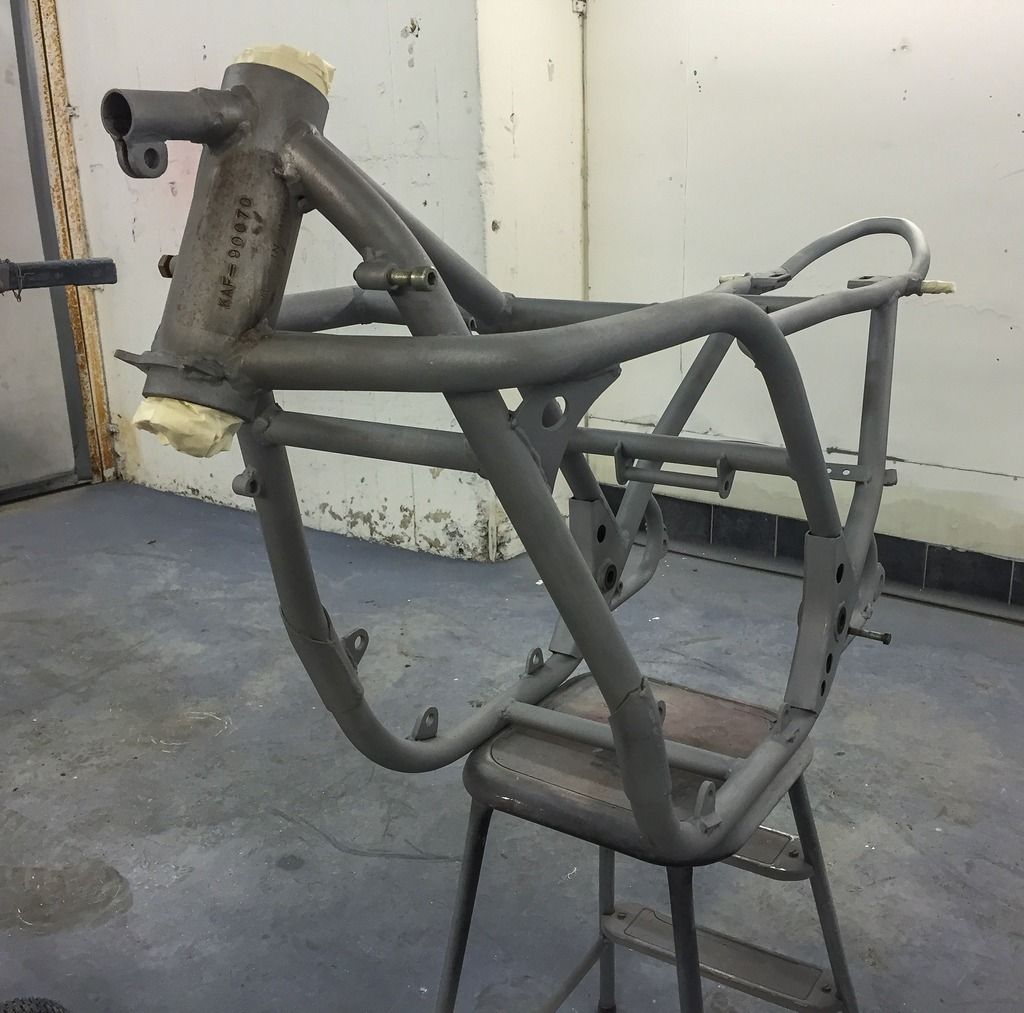
Here´s the frame on the bench! How small it looks...
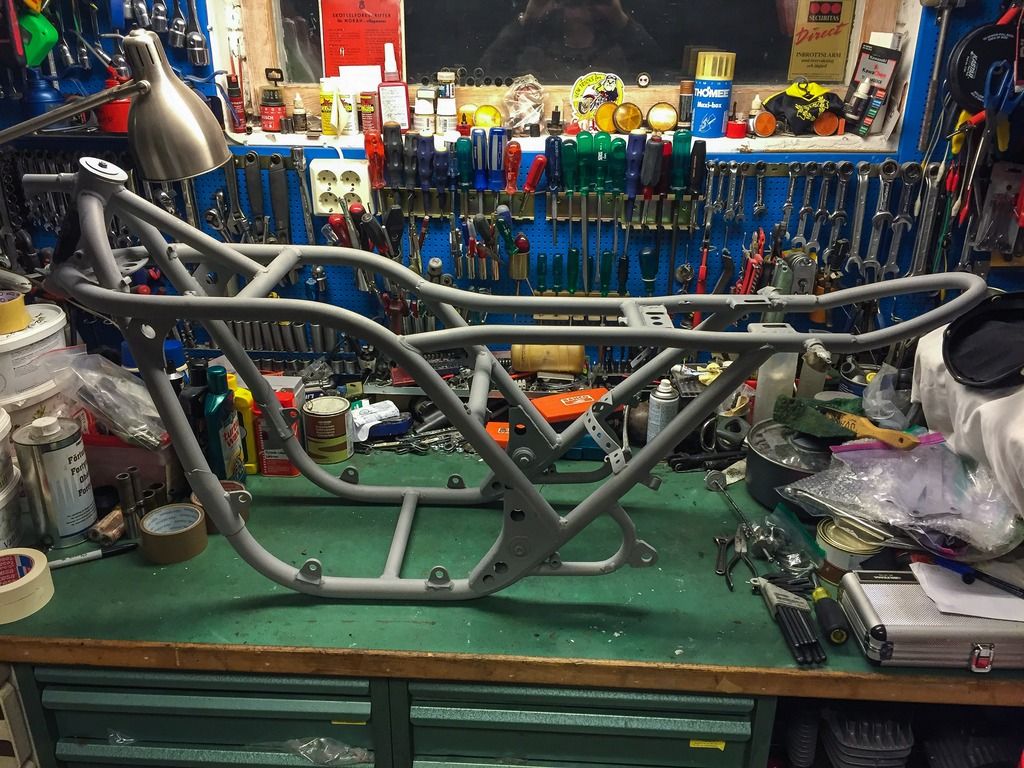 |
| The bare frame. |
Remember I masked the frame number on the head stock? That paint had to be removed, of course. CRC "Paint stripper" is a great product for removing paint. Just put it on and let it cure for a few minutes and off it goes! Easy peasy.
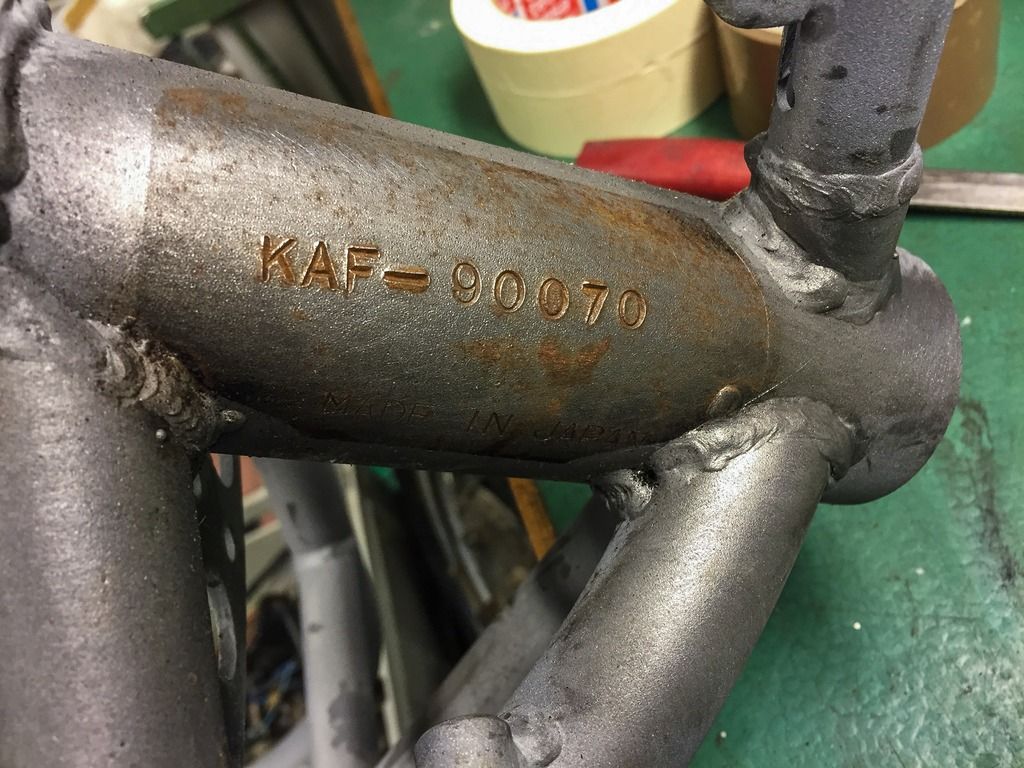 |
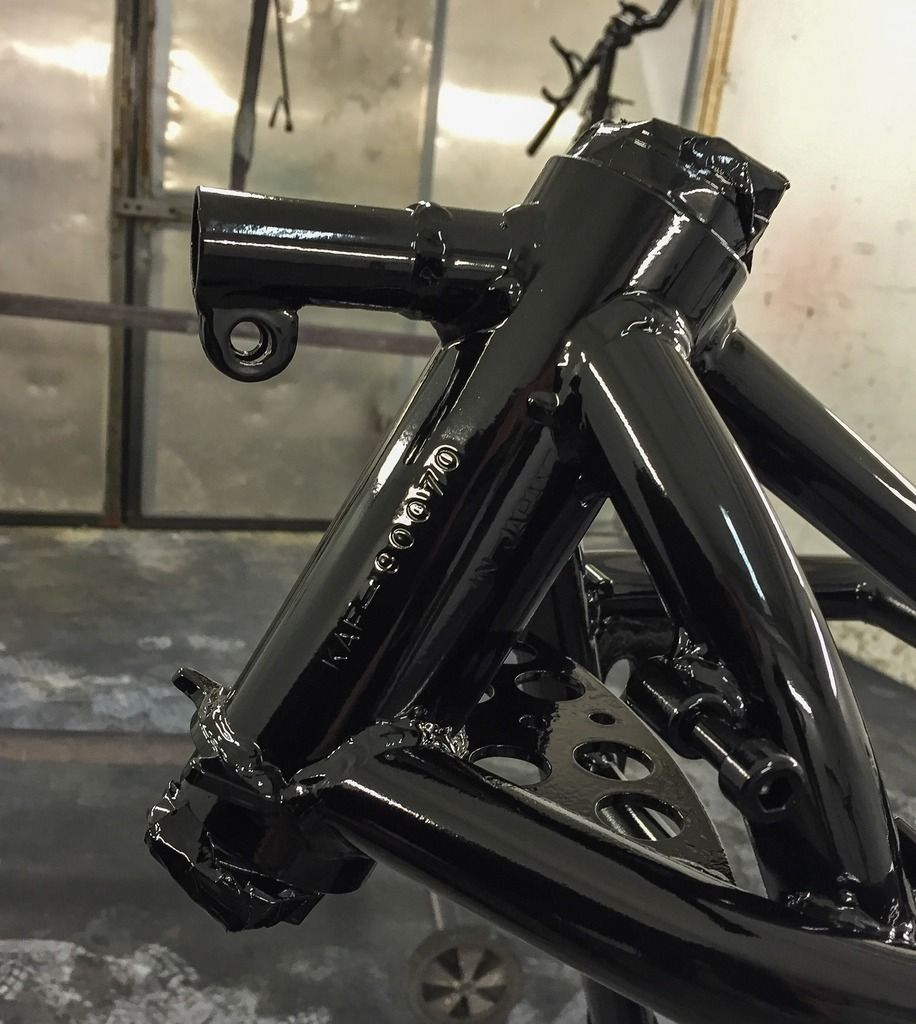
| Frame number. |
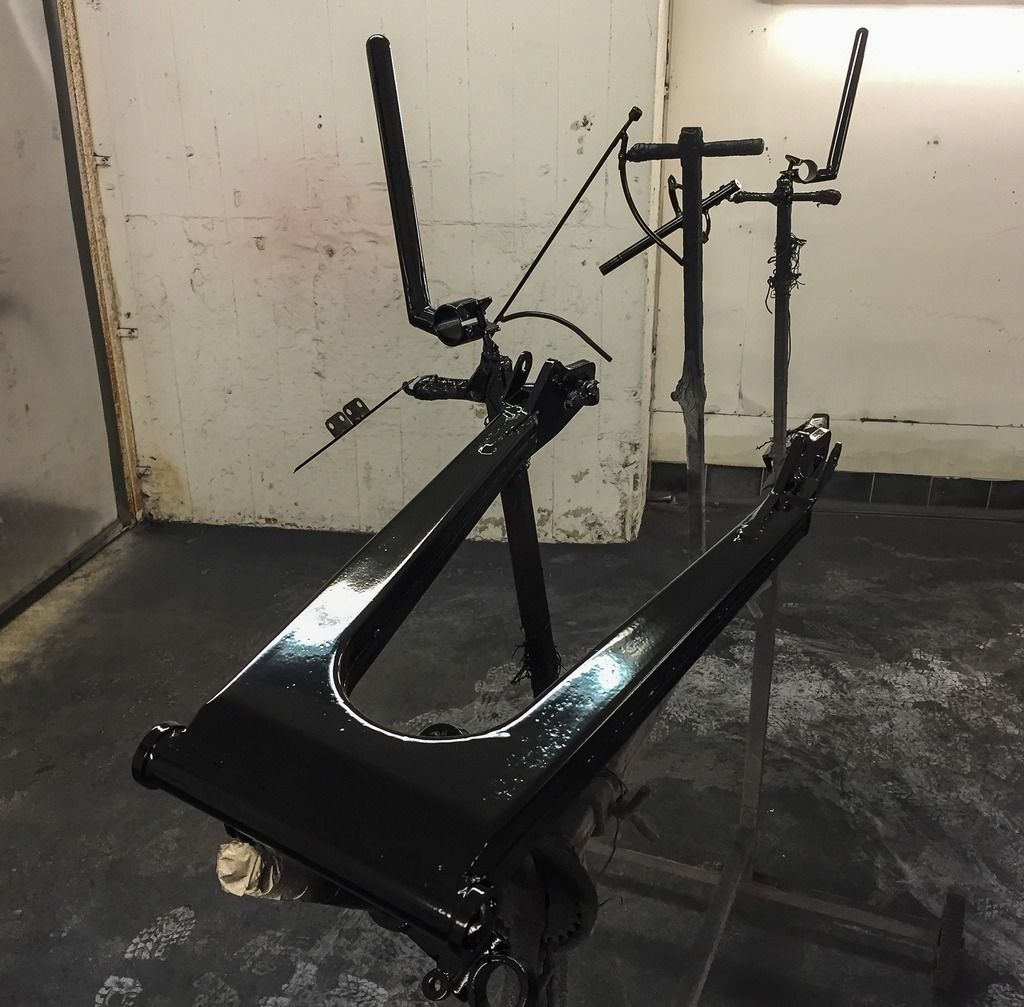
Eduardo promised to be careful and keep the paint really thin over these numbers and letters. As the frame sat there on the bench I could not resist laying the tank in place and have a look at the seat and seat cover....
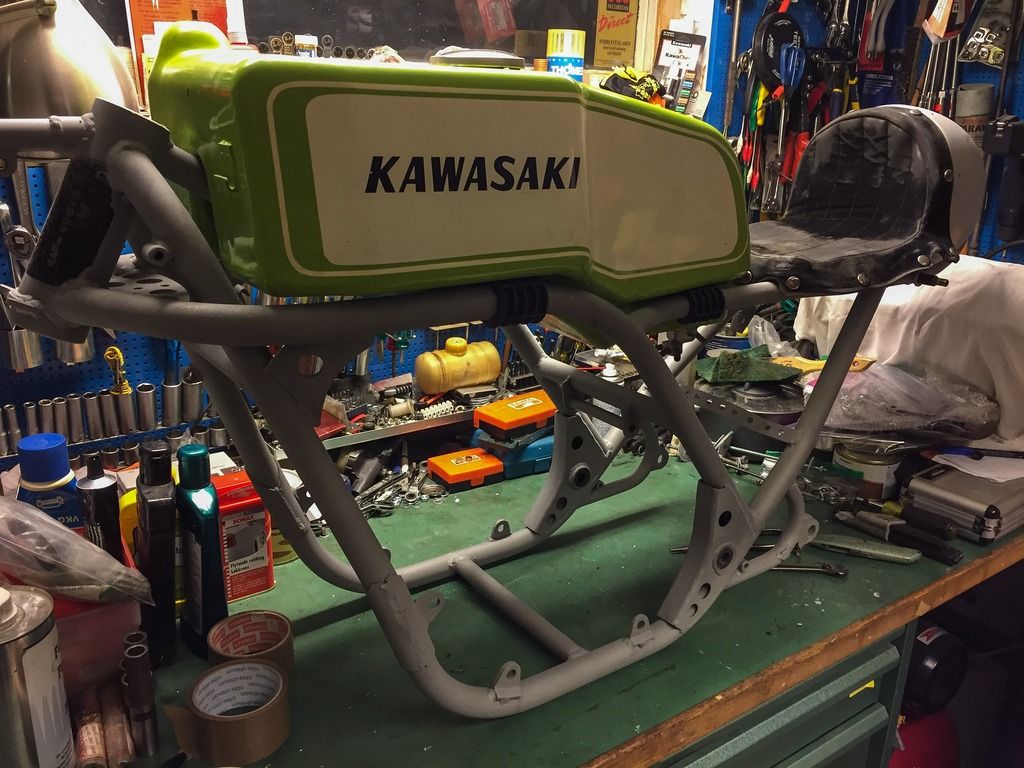 |
| Mocking up the tank and seat. |
Here you can see the rubber parts for the tank to rest on. Better than those home made things that was there before. There will be a few issues later on with the seat and the cover. the position of the tank mounting bracket on the middle part of the frame will decide the position of the tank and the seat. My seat has been repaired and straightened at the bottom so there´s no "cutaway" for the top shock bolt. That cutaway will have to be remade and preferable centered with the notch in the seat cover. This will take some thinking and measuring later on, for sure!
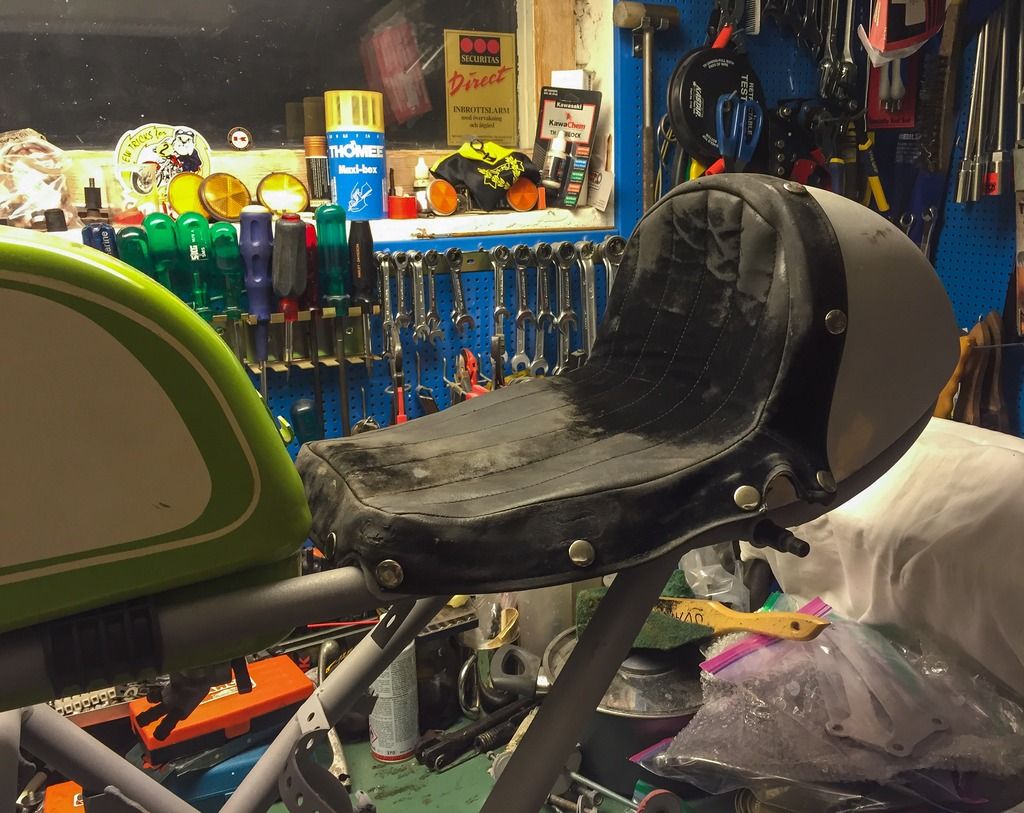 |
| Test fitting of stuff... |
I still like the appearance of the seat cover very much! I think it is going to be fabulous! I just need to get everything lined up the way it should be here. I believe the height of the seat could be slightly adjusted by putting thicker or thinner rubber "washers" between the seat and the frame. Mine were quite thick and made the seat float a little bit above the frame. We´ll see where I end up putting it. It has to look good and feel harmonic when sitting on the bike. I am most probably a bit too big to drive it anyway, but if I would (which I for sure will...!) I might need the larger rubbers in place.
So, these last two weeks has seen the frame to media blasting, the original stanchions are still at the grinders and the tachometer mount hasn´t been finished yet either, There´s still a lot to do and pay for... But I´m slowly getting there! And next week, hopefully, the frame is painted and I can start putting stuff back on it! The true turning point.
The coming weekend will be full of work and simulator training.... Not to fun, but very, very good!
Stay tuned, guys!
/Per