The alternative is to use what you have. Keep the parts that were on the bike or car and repair them as good as possible. I don´t value any method higher or better than the other. Each of us try the best to achieve what is possible within our own budget and knowledge. I have friends who can´t do much of anything when it comes to repairs or restoration works but still loves to do renovations! These guys have to trust mechanics, vendors, chromers, welders and painters etc to get things done. I am impressed with what they can achieve, and impressed with their ambition and stamina when it comes to spending money and time on their projects. One guy I know doesn´t even own a car... He put the frame of his bike in a taxi and took it to the media blaster! Now, that´s restoration ambition!
Well, now that my bike is in pieces, I have a whole lot of small stuff to go through. Nice! Here´s just a glance at my bench...
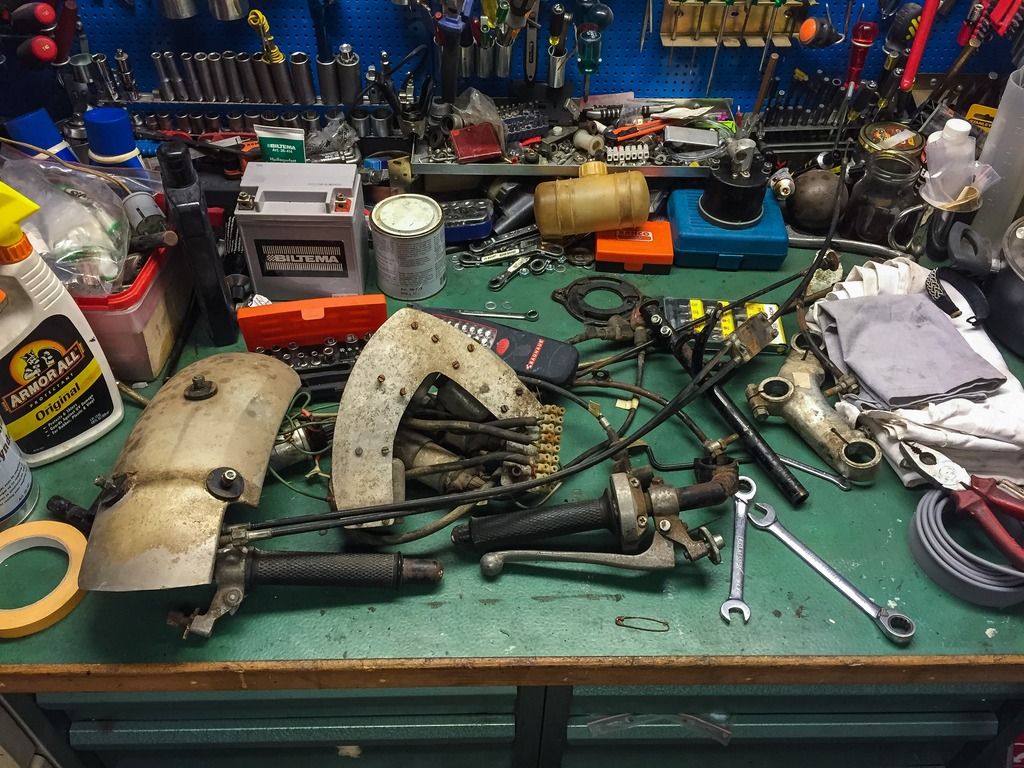 |
| Parts, parts..... |
As I have said before the hunt for parts for this bike is on more or less 24/7. I follow quite a few searches on eBay hunting for some hard-to-get-stuff and try to put ads out here and there. I´ve managed to land a few very good deals and some quite expensive ones. The thing is, when something shows up and you have the opportunity to buy it, it´s almost impossible to stay away. When will you ever find this part again if you opt out? Never, is the most probable answer....
I´ve found the rubber straps for the battery and for the oil tank, Some of the engine parts have been sourced by Ebbe and some by me through friends in the US, Britain, France and Switzerland. Janne have had the rubber mounts for the fairing reproduced and we found the rubber cap for the two stroke oil tank behind the seat plus foot peg rubbers etc, etc.
A while ago these babies showed up in Norway...
 |
| Such a great find! |
 |
| Brand new in box, H1R-A. |
Not cheap, but what can you do? Left hand cylinder and Center cylinder, NOS! Ok, they are for the H1R-A (the bridgeport intake tells...) but I couldn´t resist. I sold a bunch of other stuff. maximized my credit card and got them! Now it feels good. Specially since I already have a complete set of NOS pistons to go with them, Great find for the day it seizes up on the track...
I´ve been investigating a bit about the front fork inner tubes. I got a tip from a good friend that stanchions from a Yamaha model can be modified to fit the H1R. I measured mine very thoroughly and came to the conclusion that it actually can work! So, today I ordered a set from Germany. I hope I will get them within a week or so and then I´ll know more.
Measuring my tubes... Yeah, let´s get back to the bike!
Before I could measure them I had to take them apart. I figured they would function in about the same way as the street bike´s front forks. They do. Very much like the H2. The H1 has that "Ceriani" style front fork with bushings at the bottom and a chrome ring you screw on to the lower fork leg. These are Kayaba and look a lot more like the H2:s. So, the technique to take them apart should be the same. There´s the same Allen bolt in the bottom of the outer leg and the front fork top cap bolt at the top. Removing the top cap bolt (be careful with the spring tension..) gets everything loose inside. The spring, the spacer tube and the little special washer on top of the fork spring. Exactly the same as an H2! Nice.
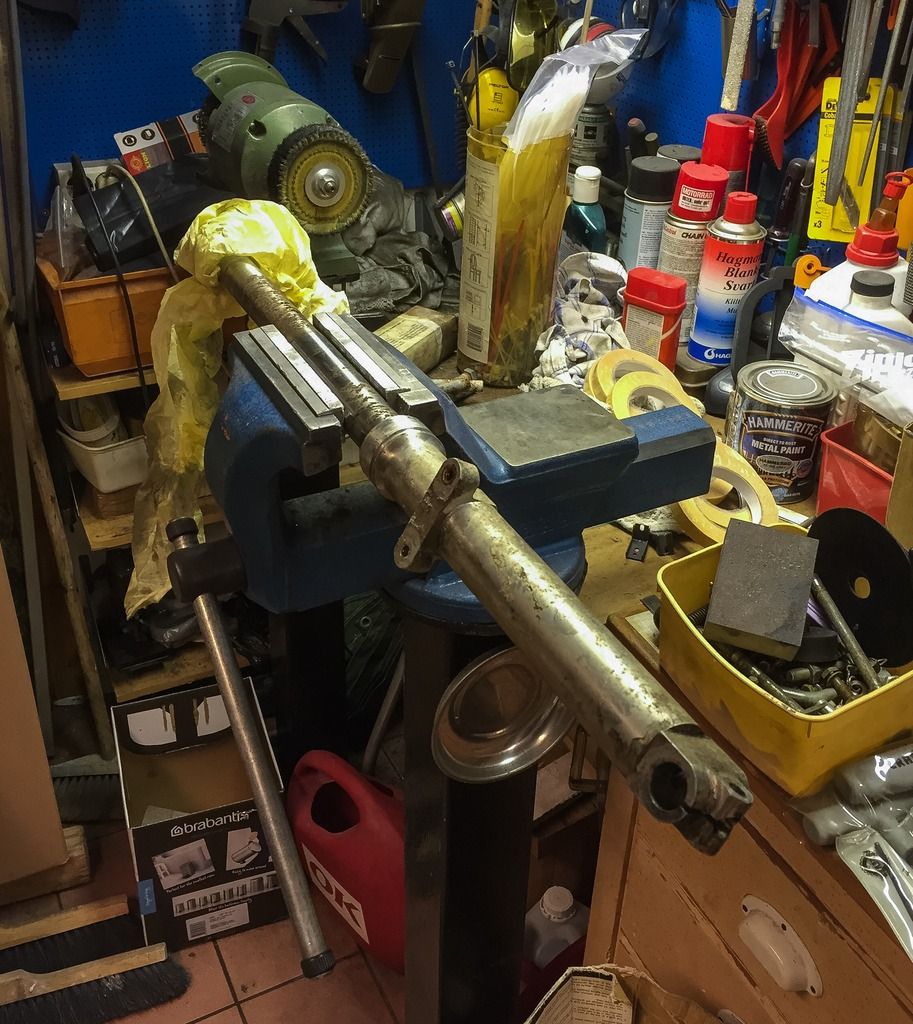 |
| Set up for dismantling. |
Dismantling the fork leg is easiest using an impact driver. The Allen bolt is quite small and well hidden. Not too much torque on the driver....
As you can see below, there´s not that much stuff inside the fork legs. Very small and very light. There´s more parts in the street bikes damping systems, for sure.
 |
| Front fork parts ready for inspection. |
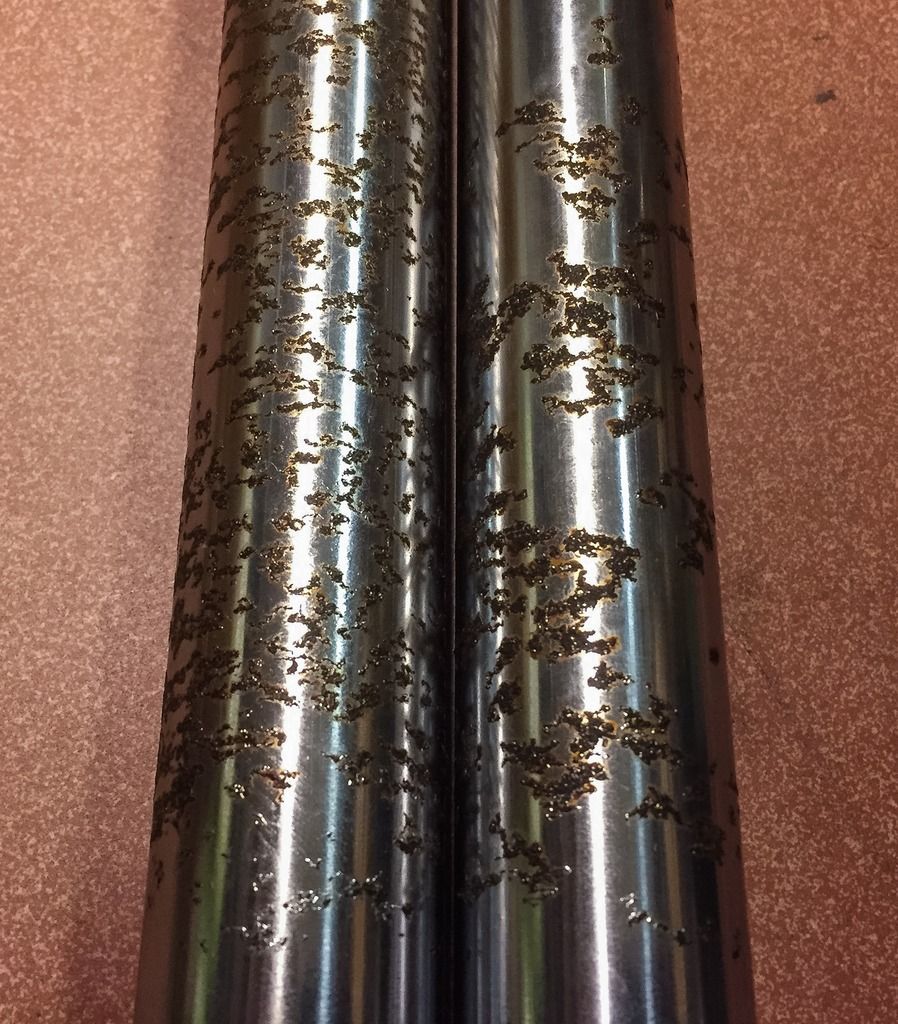 |
| Pitting and rust.... |
Here´s what they look like on the surface where the lower legs will slide up and down... Not too good! I believe there´s a limit to how much hard chrome you can put on without loosing strength in the surface. I´m also trying to find someone here in Sweden that can help me. My best option for now is an hydraulic workshop that does mechanical work on hydraulic cylinders and also replates the chrome surfaces. Hydraulics is what these are about, more or less!
The top part of the tubes doesn´t look much better! But these surfaces aren´t that sensitive in precision. I think they can be ground or even sanded.
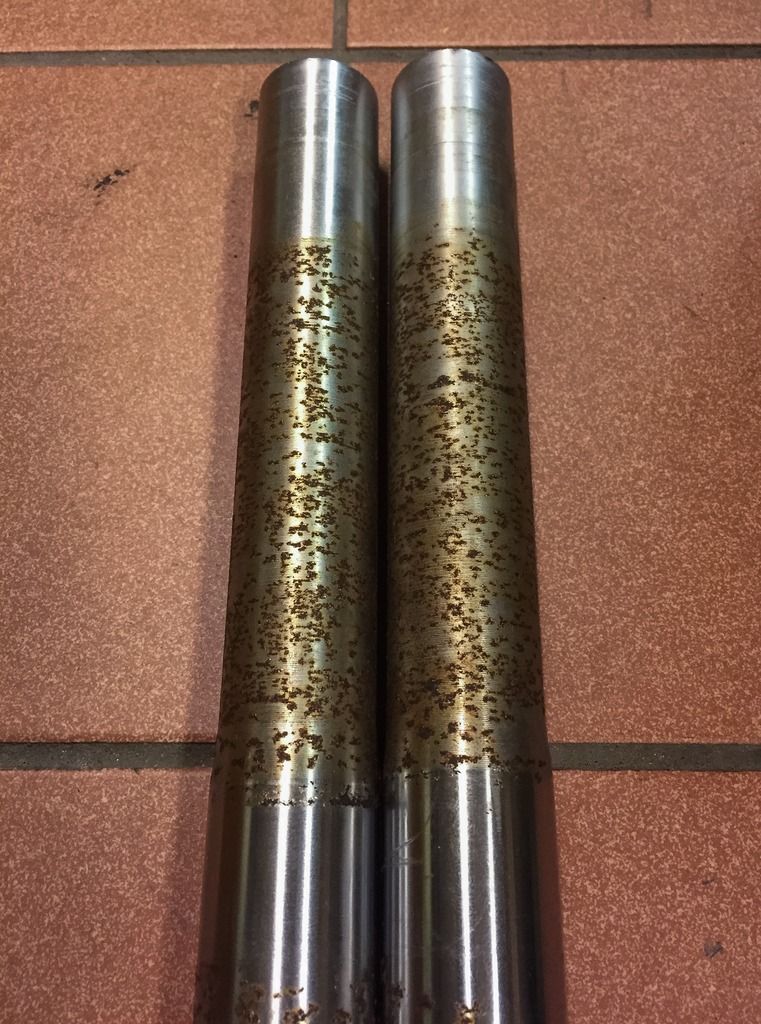 |
| Top part of tubes. |
One interesting thing about the tubes is that the diameter is different at the top and lower triple trees. The diameter at the bottom triple tree and all the way down is 34 mm. from the lower tree and up the diameter is gradually reduced to 32 mm at the top. There´s no chrome here either! The top triple tree is 32 mm so it has to be original. To make the fork lighter? I have no idea!
I´m very excited about the Yamaha tubes I ordered today... Let´s hope they can be made to fit! That would be a small but nice victory!
I cleaned some of the small parts on the bench as well. First off was the throttle grip and the left hand rubber grip.
 |
| Cleaned and polished! |
The left hand rubber grip seemed to be impossible to remove without destroying it. It was hard and seemed to be cracking when I tried to move it on the tube. I carefully heated it with my heat gun, treated it with some "Armour All" and slowly tried to pry it loos bit by bit. Finally I got it off, and in one piece. Now it is treated several times with rubber grease and "Armour All" and it looks great! I can still use it. That´s the way I like it...
The throttle grip was easier to handle and cleaned up super nice! The rubber was softer and the aluminium parts polished up just nice to that semi-gloss I´m looking for.
Here´s a picture that shows just how hand made these parts are:
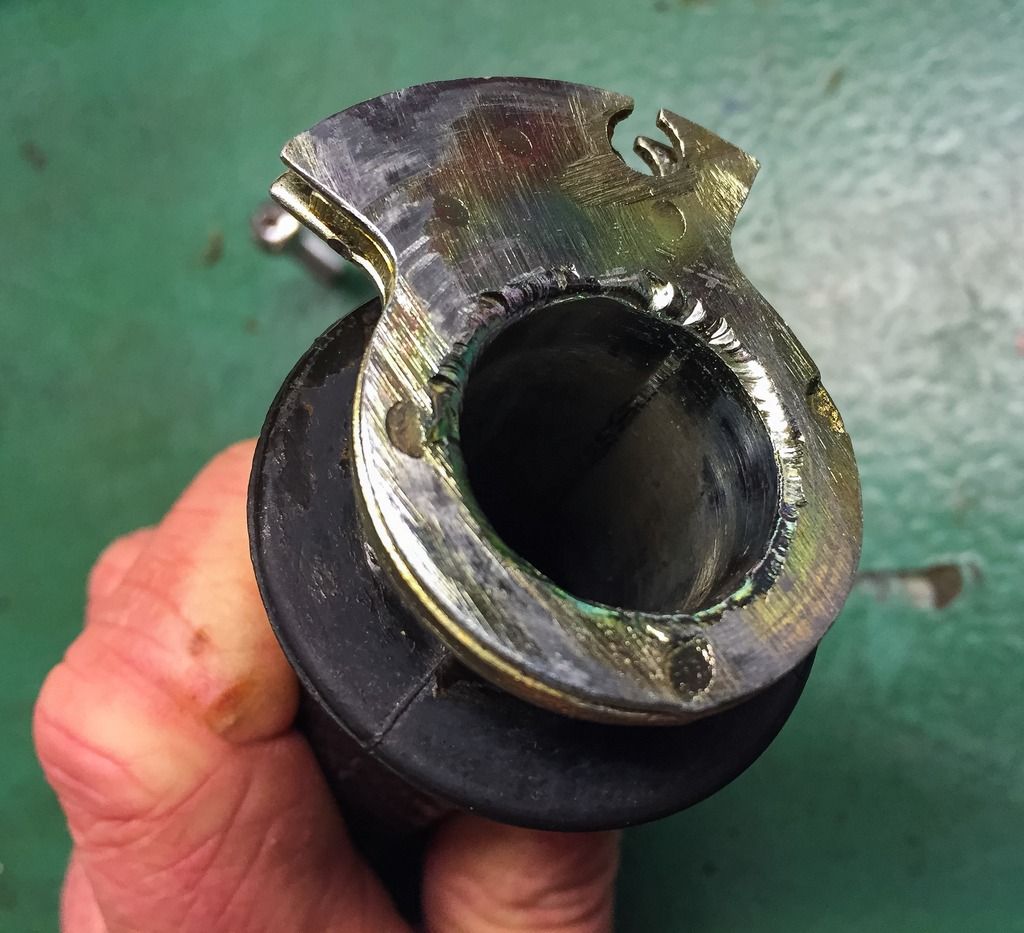 |
| Rare parts for a rare bike! |
Look at that surface! Looks to be welded by hand and then zinked. Not too god finish at all, if you ask me.
 |
| Hand made and lightweight. |
That throttle cable pulley is a lot thinner than anything I´ve seen before. As I said earlier. Business only, not looks.
 |
| Ready to be assembled. |
The throttle grip finished. Let´s go for the front brake lever! That was an easy disassembly, cleaning and polishing job. Pure joy! Buffing aluminium is great fun. Quick and wonderful results. The hard part is stopping the process before it gets too shiny. I´m having difficulties here, but I´m learning...
 |
| There´s always an accident... |
And now on to something rather peculiar. Here´s the clutch perch. Situated on the left hand clip-on handle bar. Notice something strange?
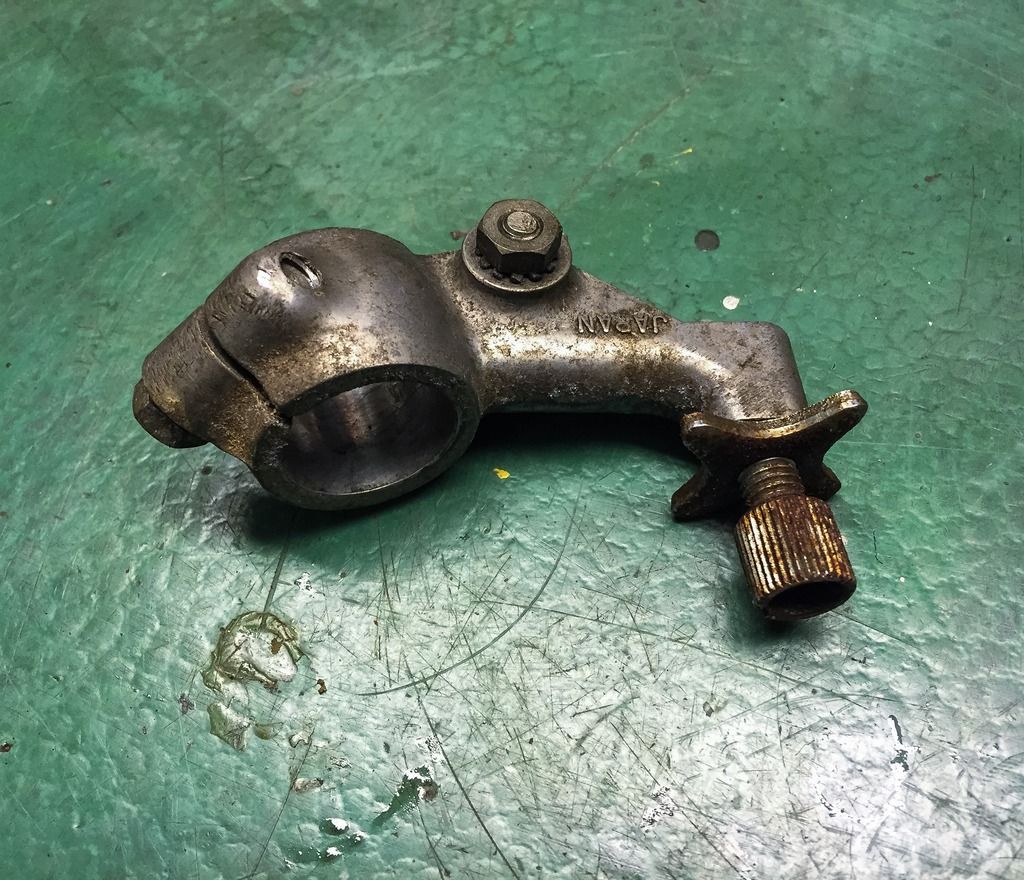 |
| Clutch perch...? |
Next, and last, was the choke lever. I believe this is the correct one used on the bike from the start.
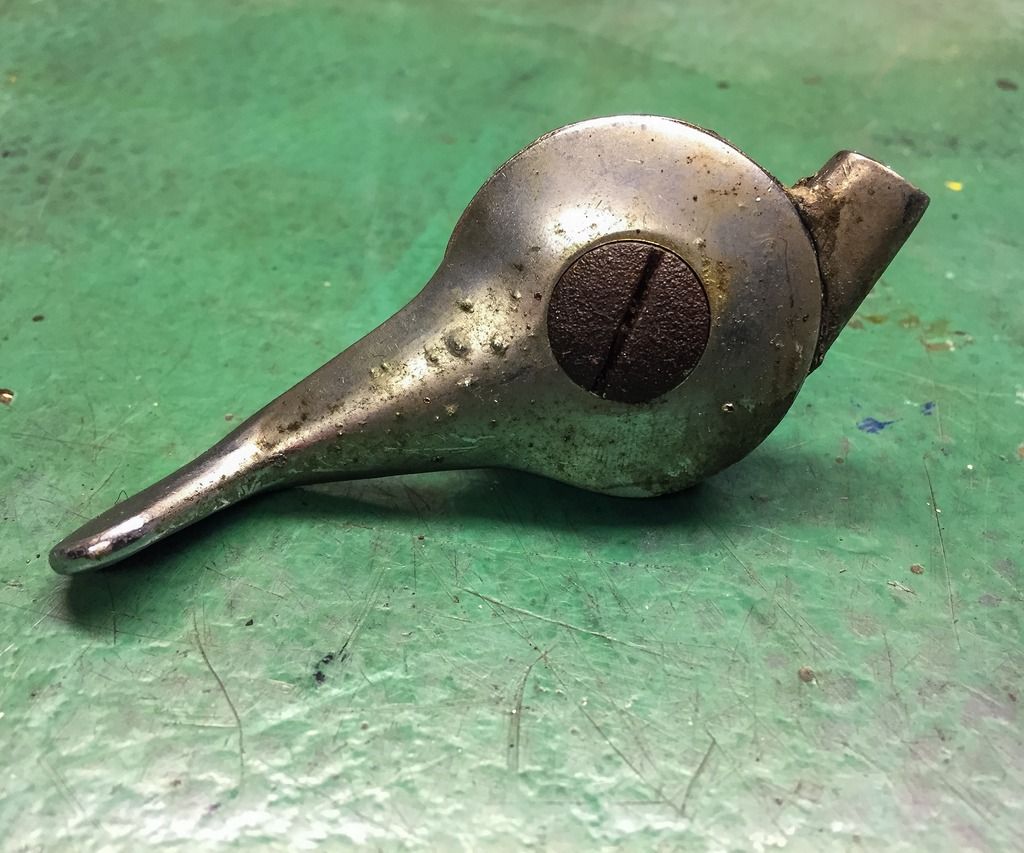 |
| Dirty choke lever. |
There are choke levers that says "CHOKE" available on eBay, but I think this is the correct one for the H1R. I´m not 100% sure, but I know it will be used on this bike! Change as little as possible is the mantra here!
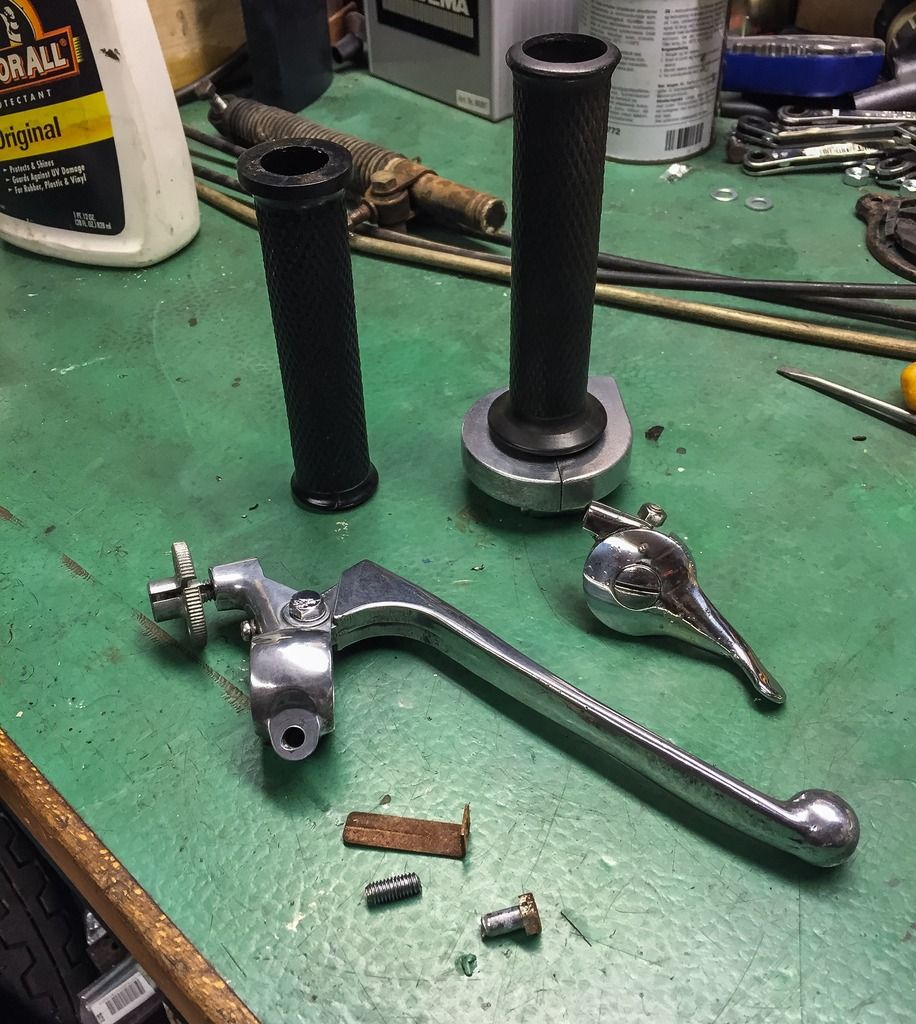 |
| Levers and grips! |
Not too bad for an evenings work! This is very rewarding and satisfying to do. Good music on the radio and the hours just pass away. Women talk about Yoga and meditation. They should try restoring old bikes!
The last picture today will be this one.
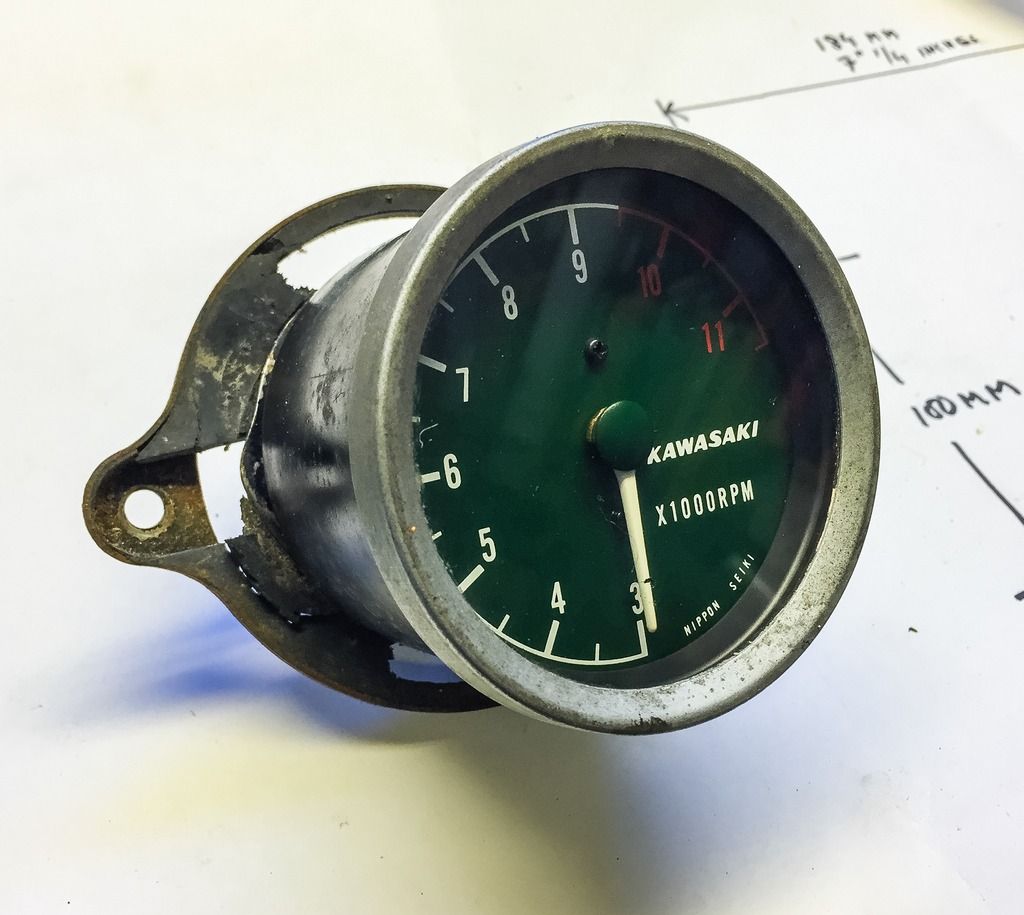 |
| H1R tachometer. |
Over and Out!
/Per
Inga kommentarer:
Skicka en kommentar