The last two-three days have been hectic to say the least. I´ve been working on the bike, taking lots of pictures and sitting by the computer getting those last parts here in time. Thankfully I´ve been searching the net regularly during the last three years in an endless hunt for those elusive Kawasaki H1R parts. Last week a set of clutch plates surfaced in the UK and I was able to get them. Nice to have a spare set of those!
There are lots of small things still needing attention on the bike and only a few days left to do it on. This will be a rather long post with many pictures, but they say more than words really. Enjoy!
 First mission, if I´m going to be driving the bike in two weeks, is getting fuel to the carbs. I got the tank made and now I need to connect it to the carbs,
Some PTFE Thread tape and the Pingel high flow fuel valve is in place. I hope it won´t leak...
 Next was the fuel lines. I had a bit of nice Motion Pro grey fuel line and it was just enough. Nice!
I like the quality of Motion Pro. Nice, soft and easy to work with. The best in my opinion!
 Later I also fixed clamps for the hoses at the carbs and at the petcock. I guess you need that if you want to drive on a race course.
Here you can see why I opted to reduce the surge tank to about half its original size. The Pingel is a bit "taller" than the stock fuel valve. Now, the outlets on the petcock are at least a little bit above the carbs.
 Next I was planning to try and attach the decals behind the seat. The text, "ESSO" GUNNARSSON, shall be between the two white lines at the bottom of the seat cowl.
First you need to cut the decals out. They are attached to a thin paper and when you remove the lettering from the harder paper at the back the glue on the letters appear and is ready to fasten the letters to the surface.
 This is where it´s supposed to go. It is important to measure the text in order to have it centered. In my case it was the first "N" that should be in the center of the cowl.
Just a light wipe with a clean rag and the surface of paint is ready. I didn´t wax this part yet, with this job in mind.
 Getting the letters off the hard paper wasn´t that easy. Rather tricky, actually. you have to pull it "diagonally" for the letters to follow the lighter paper. The "S":s and "O":s were the hardest.
Anyway, here it is ready to be placed on to the seat cowl.
 Tricky, tricky... As soon as one of the letters comes in to contact with the surface of the seat cowl it sticks! Hard.
Almost, totally impossible to correct if you get it wrong.
Luckily I just lost one letter, the "G" and one set of " after "ESSO. I was able to get those characters off and save them to be put in place later.
 That´ll do.... Not 100% perfect, but good enough. My first ever decal application with professional material.
I´m quite pleased with it!
 The next thing is something I saw on the internet. Someone had built a protecting "bar" over the dry clutch to protect the fairing from the rotating clutch. Since I don´t know exactly how my fairing will fit when I start working on that I figured I might as well try it. I bought a few different materials, stainless steel, brass, iron and this, aluminium rod.
 My first attempt. One bend at a time and thoroughly measuring after each one. Tricky, but satisfying!
 Here it is! Done. Not too bad for the first attempt... It ended up getting too far away from the clutch and it wasn´t very symmetrical.
 OK, that´ll pass as teaching money and time. Let´s try another one!
The right side of the protector didn´t match the left side, which was the one I most easily could measure and get correct.
Better luck next time!
 Much better this time! Still a bit close to the rotating clutch but very nice distance from the moving part of the dry clutch. Maybe the third will be perfect...
 On the right here you can see the general idea with this bar.
It will make sure the fairing never comes into contact with the clutch.
We will soon see if I´m going to need it at all...
 Time for a nights rest... On the left is a picture of the garage as I left it a few days ago. More work to come!
 I mentioned earlier I would need to get two extension lugs made for the fairing brackets on the frame. There is NO way the fairing will reach the brackets and still leave enough space for the clutch and the ignition cover.
My two sources for making things on the lathe here in Stockholm were out of town.
Better do it myself then. I went to the hardware store and bought two M16 soft iron bolts as material. Of course I had been sitting at the computer for more than an hour buying material over the net for much more money when I figured I could use these babies. Stupid, but so typically me.
 First I took the hex head off with my grinder and then I used a file and the grinder off and on until I had an outer diameter of 16 mm for a large enough of length and 12 mm outer diameter where the lugs enter the frame brackets.
These things don´t belong on a space ship, just an old race bike. I might remanufacture these later on depending on how nice they get.
 First trial on the bracket. Doesn´t look too bad, actually.
Janne had to make this one, the right side, 15 mm long. I´m aiming at 20 mm to be sure. You can always shorten them if needed.
 The left side should be 25 mm. Here I´m aiming at 30 mm. Better with larger clearance for starters.
A bit more fettling and these lugs are done!
 Since the fairing screw will pass right through the fairing and also the aluminium "cup" that attaches to the frame bracket, the lugs need to be hollow.
A 9 mm drill bit and a bit of pushing and lubricating got the holes done.
I don´t have any press drilling machine either...
You just use what you have.
 Two hours worth of grinding, filing and drilling and they are done.
A bit of polishing and they look quite all right.
 I almost got the holes centered.
Yes, I did use a punching tool but I guess the drill worked its way off center anyway on one of them. It doesn´t matter that much. No one will ever see these holes anyway.
 Now when I had the lugs done it was time to start working on the fairing itself.
There are 9 Dzus fasteners that I need to get right. 3 on each side of the fairing and 3 up front below the triple tree.
They are ingenious little things. By compressing a spring and turning the outer screw a quarter turn you lock things together in a way that withstands vibrations even on a racebike.
You just need to get them correctly aligned and the spring fastened in the exact right place for the outer screw to reach it and be able to catch the spring and then lock it all up.... Simple? Yes, in theory, but a pain in real life until you figure out how to do it the easiest way!
 The first one took me two hours to get right. According the manual the springs are fastened by small M3 screws, washers and nuts. I have been collecting these during the three years and now I had enough of them. Measure, measure and measure again and finally the first one was in place.
No way I could turn it!
The outer screw didn´t even reach the spring on the inside of the fairing.
OK, Try what Janne did on his fairing. Use blind rivets. They have a much more flush head compared to the M3 screws. Hmm. Maybe that´ll work....
No, it did not... And it didn´t look right either. Back to the screws.
 After a bit of thinking I found the solution. The springs can be adjusted in height by pressing the retched things to a smaller "lift".
Another "Halleluja moment" was when I found out I could put the parts together with all the dzus screws, adjust the direction of the outer screws so they align in a nice way on the outside and simply lock them together, mark where to drill the holes and then drill them all at the same time!
The two-three first ones took half a day and the other six 30 minutes. Sometime you wonder how your mental state really is...
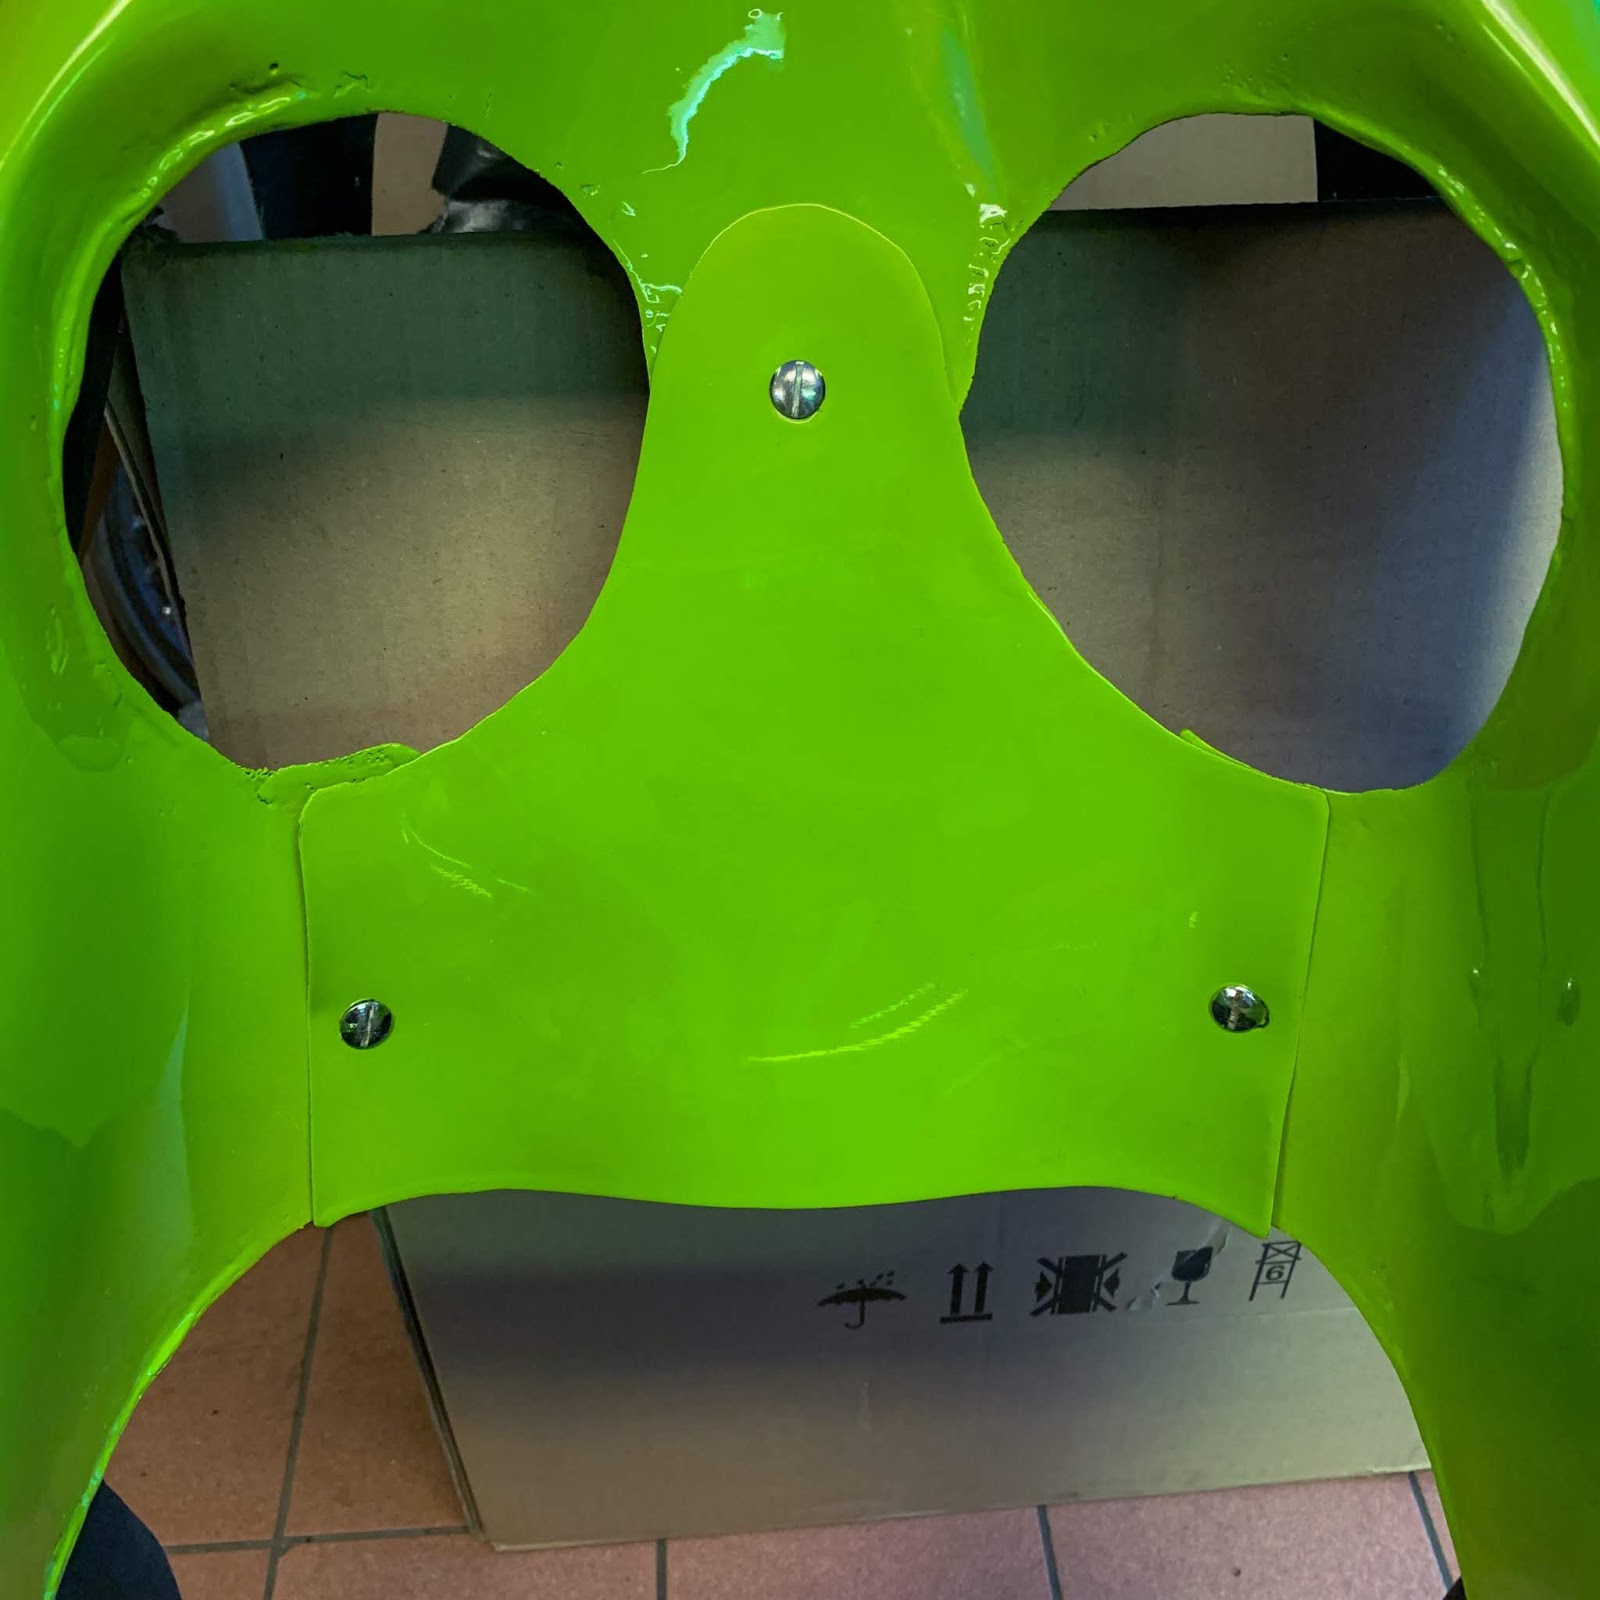
 Here we are! The three top front ones in place.
Look how nicely they all align in the direction of speed....
 The fairing inside with the Dzus screws visible.
This job took the better part of a day to complete.
 The finished Dzus spring attached to the fairing with all original NOS M3 screws, washers and nuts. Totally nuts, but NOS is NOS!
 The fairing getting more and more complete. Soon time to try and fit it to the bike.
 Another day has passed and the project is waiting for the next step.
 Here I´m preparing the rest of the parts for the fairing. The "cups", the re fabricated rubber cups and a few extra Dzus parts. All those part bags held the NOS screws, washers and nuts for the fairing.
 I also need to decide what color to use on the aluminum tank lettering. I thought I had black and red, but it was actually blue and red. I believe I have a set of repro black decals as well.... Black, Blue or Red. what do you think?
 Moving on... Getting the original tank ready for display. The stock, refurbished petcock got back on the surge tank of the original tank.
Nice, smooth action on the lever. I´m super happy with that rebuild!
 Polished, waxed and ready to go on the bike.
 The H1R takes the same kind of battery the H2 uses. Yuasa 12N5,5 4A, where the 4A is the placement of the terminals. On the H2 you can use any kind, really, just get longer wiring. Here I needed the correct battery for the placement of the negative earth lead.
It is now filled and fully charged!
Be very careful when filling batteries this old way with acid. Use goggles and gloves and clothes you don´t mind losing...
 Another small problem surfaced in my communication with the race leader for the parade. All open vents on the bike have to end in a container of some sort. First, lets´deal with the air vent hose from the fuel tank.
I found this old carburetor oil container that would fit my needs perfectly. Off with the label and trim off some of the red plastic from the cap and the bottle looked OK.
 I don´t mind using this transparent tube. I think it looks great.
I´m also so very pleased with Bert´s work on the tank and that brass fitting is just adorable.
 And here´s the finished solution. A small, plastic container attached to the frame tube with vulcanizing tape. The tube from the tank even fit perfectly on the snout of the bottle. Nice success!
Yeah, I drilled a small air hole in the red cap of the bottle. If not, this would not be an air vent hose at all, right?
 Remember I had some safety wiring to do as well?
Yeah, quite a few, actually. Here´s the steering damper and the lower triple tree fork pinch bolt done.
 All three of the fasteners for the steering damper lower bracket done.
 All parts on the front right side brake plate.
 The last picture today will be this close-up of my proudest moment today. I think it looks great and a thing that could have been used during the day if it would have been mandatory.
I still have a lot of things to do and time is running short.
Stay tuned for the final posts!
Thanks for reading and bearing with me.
/Per
There are lots of small things still needing attention on the bike and only a few days left to do it on. This will be a rather long post with many pictures, but they say more than words really. Enjoy!

Some PTFE Thread tape and the Pingel high flow fuel valve is in place. I hope it won´t leak...

I like the quality of Motion Pro. Nice, soft and easy to work with. The best in my opinion!

Here you can see why I opted to reduce the surge tank to about half its original size. The Pingel is a bit "taller" than the stock fuel valve. Now, the outlets on the petcock are at least a little bit above the carbs.

First you need to cut the decals out. They are attached to a thin paper and when you remove the lettering from the harder paper at the back the glue on the letters appear and is ready to fasten the letters to the surface.

Just a light wipe with a clean rag and the surface of paint is ready. I didn´t wax this part yet, with this job in mind.

Anyway, here it is ready to be placed on to the seat cowl.

Almost, totally impossible to correct if you get it wrong.
Luckily I just lost one letter, the "G" and one set of " after "ESSO. I was able to get those characters off and save them to be put in place later.

I´m quite pleased with it!


The right side of the protector didn´t match the left side, which was the one I most easily could measure and get correct.
Better luck next time!


It will make sure the fairing never comes into contact with the clutch.
We will soon see if I´m going to need it at all...


My two sources for making things on the lathe here in Stockholm were out of town.
Better do it myself then. I went to the hardware store and bought two M16 soft iron bolts as material. Of course I had been sitting at the computer for more than an hour buying material over the net for much more money when I figured I could use these babies. Stupid, but so typically me.

These things don´t belong on a space ship, just an old race bike. I might remanufacture these later on depending on how nice they get.

Janne had to make this one, the right side, 15 mm long. I´m aiming at 20 mm to be sure. You can always shorten them if needed.

A bit more fettling and these lugs are done!

A 9 mm drill bit and a bit of pushing and lubricating got the holes done.
I don´t have any press drilling machine either...
You just use what you have.

A bit of polishing and they look quite all right.

Yes, I did use a punching tool but I guess the drill worked its way off center anyway on one of them. It doesn´t matter that much. No one will ever see these holes anyway.

There are 9 Dzus fasteners that I need to get right. 3 on each side of the fairing and 3 up front below the triple tree.
They are ingenious little things. By compressing a spring and turning the outer screw a quarter turn you lock things together in a way that withstands vibrations even on a racebike.
You just need to get them correctly aligned and the spring fastened in the exact right place for the outer screw to reach it and be able to catch the spring and then lock it all up.... Simple? Yes, in theory, but a pain in real life until you figure out how to do it the easiest way!

No way I could turn it!
The outer screw didn´t even reach the spring on the inside of the fairing.
OK, Try what Janne did on his fairing. Use blind rivets. They have a much more flush head compared to the M3 screws. Hmm. Maybe that´ll work....
No, it did not... And it didn´t look right either. Back to the screws.

Another "Halleluja moment" was when I found out I could put the parts together with all the dzus screws, adjust the direction of the outer screws so they align in a nice way on the outside and simply lock them together, mark where to drill the holes and then drill them all at the same time!
The two-three first ones took half a day and the other six 30 minutes. Sometime you wonder how your mental state really is...
Look how nicely they all align in the direction of speed....

This job took the better part of a day to complete.


Nice, smooth action on the lever. I´m super happy with that rebuild!


It is now filled and fully charged!
Be very careful when filling batteries this old way with acid. Use goggles and gloves and clothes you don´t mind losing...

I found this old carburetor oil container that would fit my needs perfectly. Off with the label and trim off some of the red plastic from the cap and the bottle looked OK.

I´m also so very pleased with Bert´s work on the tank and that brass fitting is just adorable.

Yeah, I drilled a small air hole in the red cap of the bottle. If not, this would not be an air vent hose at all, right?

Yeah, quite a few, actually. Here´s the steering damper and the lower triple tree fork pinch bolt done.


I still have a lot of things to do and time is running short.
Stay tuned for the final posts!
Thanks for reading and bearing with me.
/Per
Inga kommentarer:
Skicka en kommentar