Progress is real slow on the H1R right now. Sorry to say, the renovation of our house (basement room and another bathroom...) takes most of my time and it HAS to be prioritized!
I´ve heard good news from Malmoe and Ebbe, though. The engine has been bead-blasted and "steel ball polished" and is son ready to come together again. Nice! I just need to send some parts down for Ebbe to use when reassembling everything. We still have to sort the rust on the axles and primary drive as well... Anyway, progress is GOOD at that end!
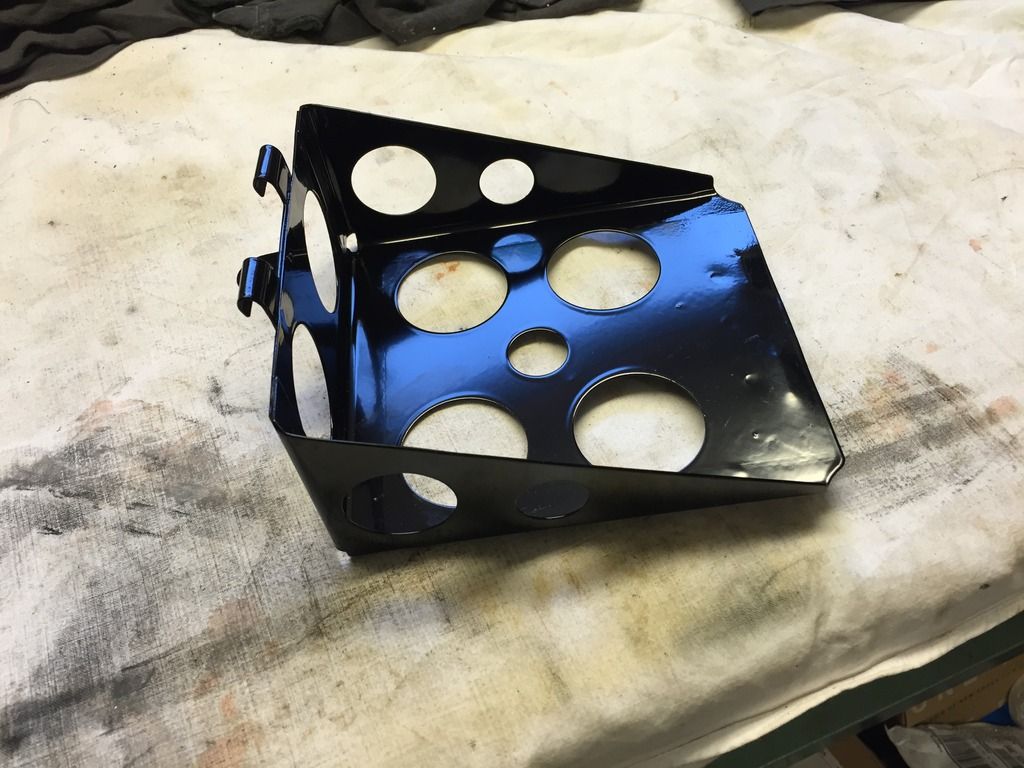
Today I met Janne W. and we exchanged some small parts. I had some rubber parts that arrived during the last weeks which he needs for his bike and he had reproduced other rubber things I need for mine. He had also borrowed my belly pan and seat to make copies of. In return I could borrow his battery box to make my own copy of that one. I have a good friend that I think will be able to make an exact reproduction part... It´s no big box, just a small tin metal "shelf" really that stays on the frame with two long rubber straps.
I´ll need this one if/when I decide to use the original ignition system. I have the yoke and new points and condensers so I figure I´ll have to try to complete the system!
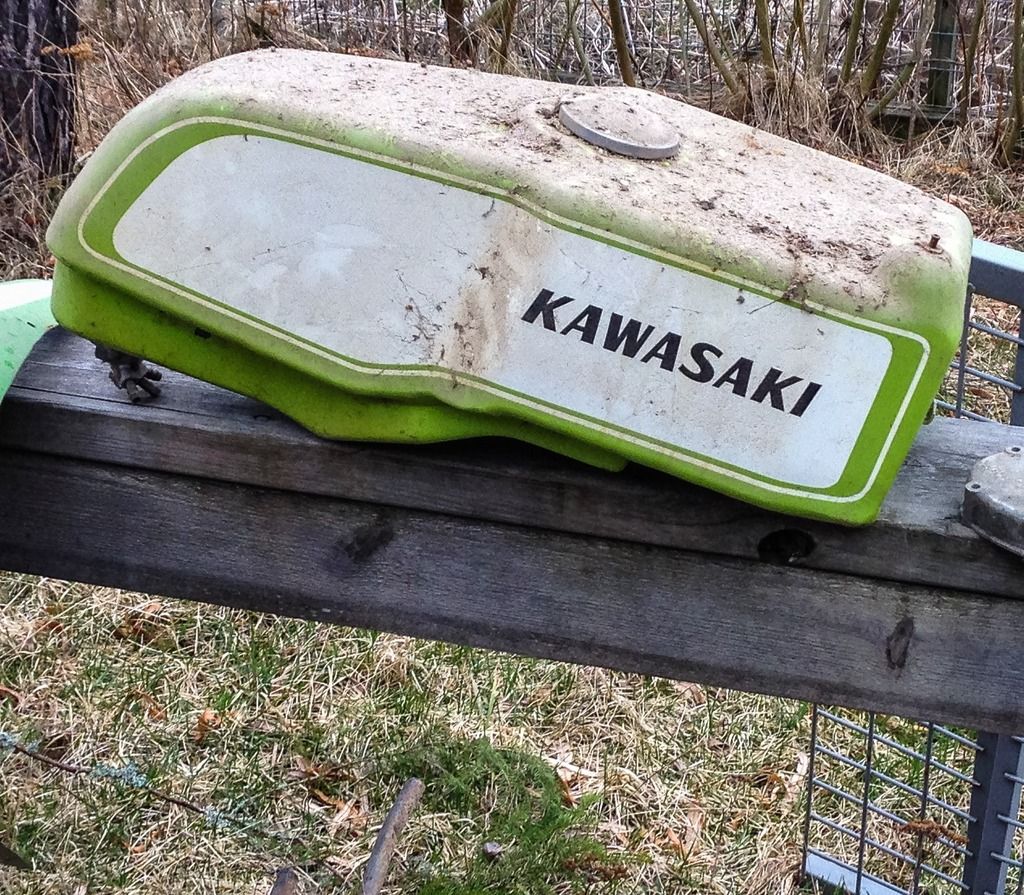
Janne is also considering to repaint his tank in the same color as mine. He has a friend that´s very good at plastics here in town. This guy needed to borrow my tank to scan the paint in order to match the color. OK, scan the tank color? Well... I´ll have to clean it then! Nice!! I can do something fun!!
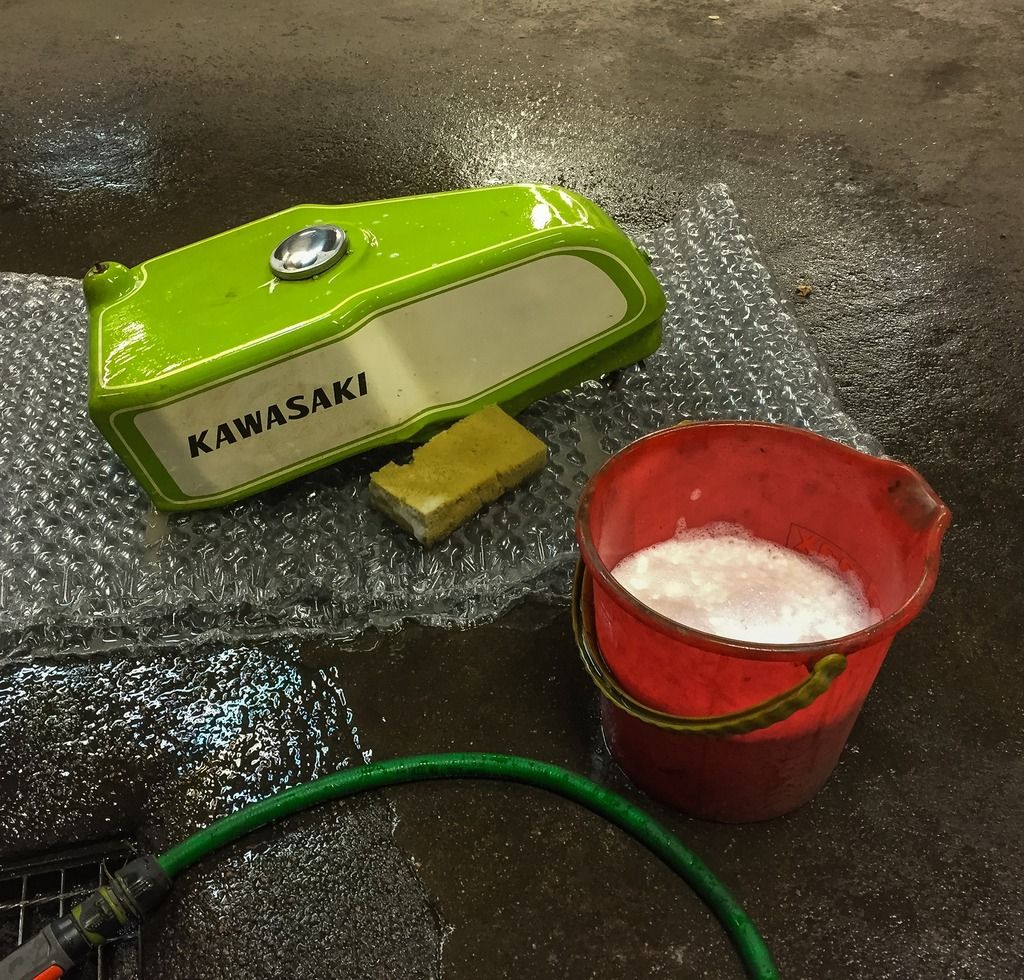 A good rinse in warm water and then a gentle wash with car wash shampoo and hot water....
Looks a lot better!
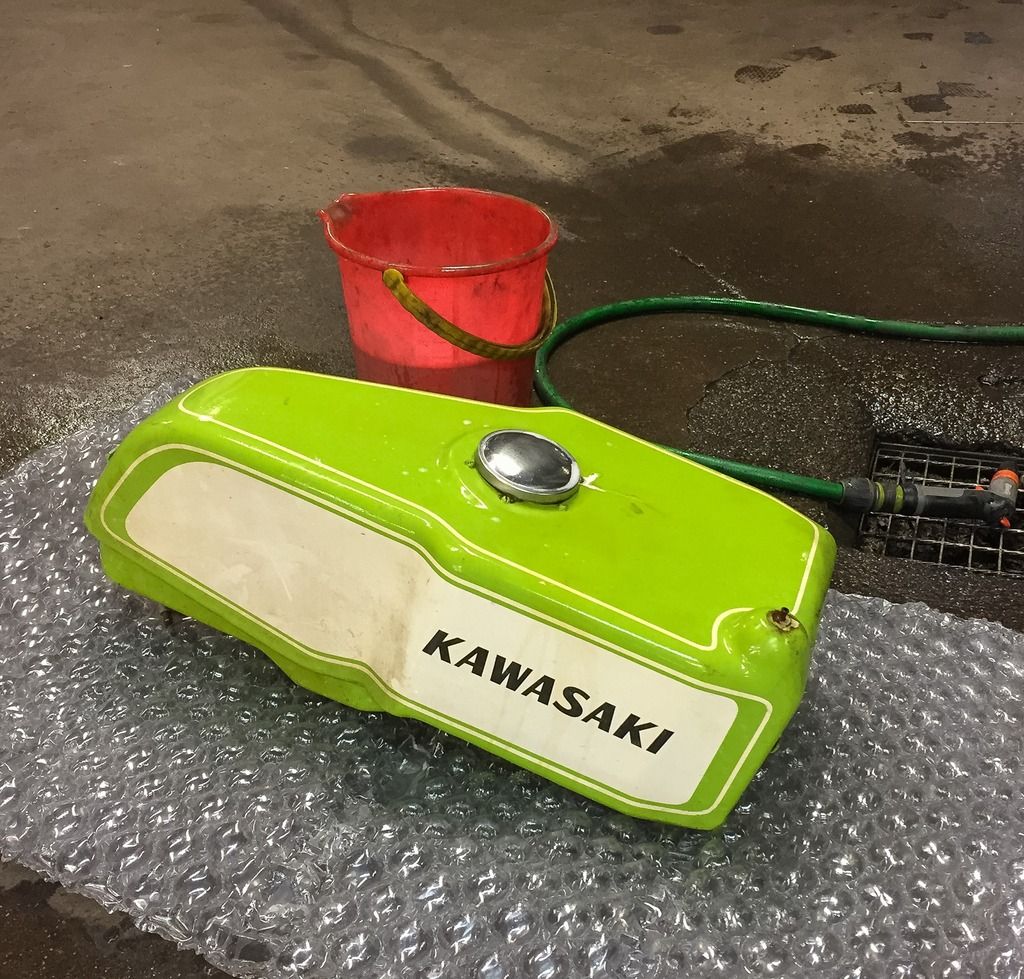 Lovely color! And I do believe it is the original paint. If not it´s a really well performed repaint someone has made. This is definitively the color I´ll be using on all parts later on.
 There are things that makes you wonder, though... The small damage in the green paint close to the fuel cap is nothing! I rather like it. Makes the tank look used just the way I want it to. What bothers me a bit is the flat screw driver screws... I don´t think those were ever used in japan during assembly of these tanks?! I believe it should be the pan head screws with the cross, Phillips screws. Not that I´m going to change them, but it would be nice to know, for sure.
Well, back in my own garage, I started to polish the tank and examine it more closely. It is in remarkably good condition! The paint can take polishing real good and cleans up super nice. This is exactly the moments I love the best working on a bike. A bit of tedious work on a small item that makes hours fly away and the part getting better and better. Its like meditation...
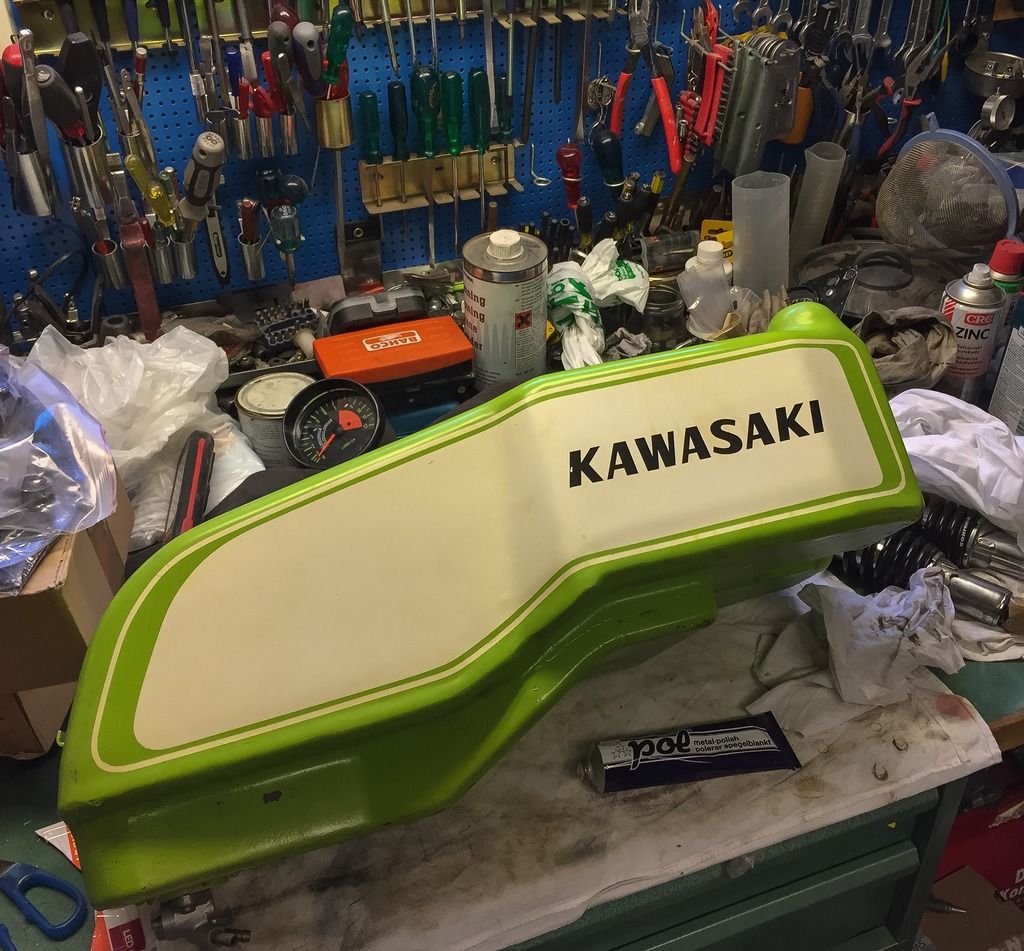
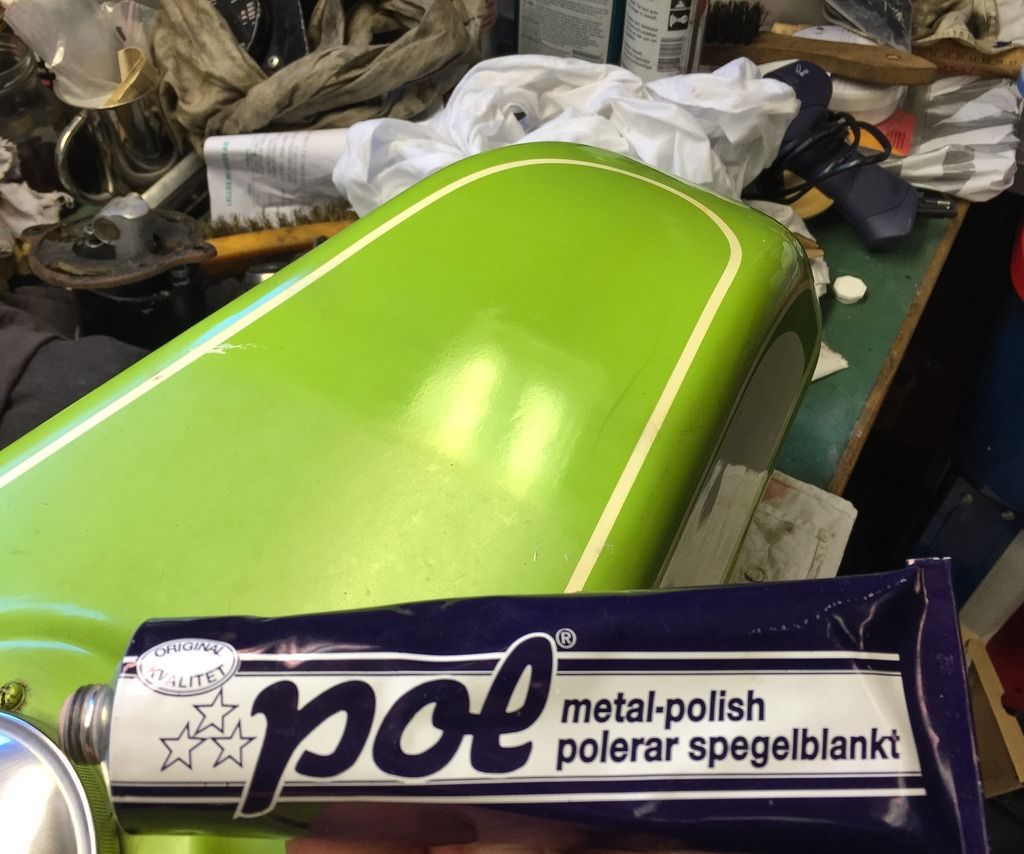 I use this product on most everything I ever need to clean or polish. It can be used on paint (carefully), plastics, chrome, aluminium, brass and even Plexiglas etc. You can see the difference in gloss and color above the tube....!
This tank really came back to life tonight! A little bit of elbow grease and it was ready to go out to be color matched! Not too bad when you think about how it looked when it was found in the barn....
 Quite a difference in just a few hours time!
Tomorrow is another work trip, New York.... The weekend booked solid with this and that plus a larger dinner saturday evening. Monday off again to Los Angeles. So, the next opportunity to work on the H1R will be next Thursday. Probably something has come up on house by then. We´ll see.....
Thanks for reading and be patient, I´m getting there!
I´ve heard good news from Malmoe and Ebbe, though. The engine has been bead-blasted and "steel ball polished" and is son ready to come together again. Nice! I just need to send some parts down for Ebbe to use when reassembling everything. We still have to sort the rust on the axles and primary drive as well... Anyway, progress is GOOD at that end!
Today I met Janne W. and we exchanged some small parts. I had some rubber parts that arrived during the last weeks which he needs for his bike and he had reproduced other rubber things I need for mine. He had also borrowed my belly pan and seat to make copies of. In return I could borrow his battery box to make my own copy of that one. I have a good friend that I think will be able to make an exact reproduction part... It´s no big box, just a small tin metal "shelf" really that stays on the frame with two long rubber straps.

I´ll need this one if/when I decide to use the original ignition system. I have the yoke and new points and condensers so I figure I´ll have to try to complete the system!
Janne is also considering to repaint his tank in the same color as mine. He has a friend that´s very good at plastics here in town. This guy needed to borrow my tank to scan the paint in order to match the color. OK, scan the tank color? Well... I´ll have to clean it then! Nice!! I can do something fun!!

Looks a lot better!


Well, back in my own garage, I started to polish the tank and examine it more closely. It is in remarkably good condition! The paint can take polishing real good and cleans up super nice. This is exactly the moments I love the best working on a bike. A bit of tedious work on a small item that makes hours fly away and the part getting better and better. Its like meditation...


This tank really came back to life tonight! A little bit of elbow grease and it was ready to go out to be color matched! Not too bad when you think about how it looked when it was found in the barn....

Tomorrow is another work trip, New York.... The weekend booked solid with this and that plus a larger dinner saturday evening. Monday off again to Los Angeles. So, the next opportunity to work on the H1R will be next Thursday. Probably something has come up on house by then. We´ll see.....
Thanks for reading and be patient, I´m getting there!
Fuel tank manufacturer companies specialize in producing advanced storage solutions for different fuel types. They offer a wide range of tanks, including underground, above-ground, and mobile options, designed to meet the highest safety and quality standards. With a focus on innovation and durability, fuel tank manufacturers cater to the diverse needs of industrial and commercial clients.
SvaraRadera