Vacation, such a lovely word! Lot´s of time to do what you like, spend time with the family and maybe find an hour or two to go down to the garage and spend some real quality time...
OK, The engine done ( at least the major parts of it...), what next? I need to adress the chassis and especially the front fork legs. Let´s start easy. Let´s go for the seat cover! It was very dirty and rather hard in the vinyl surface. I started out with a light cleaning with luke warm water and soap. Better be careful since I´m planning on using the old cover as a model for new copies. If I can get it good enough, maybe I´ll even use the old one on the bike!
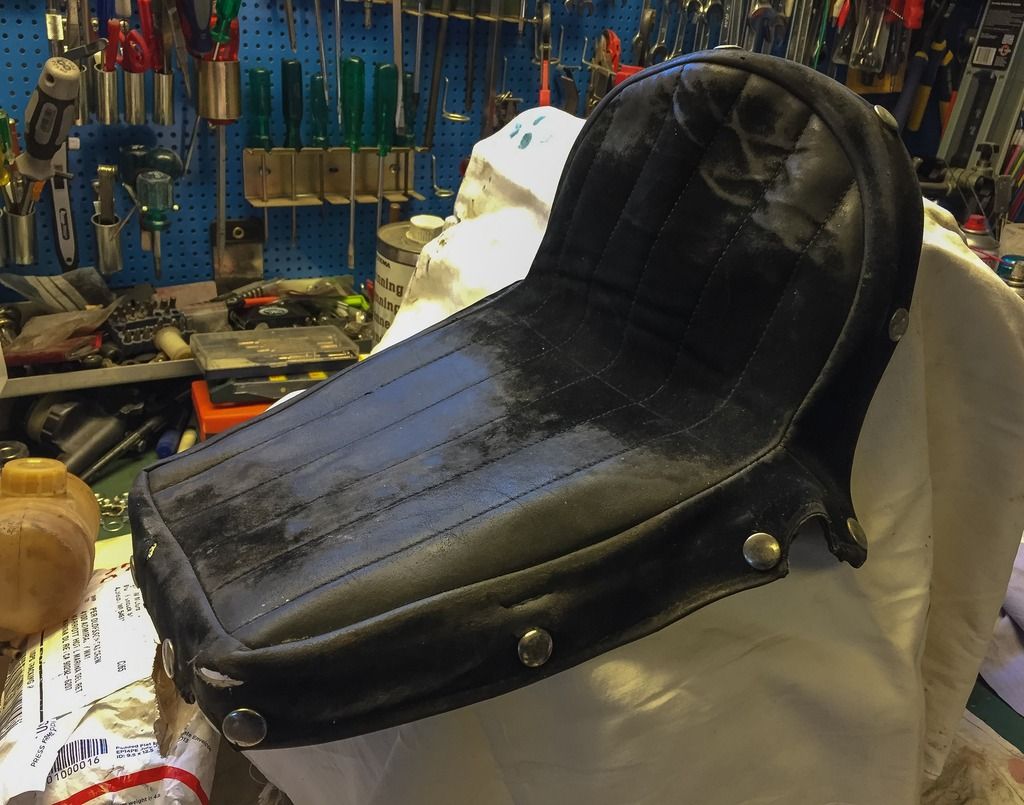 |
| Seat cover after the first cleaning. |

Here you can see the nice pattern on the backrest and also the largest tear in the cover on the left front part. There were a total of four rips and tears I need to adress. Maybe one more, we´ll see...


On a dry, clean, surface you put a thin layer on both sides and let it dry for 30 minutes... That´s a LOOONG time! If your work area is a bit cold (like mine) it takes even longer. The good thing is that if you put them together a bit early they don´t "hug" into each other right away. there´s plenty of time to adjust and get everything perfectly lined up before putting pressure on the repair and let it sit and harden. This process take up to 48 hours... depending on temperature. As you can see I´ll use anything that comes in handy... putty knives, steel parts, whatever fits my needs.


The seat itself has been repaird and is now ready for paint. The push buttons bottom half has been removed, but the holes are still intact. I think this look great! Just the way I want it...

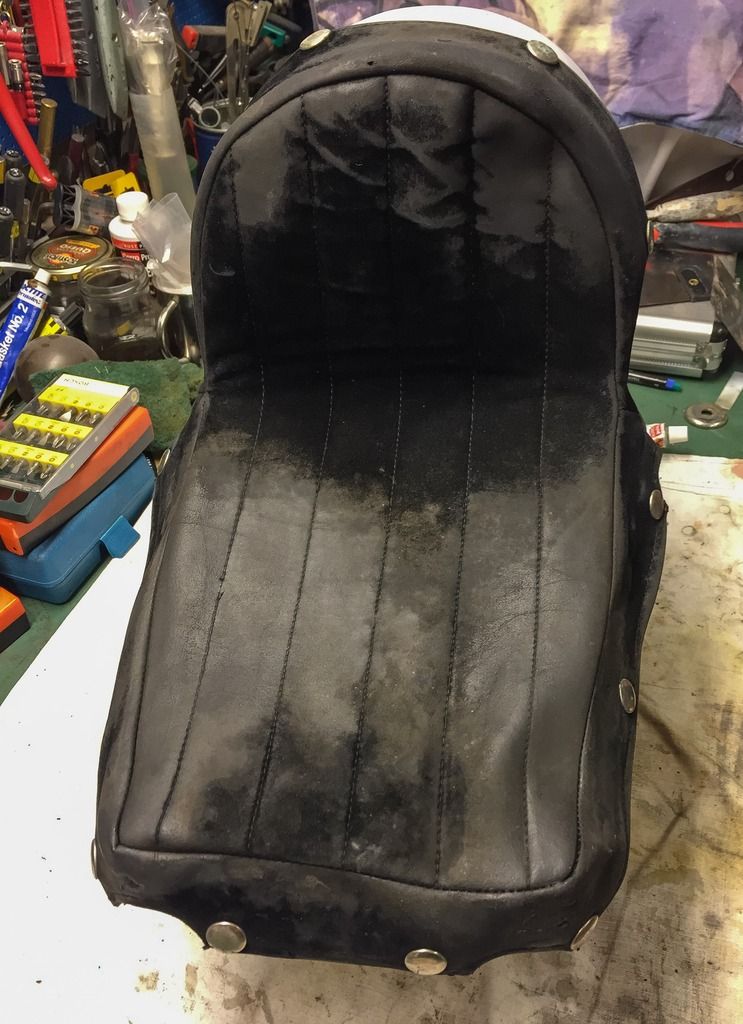 |
| The cover finished... |
So, that´s it about the seat cover? No, not quite... I want to make copies of this one. Janne needs one for his bike and I want a copy for mine as well. The day I´ll ride it myself, I think I´ll use a copy seat... Now, can this material be found? It is a bit of a mystery, this fabric. I´ve been to one upholstery shop and he didn´t recognize it. So, I went to a whole sale business that deals with all kinds of car and motorcycle upholstery material. No joy! He couldn´t tell for sure what it was. His best guess is that it actually is a black vinyl material that has been "flocked" with the "velvet" type of fibers. "Flocked", now, what the F**K is that?
You learn a lot from restoring old vehicles. Flocking is something done regularly in the car sound business. There´s a machine called "Flocking tool" that puts synthetic fibers on to any surface (that you have prepared with glue in advance..) and makes them stand straight up using static electricity. This was new to me! Obviously used on car instrument panels to reduce (remove) all glare and reflections. Also used with longer fibers to dress up boxes built for car audio appliances. Well, the investigation continues...
The whole sale guy pointed me in the direction of Alcantara as a substitute... Not cheap, but sort of the same appearance. Alcantara is also a synthetic fiber, looking a lot like suede (mocka, in Swedish) but more durable and easier to sew. But at 1800 SEK ( 200 $US) per meter I opted out...
A quick search on eBay in Germany landed me a couple of square meters at a reasonable price, so now I´ll soon be back in the upholstery business....
Yes, I´ll try to make the copies myself.
More about that later. For now, I´m happy with what I have!
A nice, stock, all original, slightly worn and completely wonderful seat cover!
Yours truly.
/Per
Inga kommentarer:
Skicka en kommentar