The wheels will have to wait for a while. The painter, Johnny´s Mc-lackering in Kristinehamn, will soon be ready to take Janne´s and my H1R fairings. We´ve been waiting for him to finish off a couple of other bikes in the booth. An S2 350 and Janne´s Suzuki RG500 among others. So, today I needed to get the seat figured out. Remember I had it repaired when Janne needed a copy made for his bike? Our friend, Ingvar "Tullarn" Larsson did a great job fixing up a few cracks and damages on my fiberglass seat. I never asked him to open up the hole for the two stroke oil tank filler cap, though.
That was the item on the agenda today...
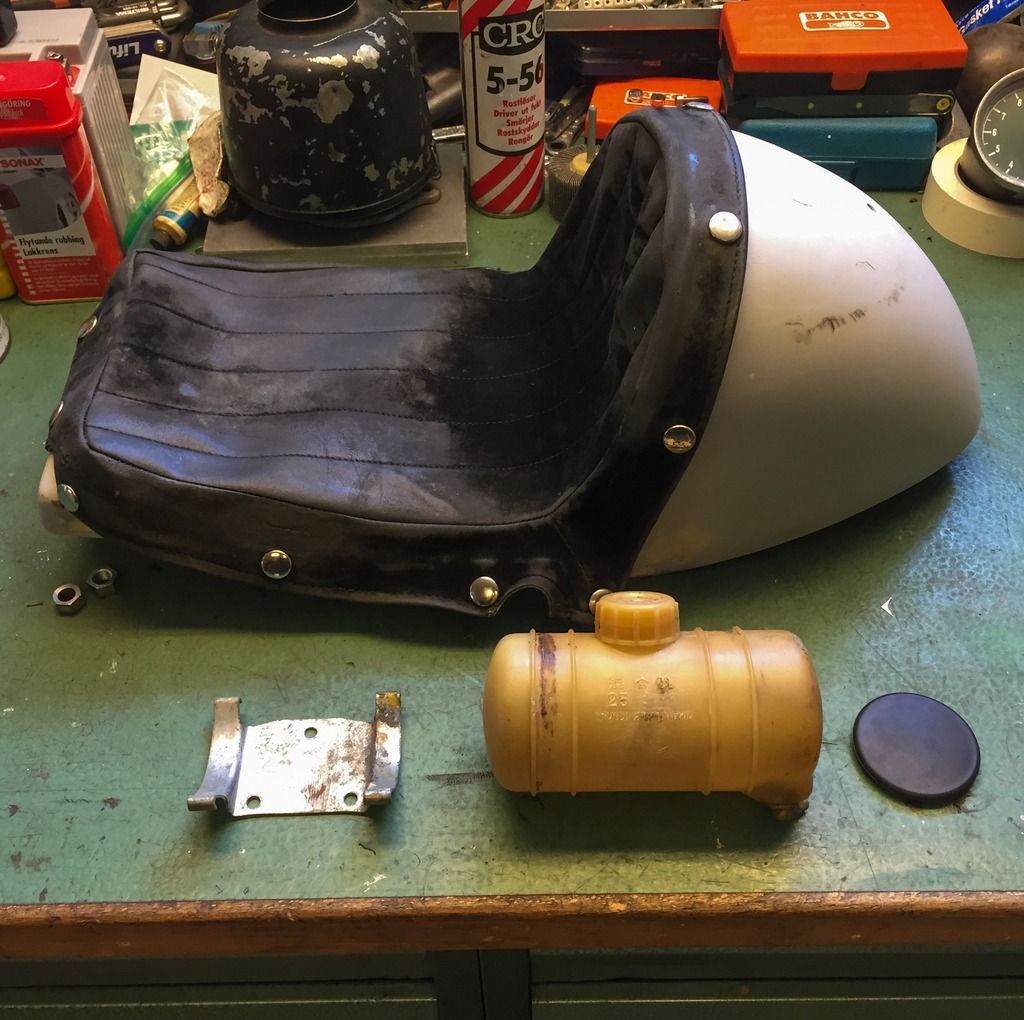
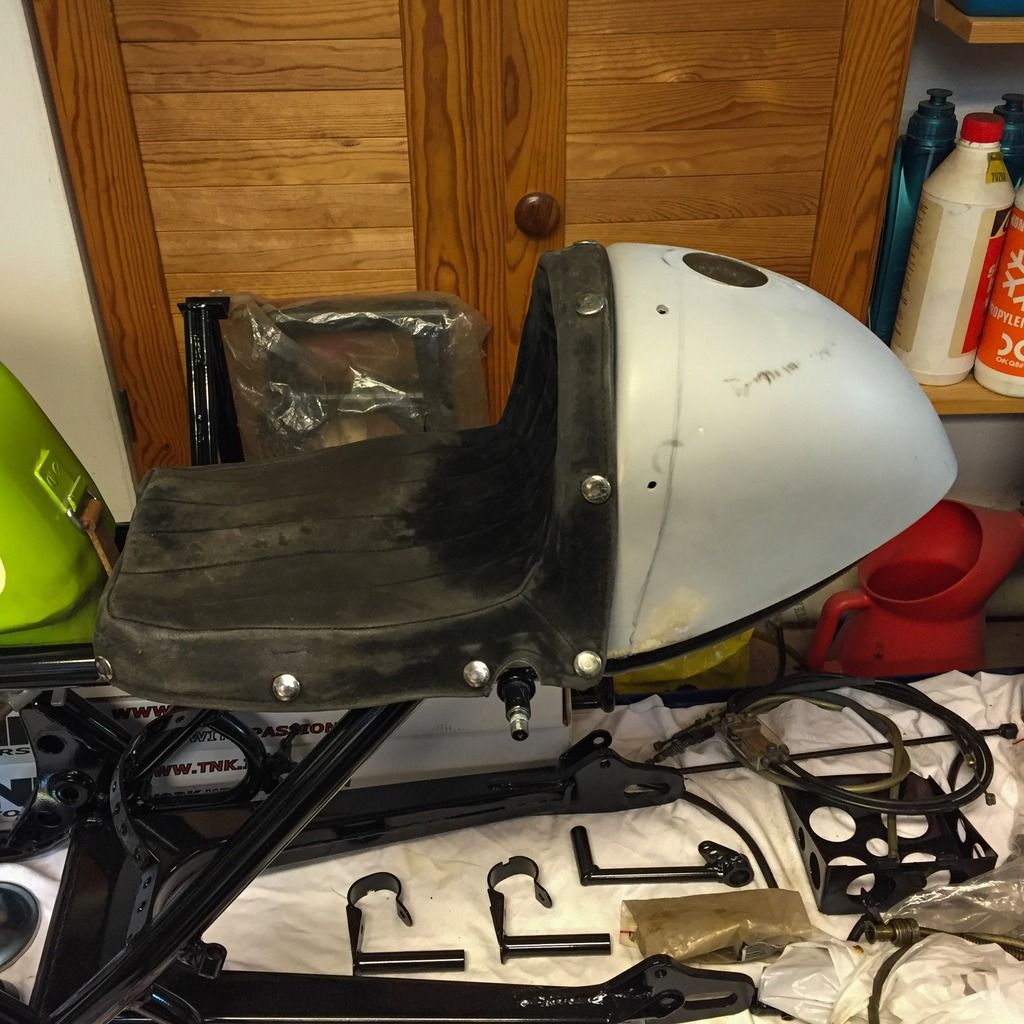
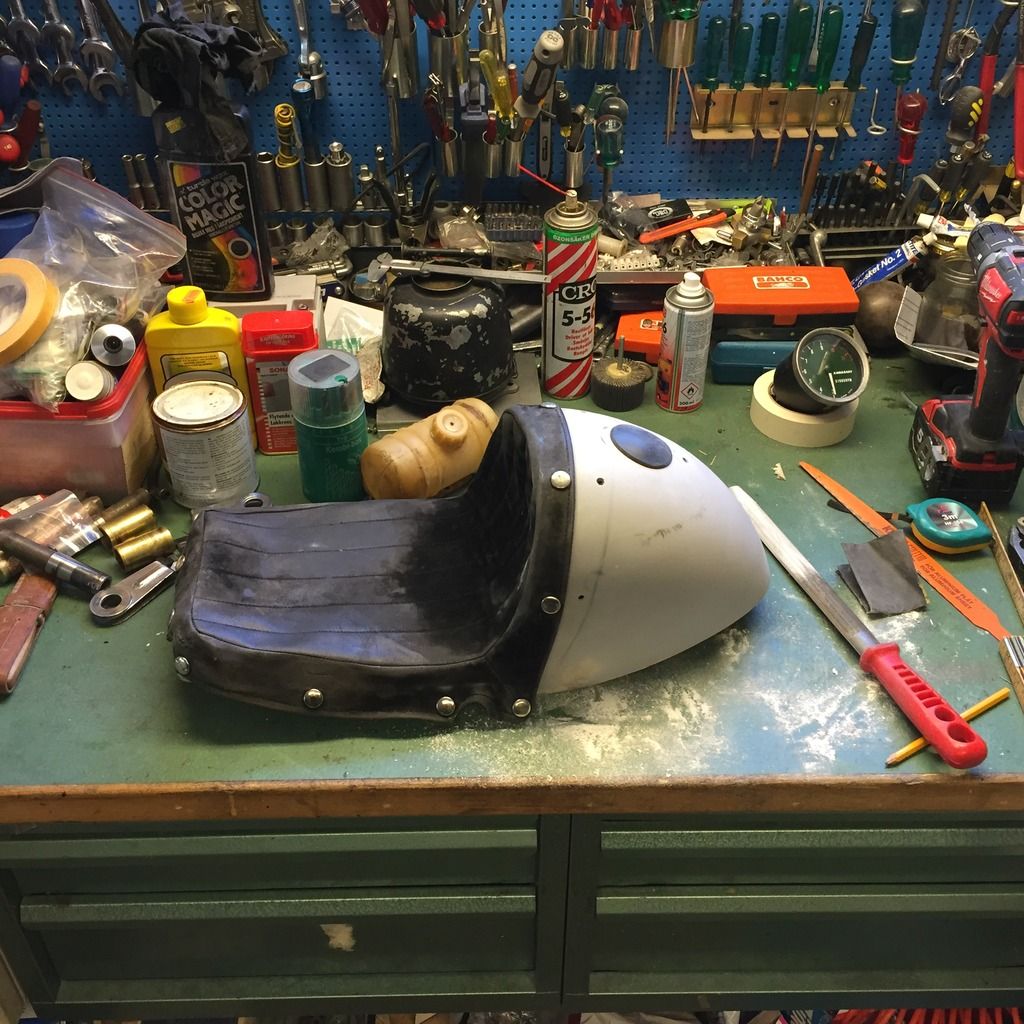
Here are the parts I addressed today. The seat with the repaired cover, oil tank with its bracket and the rubber grommet that is supposed to cover the hole. Repro part bought from a friend in France, Thankfully people are trying to reproduce some of the hard-to-find-parts for these bikes.
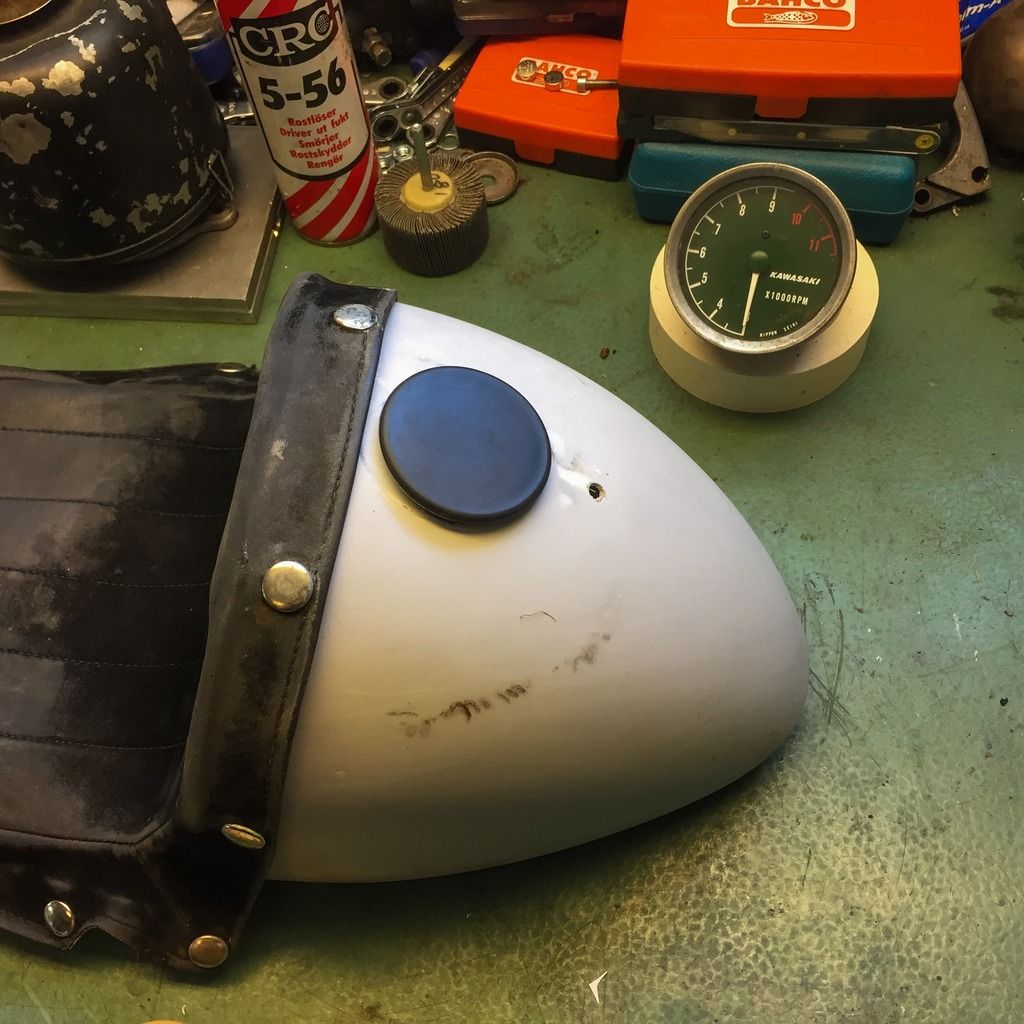
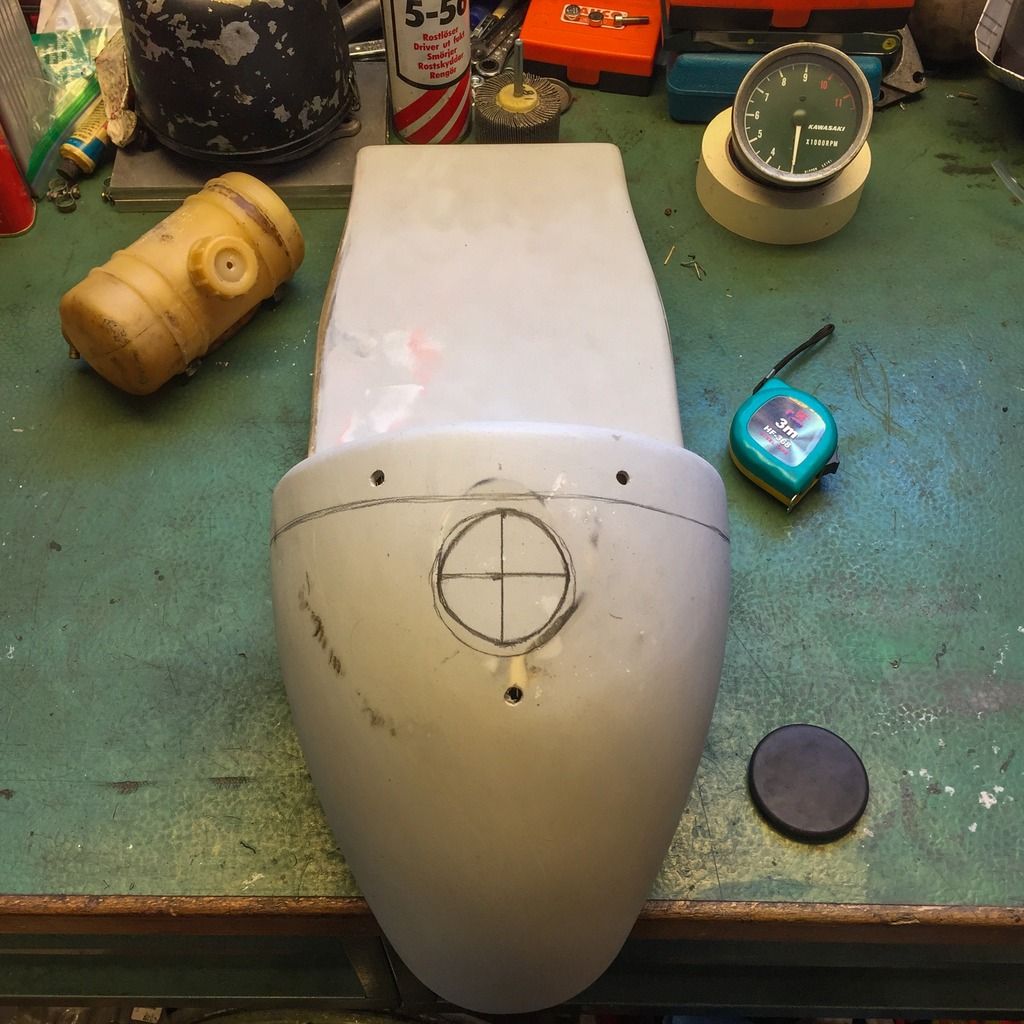
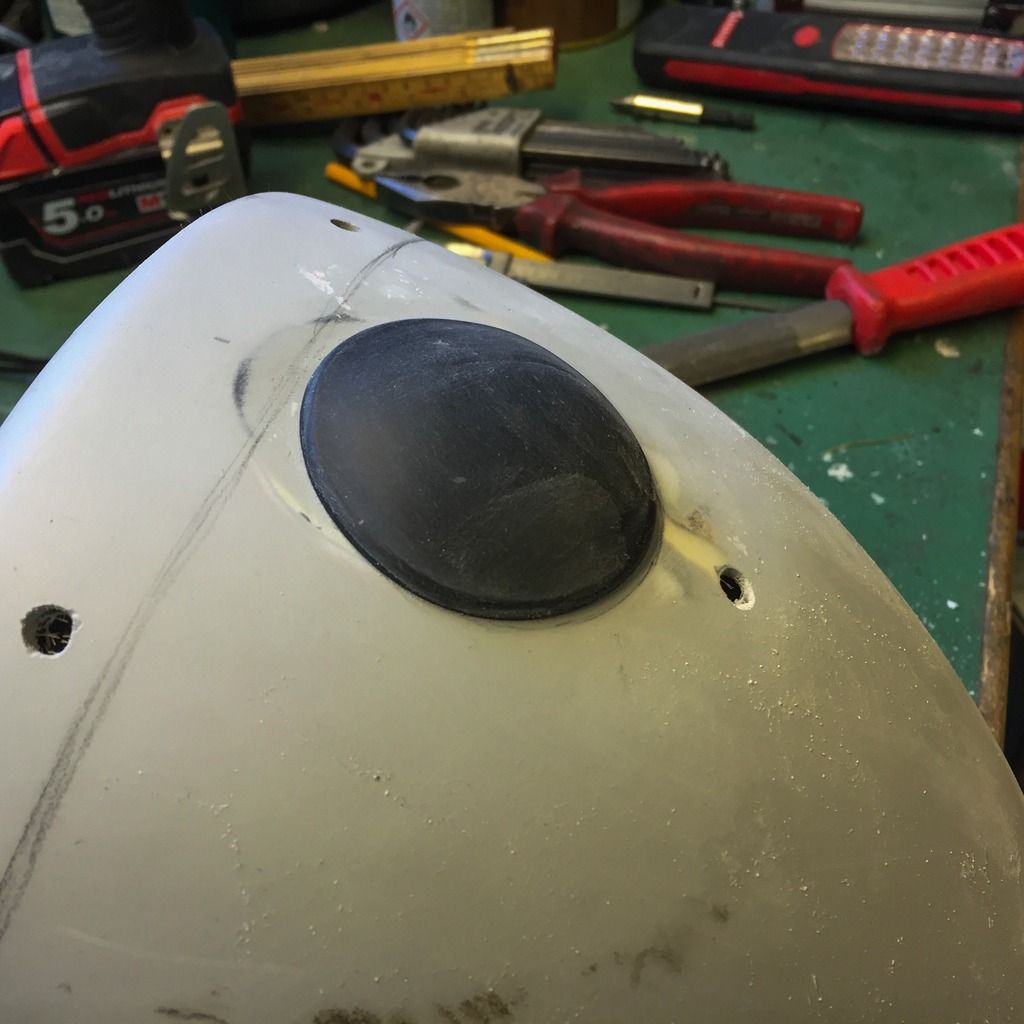
This is where the grommet is supposed to be. Covering up the refill hole for the oil tank. I had to figure out exactly where to put it in relation the the seat cover. I don´t want the cover to also cover the grommet... The small hole beneath the grommet will be closed as well. I don´t know why it is there in the first place.
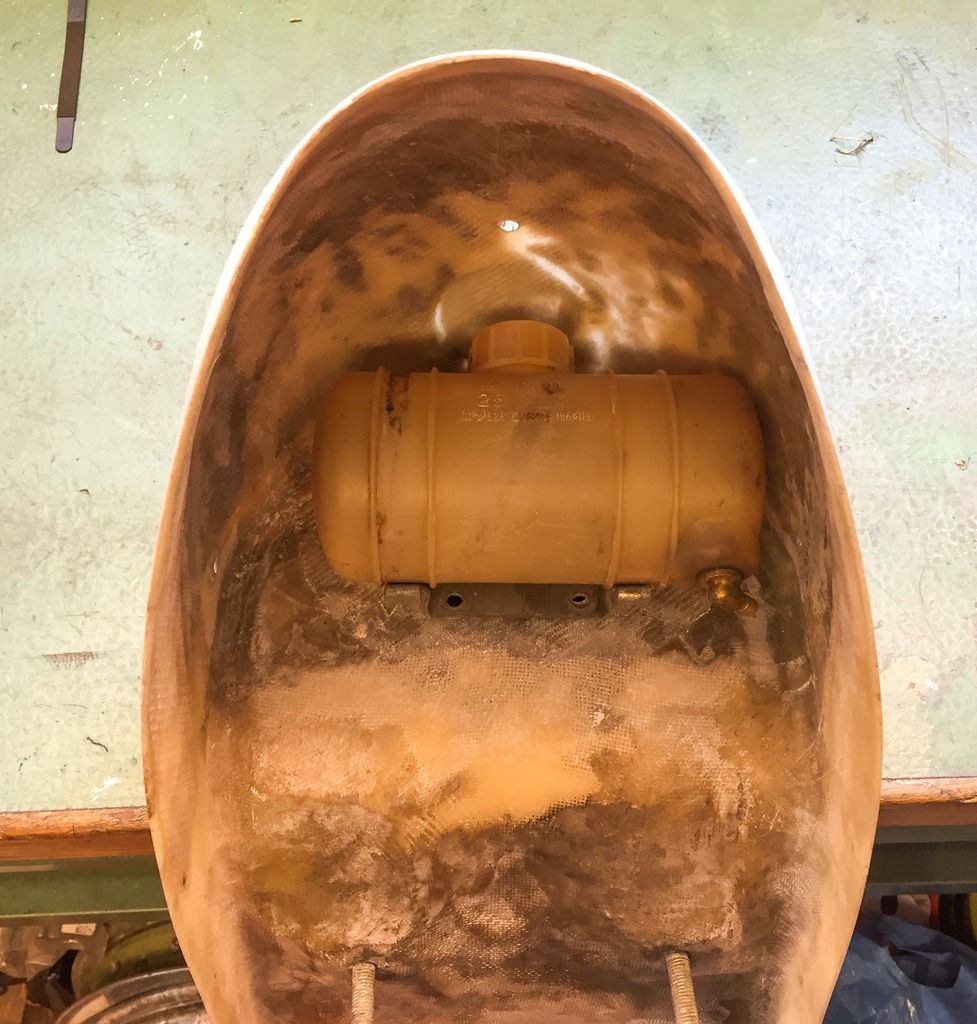
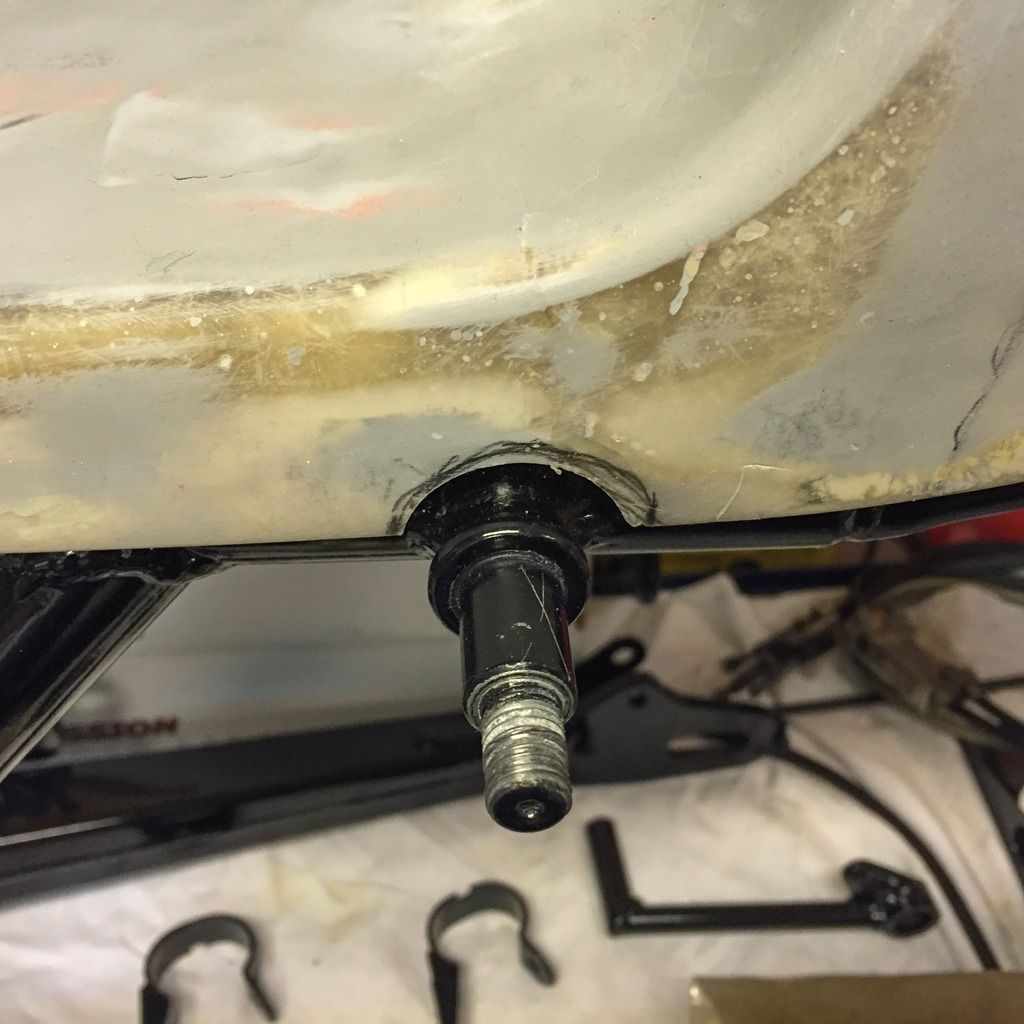
Here´s the inside of the seat. I placed the oil tank holder in it to see where the filler cap ended up. Pretty close to where the hole used to be. Better safe than sorry!
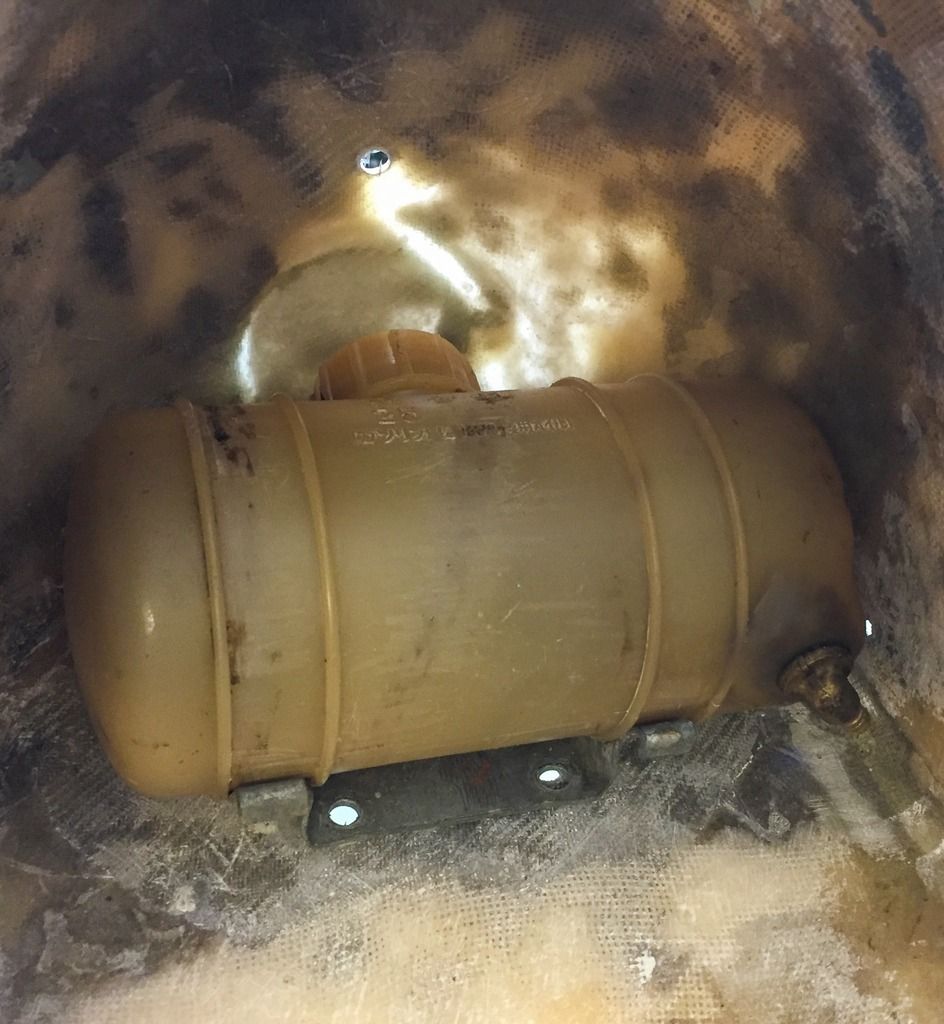
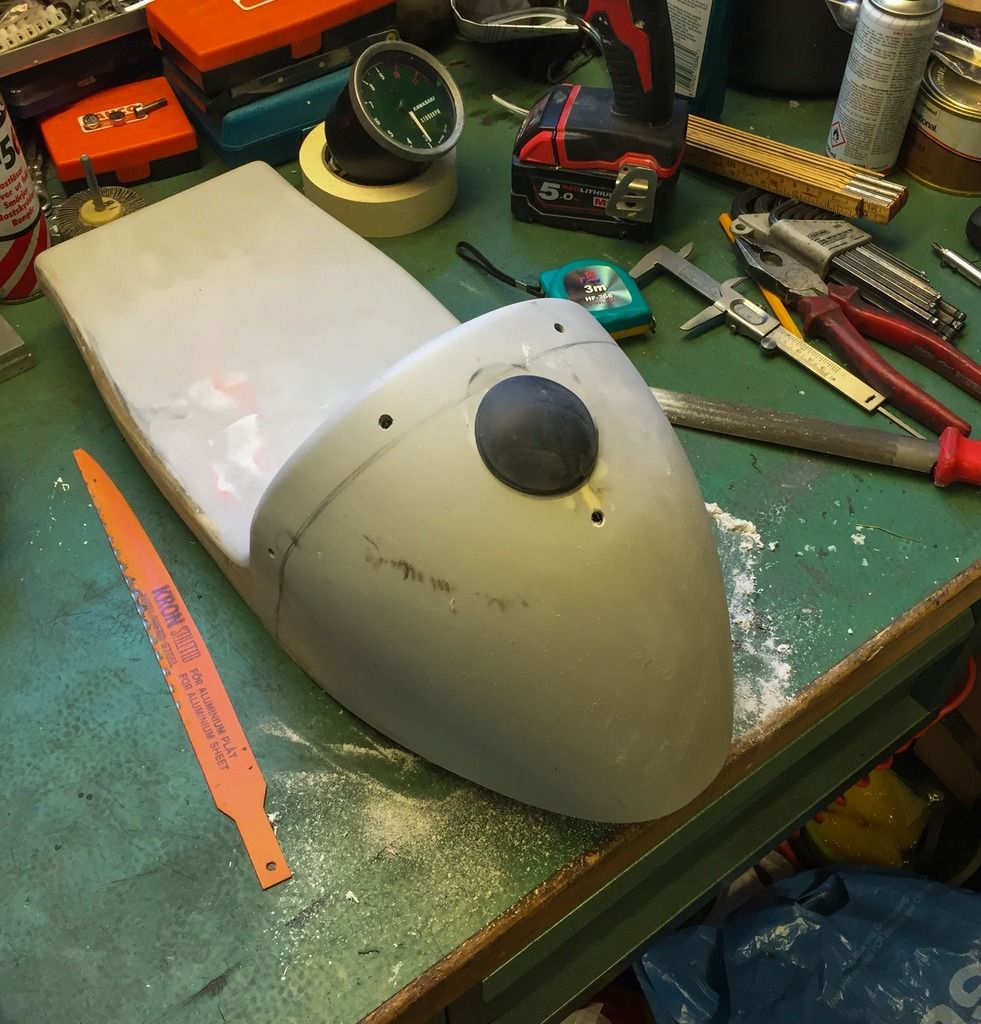
Here´s a better view of the tank and the placement of the cap. You can see where the hole used to be before "Esso" covered it.

The next step was to determine the exact diameter of the hole. The fitting part of the grommet measures 50mm precise. So, I´ll start out by making the hole slightly smaller. Don´t want to make it too big at first!
48mm wide hole and as circular as I could get it on free hand... Time to cut!

I could have used a circular saw in the correct diameter, but I thought of that halfway drilling through the holes. Well, well... Anything goes as long as the result is good enough!

Not so pretty, but it works just fine! A thin hacksaw blade took out the middle part and my largest file made the hole a little bit rounder.
As you can see, 48mm was a good choice! The grommet sits tight and curves upwards a bit. I think it looks good. the curvature also ensures the grommet will stay in place and not fall out too easily.
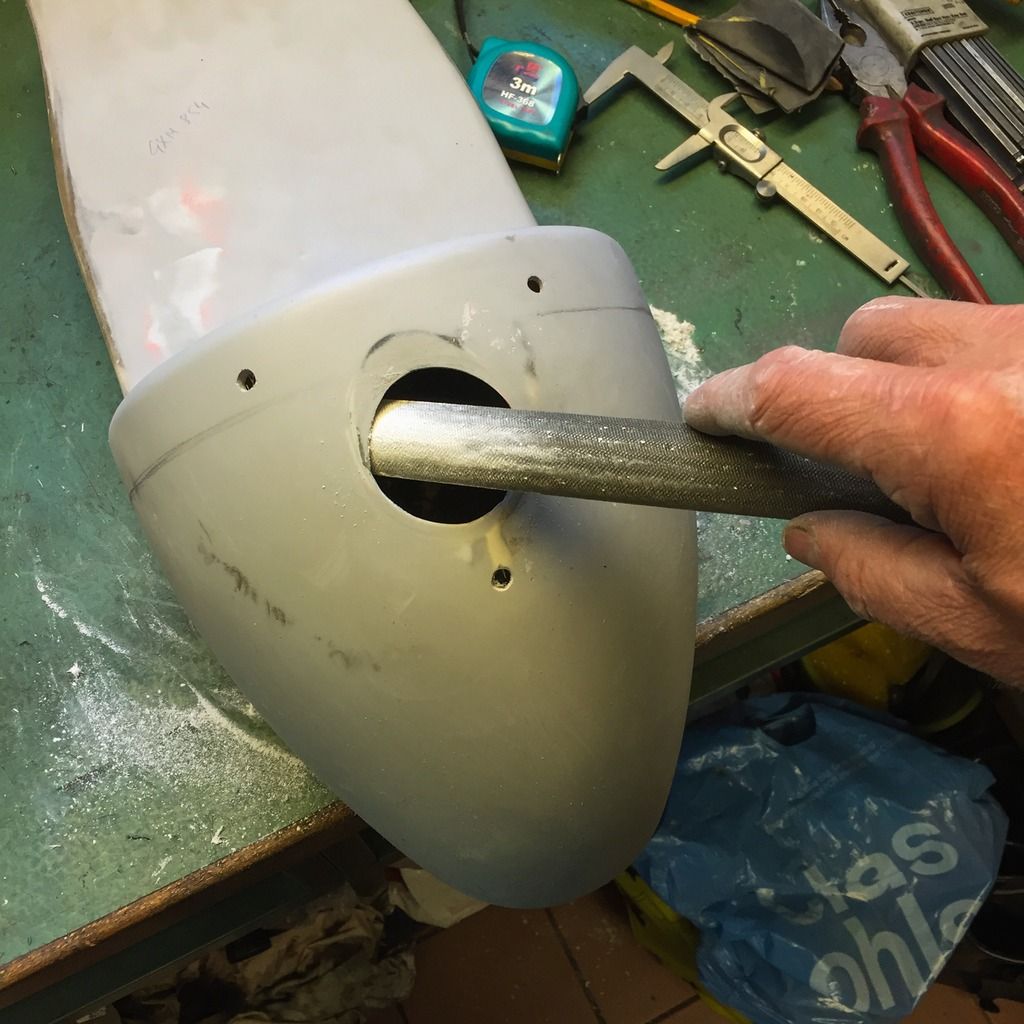
The slit in the grommet is rather thin so the edges of the hole had to be filed down quite a bit to fit it tight. My large file at an angle sorted that out. I made the hole slightly larger as well. The grommet was actually a bit hard to remove at first.
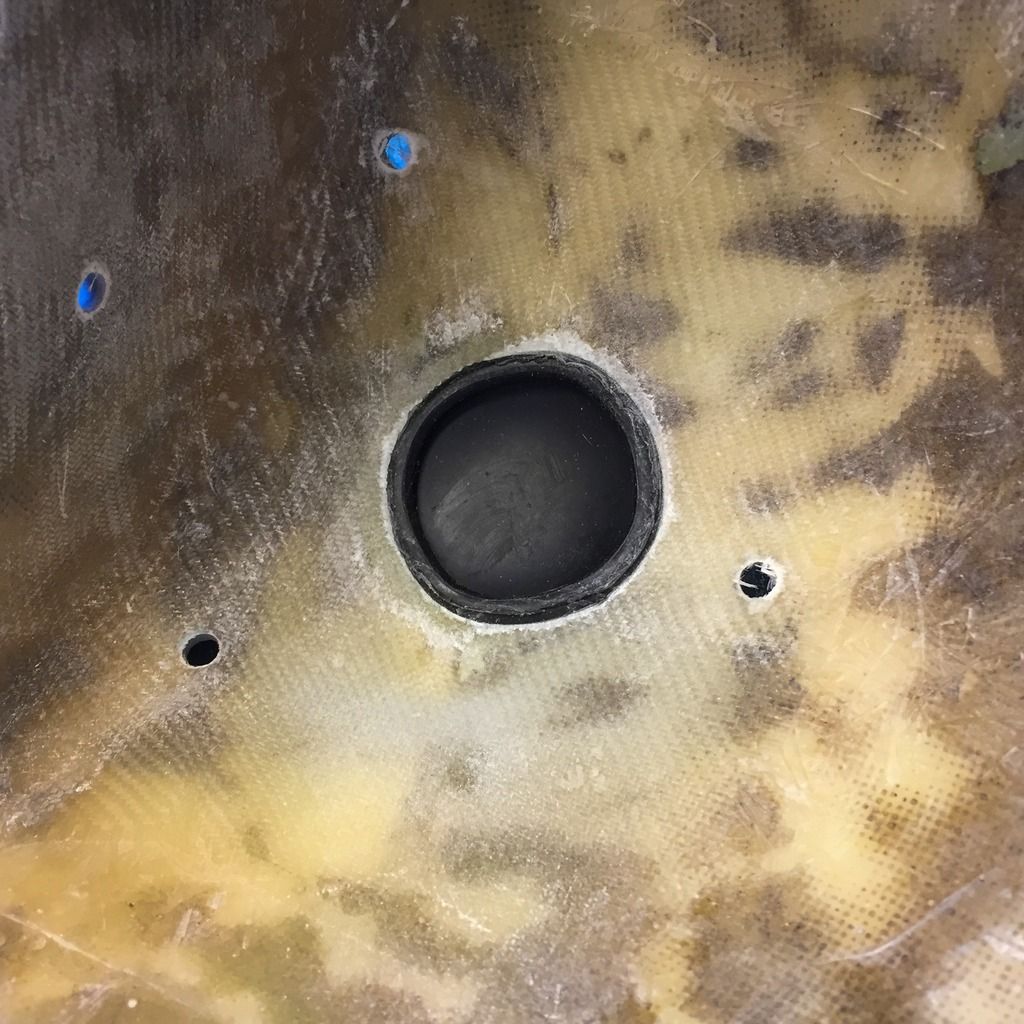
Here it is! From the inside. Fits like a charm and sits tight and snug. You can see the curvature on the grommet. I prefer to keep it this way. I don´t know how it´s supposed to be, but this is the way it´s gonna be here, on my bike!
This is the way it sits from the outside. I like it a lot!
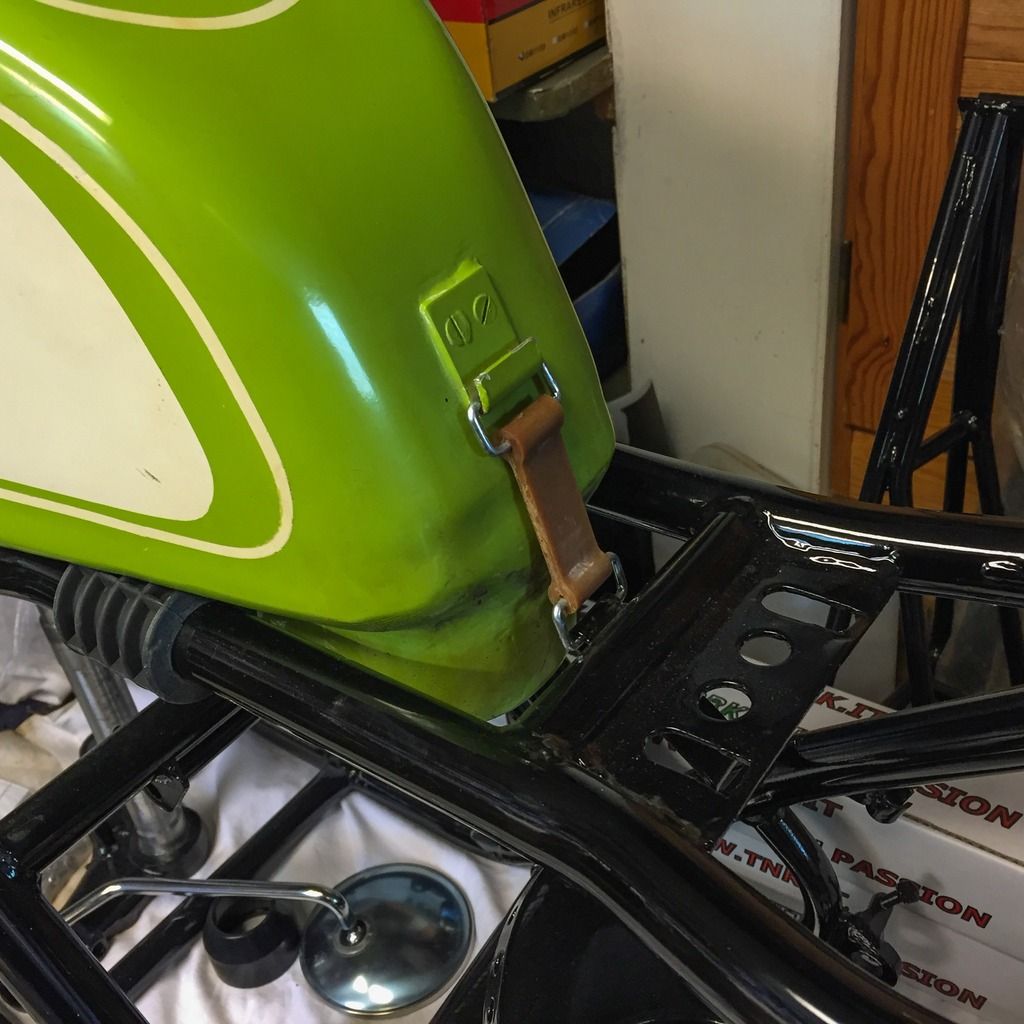
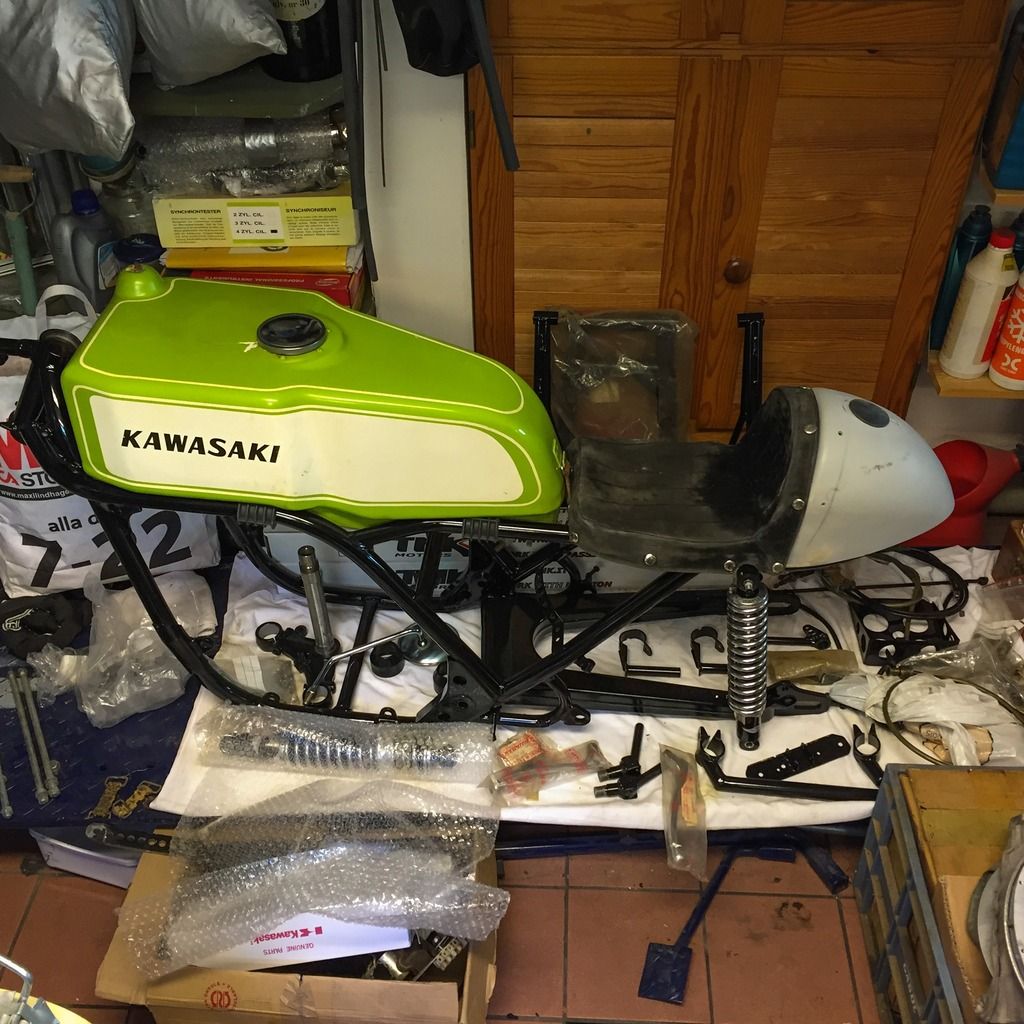
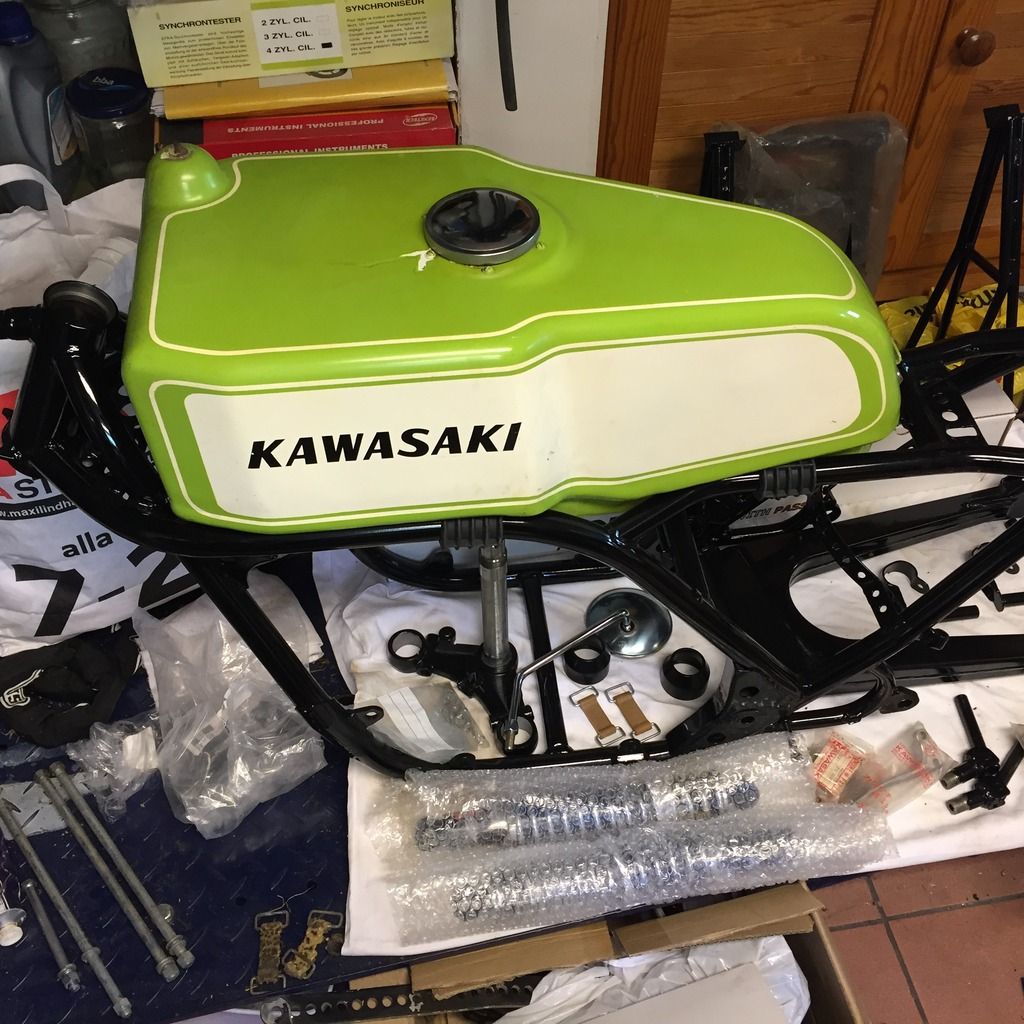
The next point on the agenda... Fixing the "cutout" on the sides of the seat for the rear shock mounts. Ingvar repaired my seat and made the lower edge straight. Very smart move, since it wasn´t clear where exactly the seat would be placed on the frame. To check this I had to put the fuel tank mounting straps in place and put the rubbers I intend to use as cushions on the frame. Now I could adjust the tank and place the seat in the correct spot in relation to the tank and mark the cutouts.
Tricky stuff getting everything to sit in place for adjustments and drawing. I need to press the seat forward as much as possible since the placement of the rivets (buttons) on the seat cover are set already and they, sort of, decides where the cotout needs to be. This took some fiddling and a few bad words, but who gives a sh-t!
Finally I could make the rounded cutouts and check for fitment towards the rear shock mounts. Looks fine!
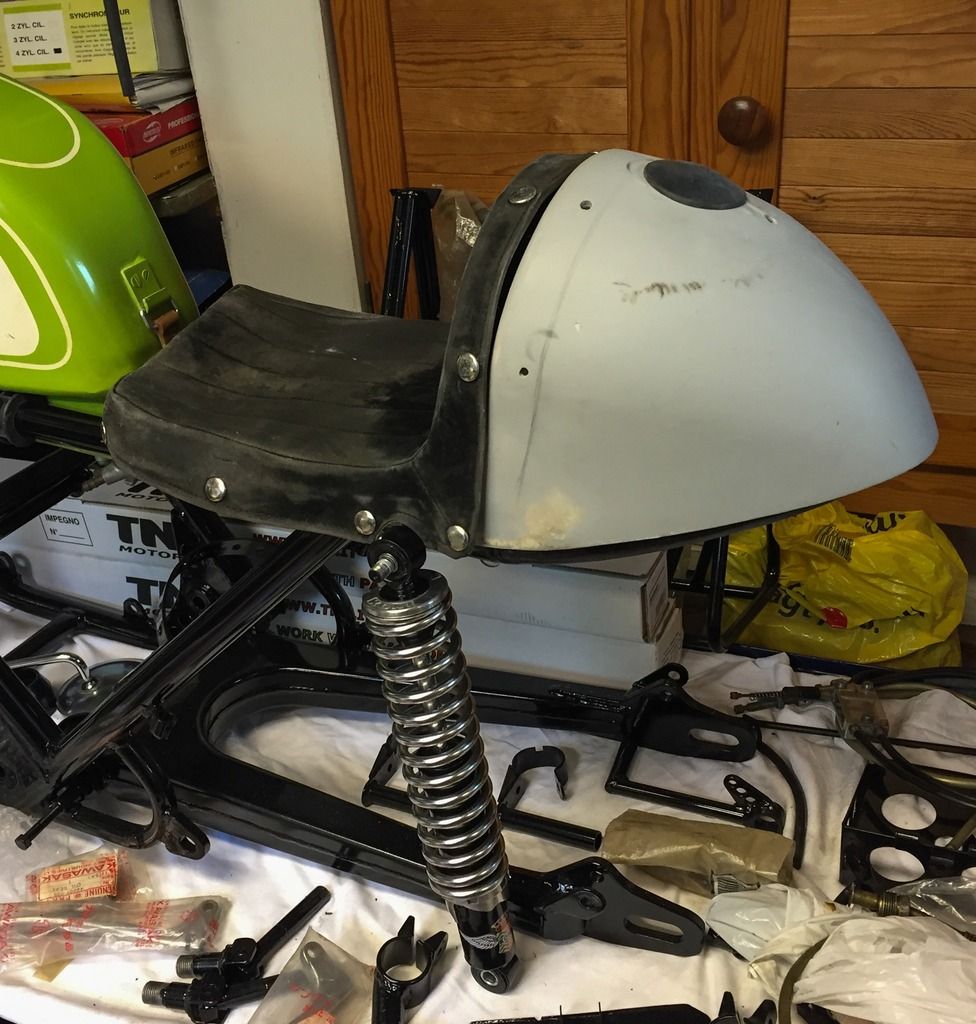
And a trial fitting with the super nice KONI shocks from Robert Haag in the US. These are actually a bit too good looking for this bike, but for a picture it is OK!
And here it is... Efter an afternoons work. Seat ready for paint. So are the other fairing parts. Now I need to get a hold of some good pictures from back in the day where Johnny can see how the different parts of the fairing is supposed to look. "Esso" also had sponsor decals and his name on his bike in different places. I need to get those lettering decals as well. The hunt is on!
And that is where I will leave you for this weekend... Off to a friends summer house for some relaxing and good cold beers! Might also be a bit of building and renovating on the cottage in itself. We´ll see ´bout that.
Anyway, one last picture of the bike and parts on the lift. Just waiting for the rezinked nuts, bolts and fasteners and the final grind of the front fork stanchions. When those are done, assembly may start!
Enjoy the weekend, take a long drive on your bike, drink a cold beer, enjoy the company of your families and we´ll get back to restoring old bikes soon...
Saludos!
/Per
That was the item on the agenda today...

Here are the parts I addressed today. The seat with the repaired cover, oil tank with its bracket and the rubber grommet that is supposed to cover the hole. Repro part bought from a friend in France, Thankfully people are trying to reproduce some of the hard-to-find-parts for these bikes.

This is where the grommet is supposed to be. Covering up the refill hole for the oil tank. I had to figure out exactly where to put it in relation the the seat cover. I don´t want the cover to also cover the grommet... The small hole beneath the grommet will be closed as well. I don´t know why it is there in the first place.

Here´s the inside of the seat. I placed the oil tank holder in it to see where the filler cap ended up. Pretty close to where the hole used to be. Better safe than sorry!

Here´s a better view of the tank and the placement of the cap. You can see where the hole used to be before "Esso" covered it.

The next step was to determine the exact diameter of the hole. The fitting part of the grommet measures 50mm precise. So, I´ll start out by making the hole slightly smaller. Don´t want to make it too big at first!

48mm wide hole and as circular as I could get it on free hand... Time to cut!

I could have used a circular saw in the correct diameter, but I thought of that halfway drilling through the holes. Well, well... Anything goes as long as the result is good enough!

Not so pretty, but it works just fine! A thin hacksaw blade took out the middle part and my largest file made the hole a little bit rounder.

As you can see, 48mm was a good choice! The grommet sits tight and curves upwards a bit. I think it looks good. the curvature also ensures the grommet will stay in place and not fall out too easily.

The slit in the grommet is rather thin so the edges of the hole had to be filed down quite a bit to fit it tight. My large file at an angle sorted that out. I made the hole slightly larger as well. The grommet was actually a bit hard to remove at first.

Here it is! From the inside. Fits like a charm and sits tight and snug. You can see the curvature on the grommet. I prefer to keep it this way. I don´t know how it´s supposed to be, but this is the way it´s gonna be here, on my bike!

This is the way it sits from the outside. I like it a lot!

The next point on the agenda... Fixing the "cutout" on the sides of the seat for the rear shock mounts. Ingvar repaired my seat and made the lower edge straight. Very smart move, since it wasn´t clear where exactly the seat would be placed on the frame. To check this I had to put the fuel tank mounting straps in place and put the rubbers I intend to use as cushions on the frame. Now I could adjust the tank and place the seat in the correct spot in relation to the tank and mark the cutouts.

Tricky stuff getting everything to sit in place for adjustments and drawing. I need to press the seat forward as much as possible since the placement of the rivets (buttons) on the seat cover are set already and they, sort of, decides where the cotout needs to be. This took some fiddling and a few bad words, but who gives a sh-t!

Finally I could make the rounded cutouts and check for fitment towards the rear shock mounts. Looks fine!

And a trial fitting with the super nice KONI shocks from Robert Haag in the US. These are actually a bit too good looking for this bike, but for a picture it is OK!

And here it is... Efter an afternoons work. Seat ready for paint. So are the other fairing parts. Now I need to get a hold of some good pictures from back in the day where Johnny can see how the different parts of the fairing is supposed to look. "Esso" also had sponsor decals and his name on his bike in different places. I need to get those lettering decals as well. The hunt is on!
 |
| Ready for paint. |
Anyway, one last picture of the bike and parts on the lift. Just waiting for the rezinked nuts, bolts and fasteners and the final grind of the front fork stanchions. When those are done, assembly may start!
 |
| Getting there... |
Saludos!
/Per
Inga kommentarer:
Skicka en kommentar