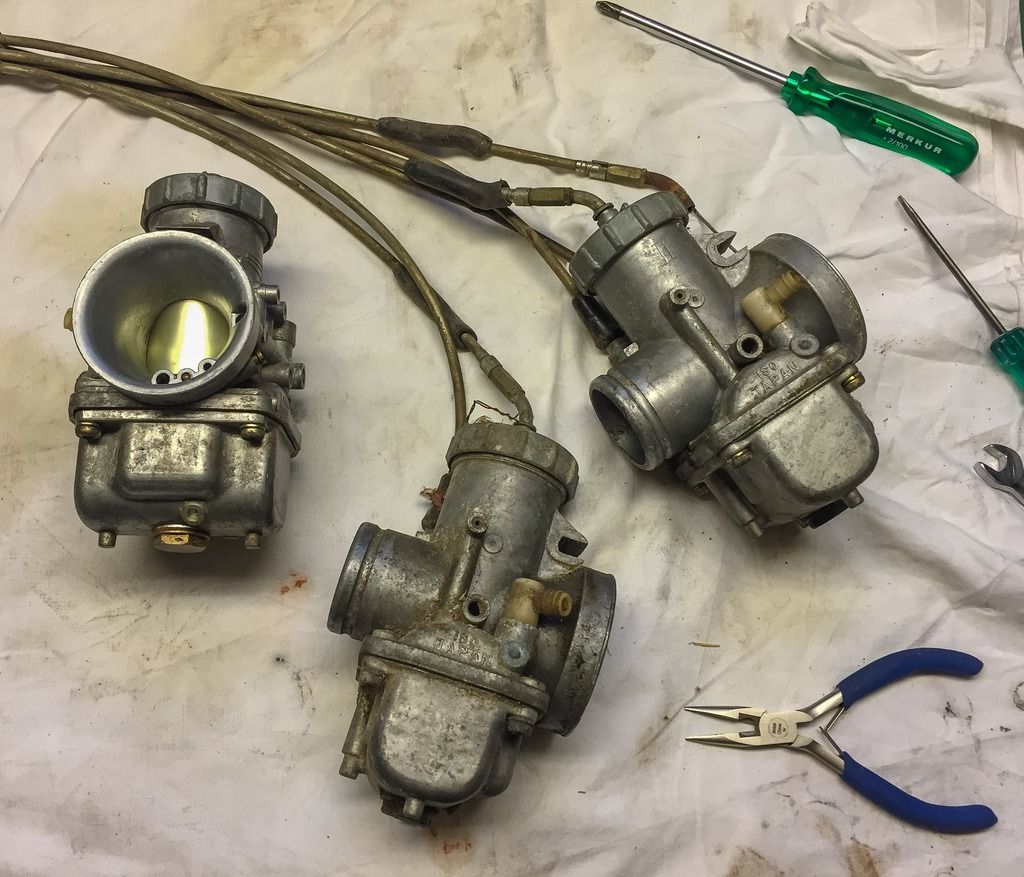
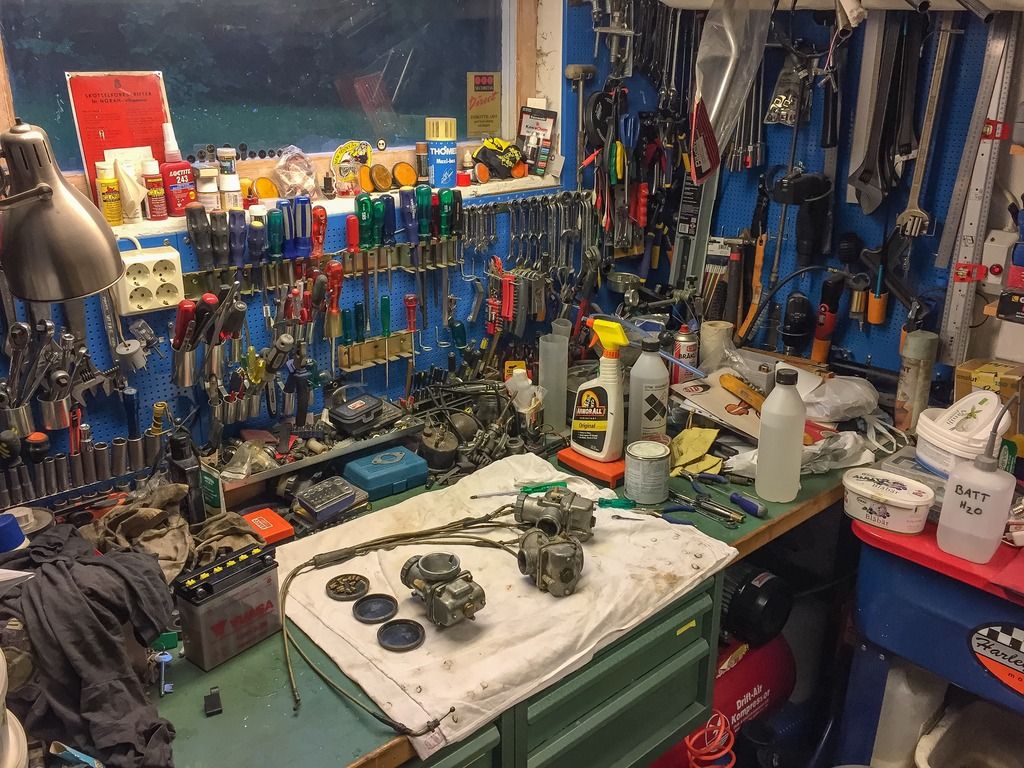
It´s time to get the hands a bit dirty... Why not just start with parts that are already loose from the bike. The carburetors, for instance. I took them off after the photosession in the garage and they ended up in the box with loose parts again. The engine is safely stashed away in a wooden box for the journey to Malmoe the coming weeks.
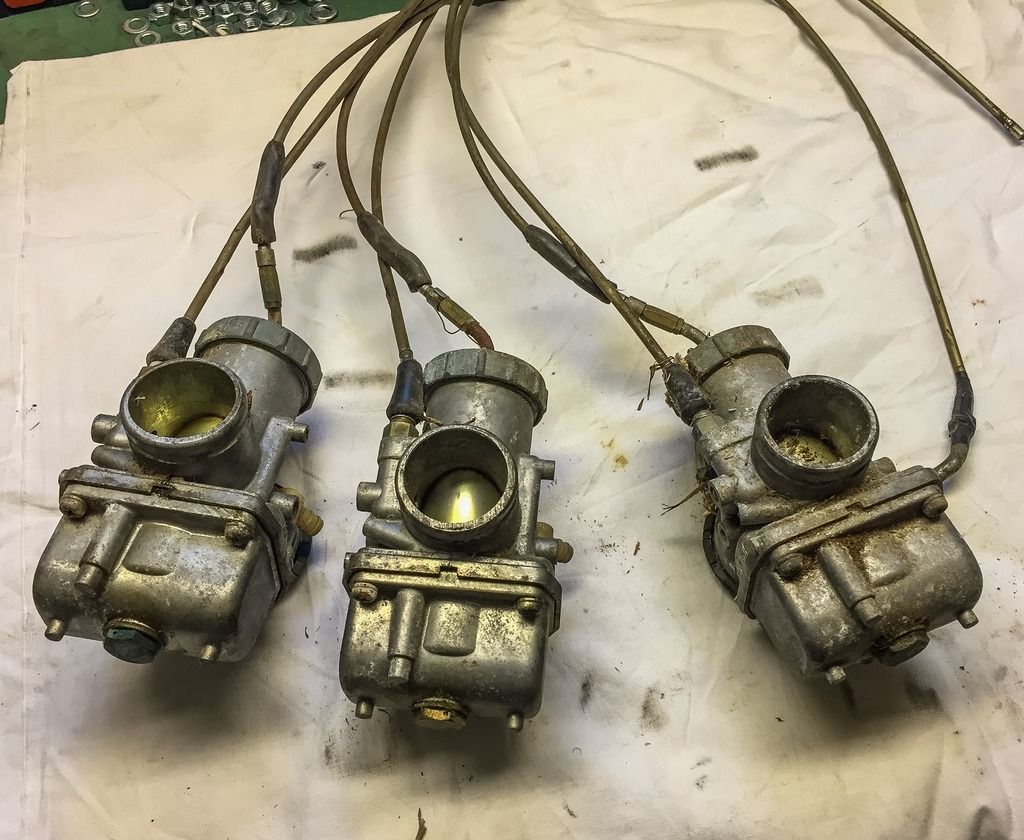 As you can see they need a good cleaning. I´m having good hope they will clean up alright, since two of the three carb slides move freely.
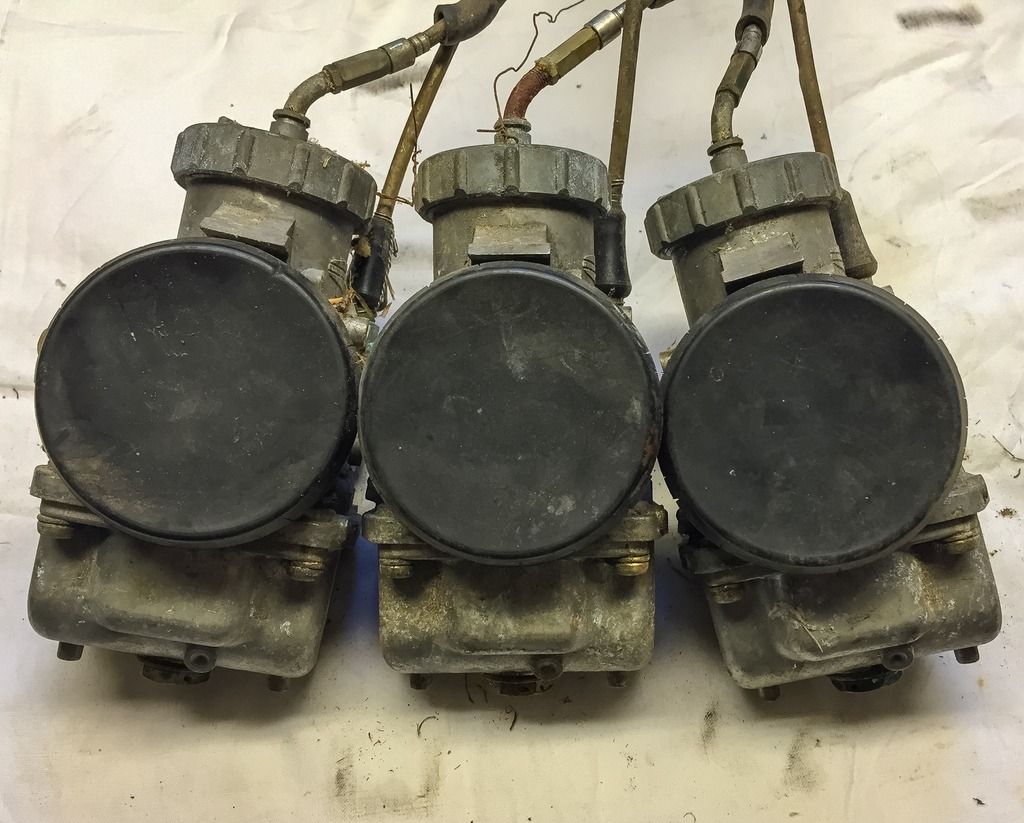
The original rubber lids are still in place.
I´m going to try and find new ones, though. They are a bit cracked. Other than that the carbs look OK.
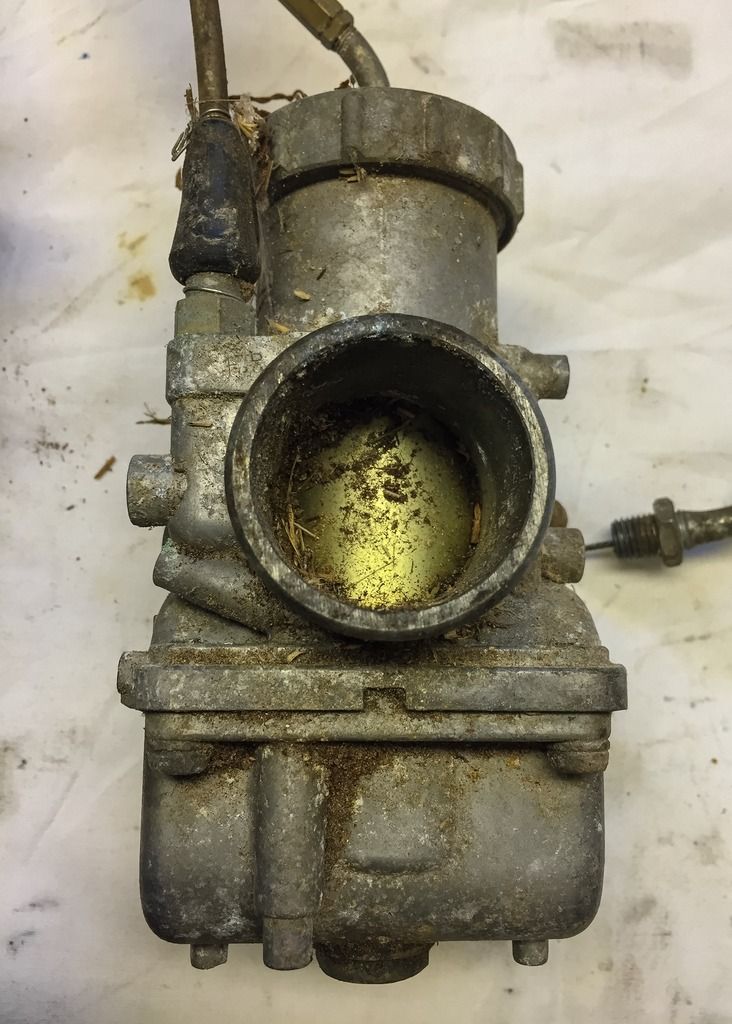 I´d better be careful removing this grime and dust. These carb slides are extremely fragile. They scratch and warp very easily and if that happens they are shot. Getting new ones will most probably be a nightmare.
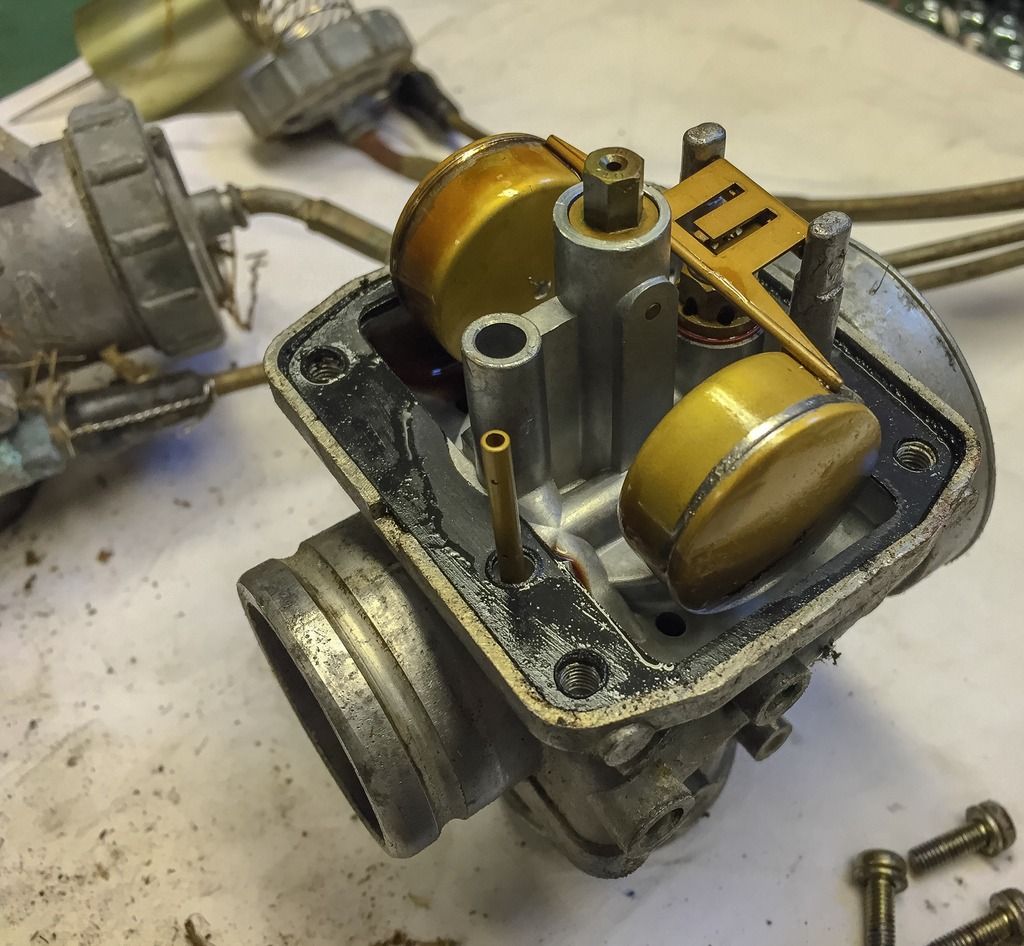
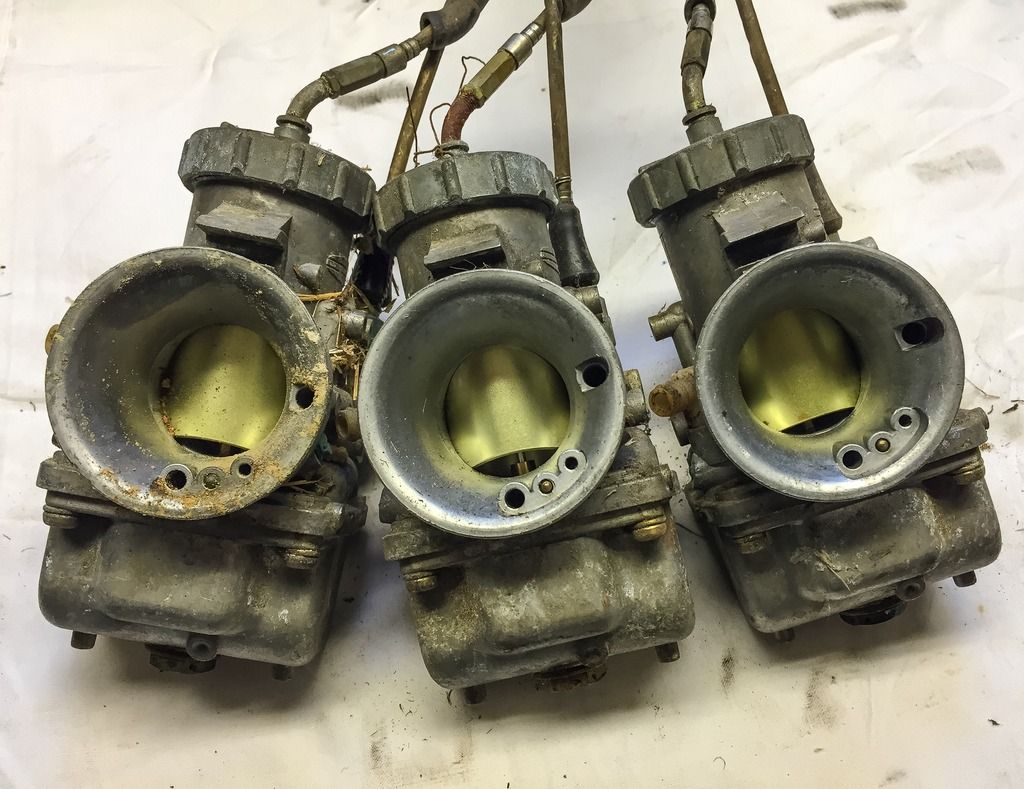 The rubber lids removed. Actually looks quite alright.
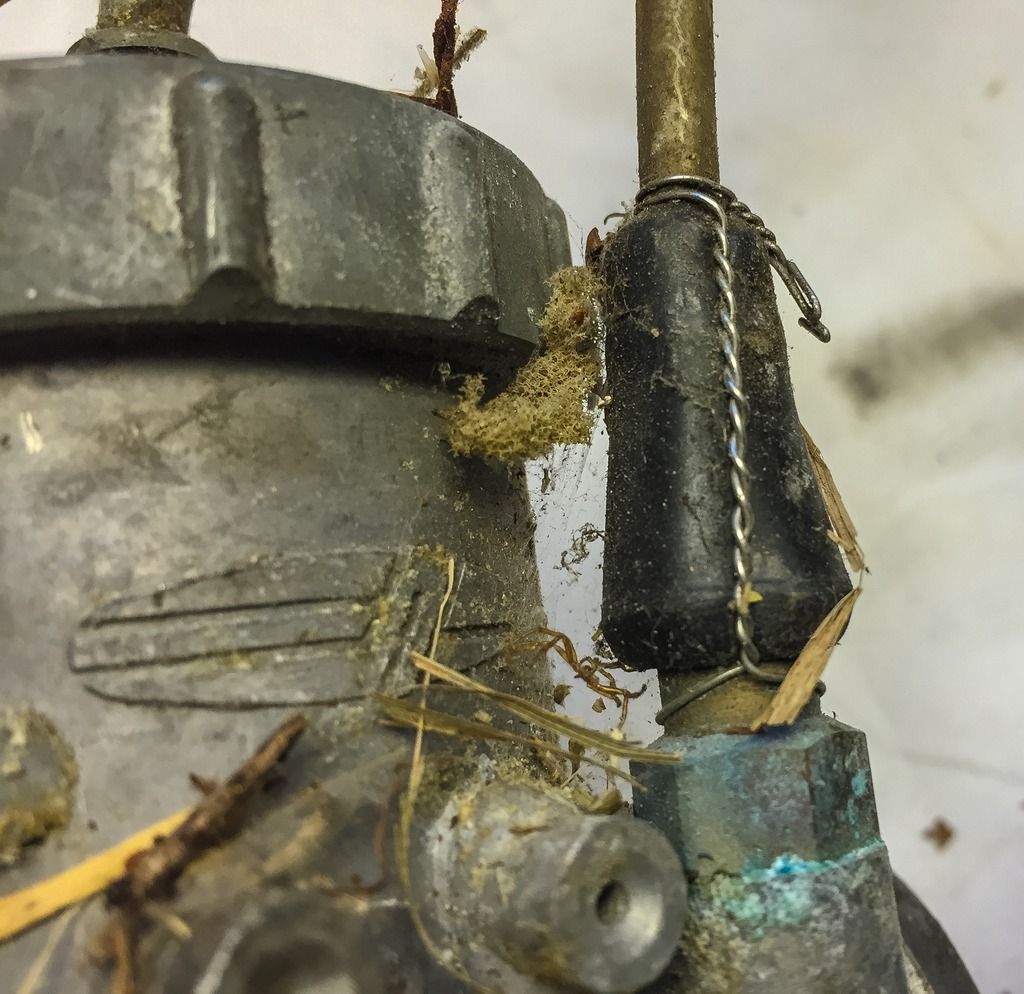 Someone used wire even to hold the choke cable to the choke plunger housing. This guy didn´t take any prisoners safety wise. There are lots and lots of wire on the bike, just like this. I´m going to try and remember/take pictures of those places and rewire for safety.
 Here´s another example. The caps on the carburetors are safety wired. Matching holes can be found on the cooling fins of the cylinder heads. Those wires make sure the caps
don´t come undone while riding.
I´ve never had that happeing on my street bikes, but these racers were driven quite differently, I guess...
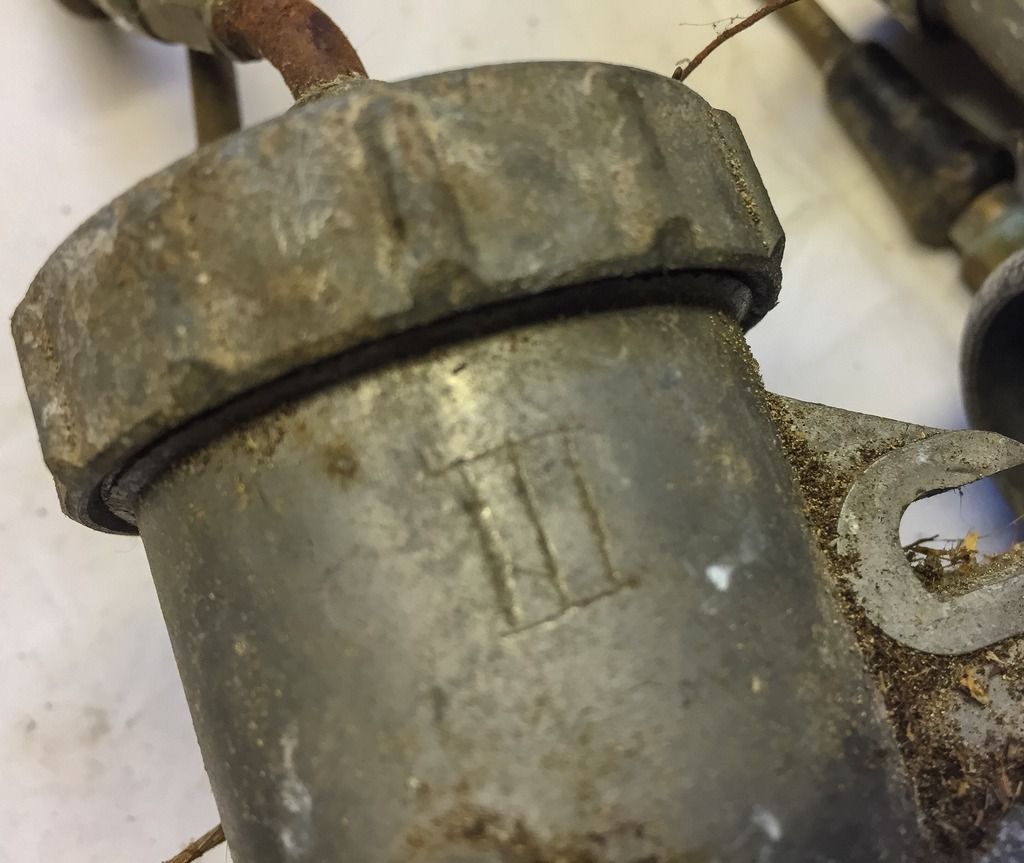 Before I start taking the things apart, I need to make sure everything goes back to the same carb and in the same position (sort of...). It´s no good mixing up throttle slides and carb bodies, better keep them together. One of the previous owners marked each carb with its number III, II and I. Makes it easier to get them back in the correct place.
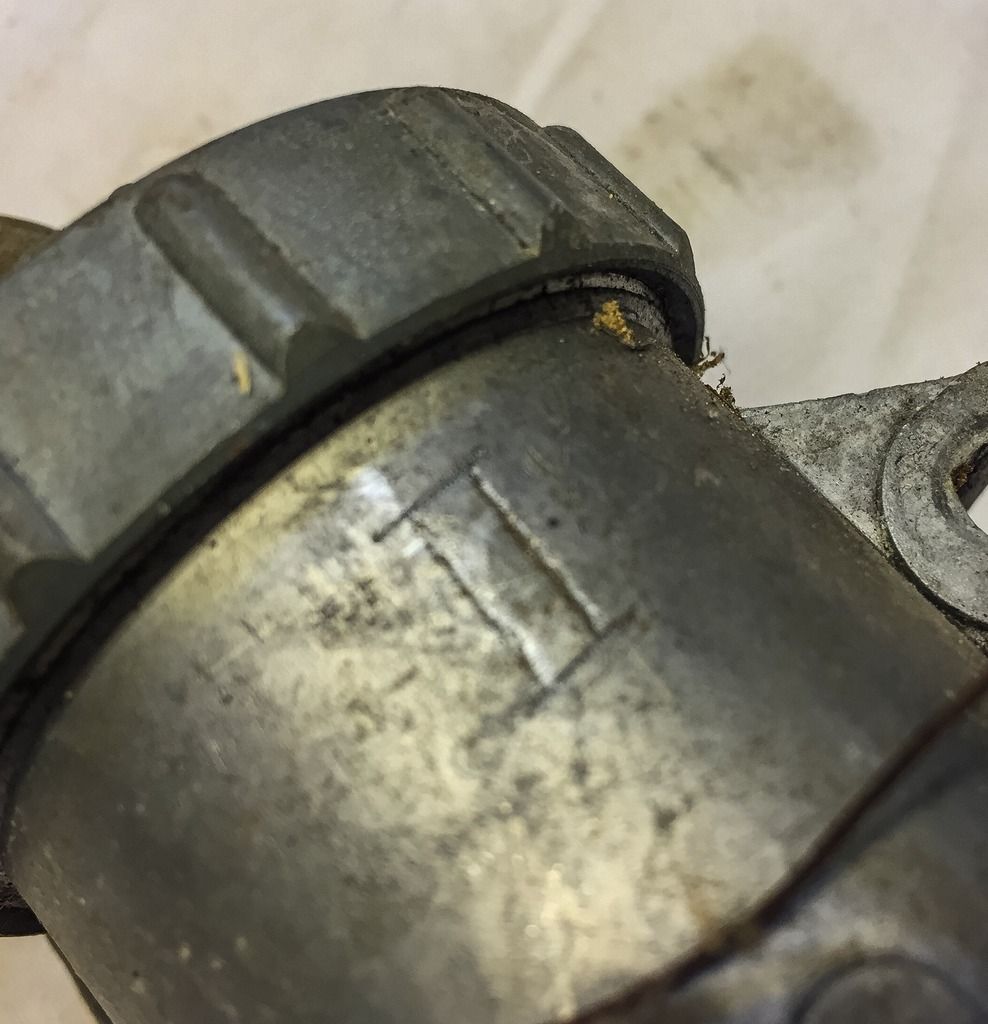
Center carb and the marking.
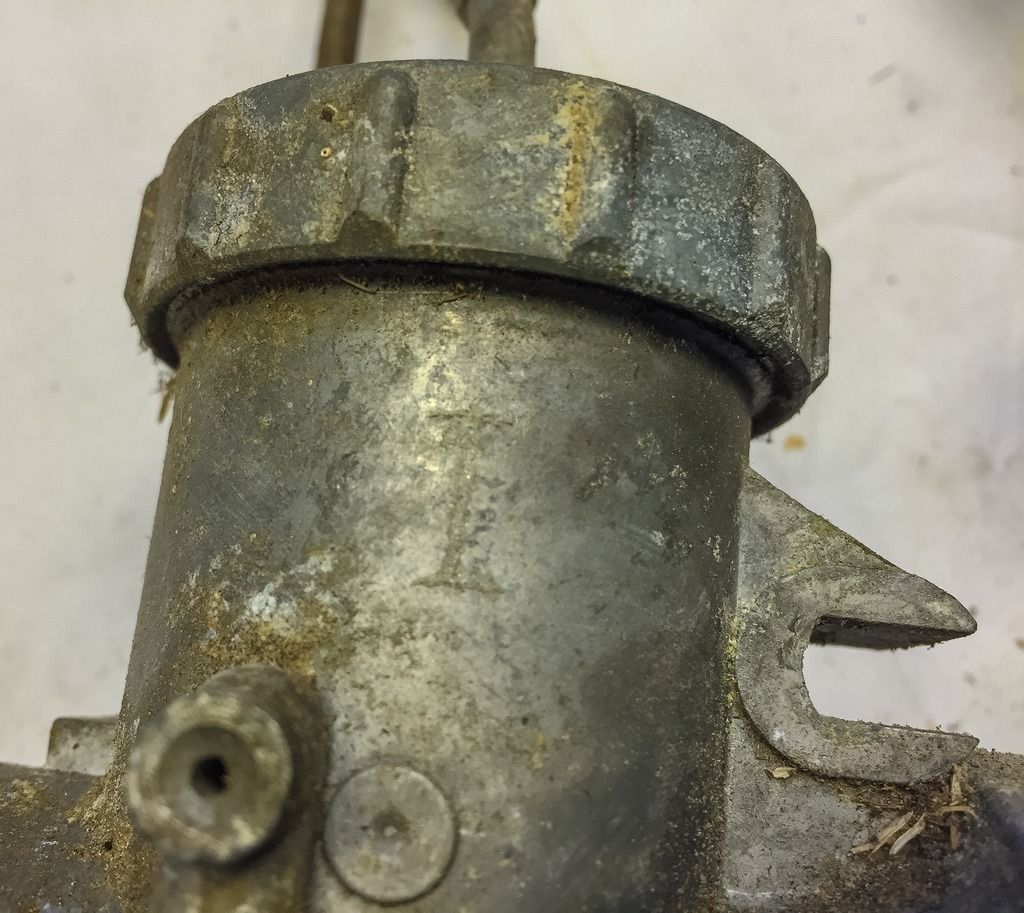 And finally the left, number one.
 Let´s start with the number III carb. It has a free moving slide and makes an easy start.... Unscrewing the cap is no big deal and removing the slide, spring and needle is also easy.
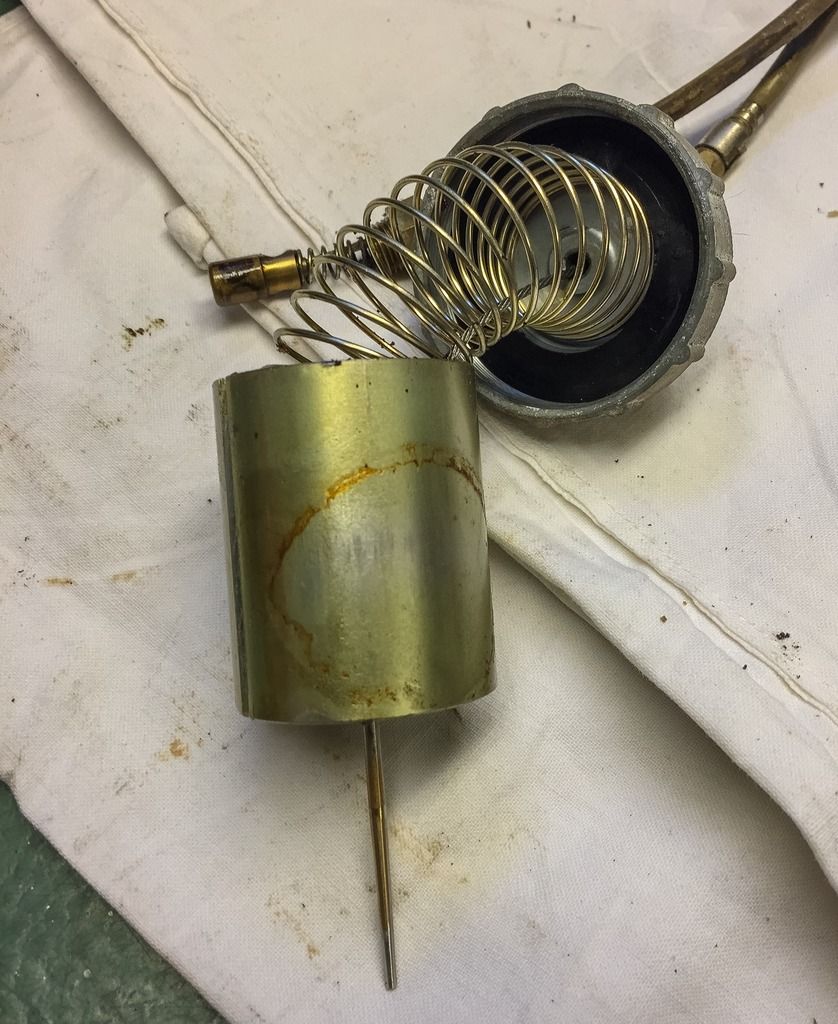 The throttle slide and spring out of the carb body. Needs a gentle cleaning in white spirit or pure gasoline. No abrasive compounds! The surface is very fragile!
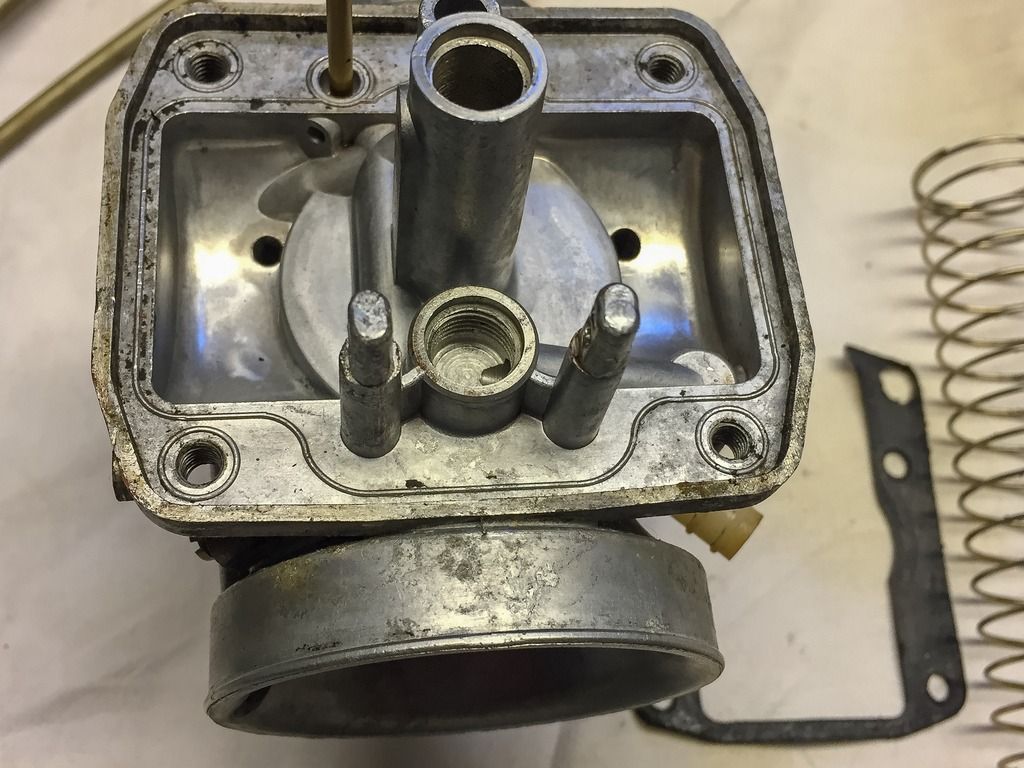
 The next step is to remove the float bowl. 4 screws and a sticking gasket... Gently tap on the housing with a mallet to get it off. If you´re lycky, the gasket can be used again... Looks OK inside! Not too much dirt or grime here. Nice!!
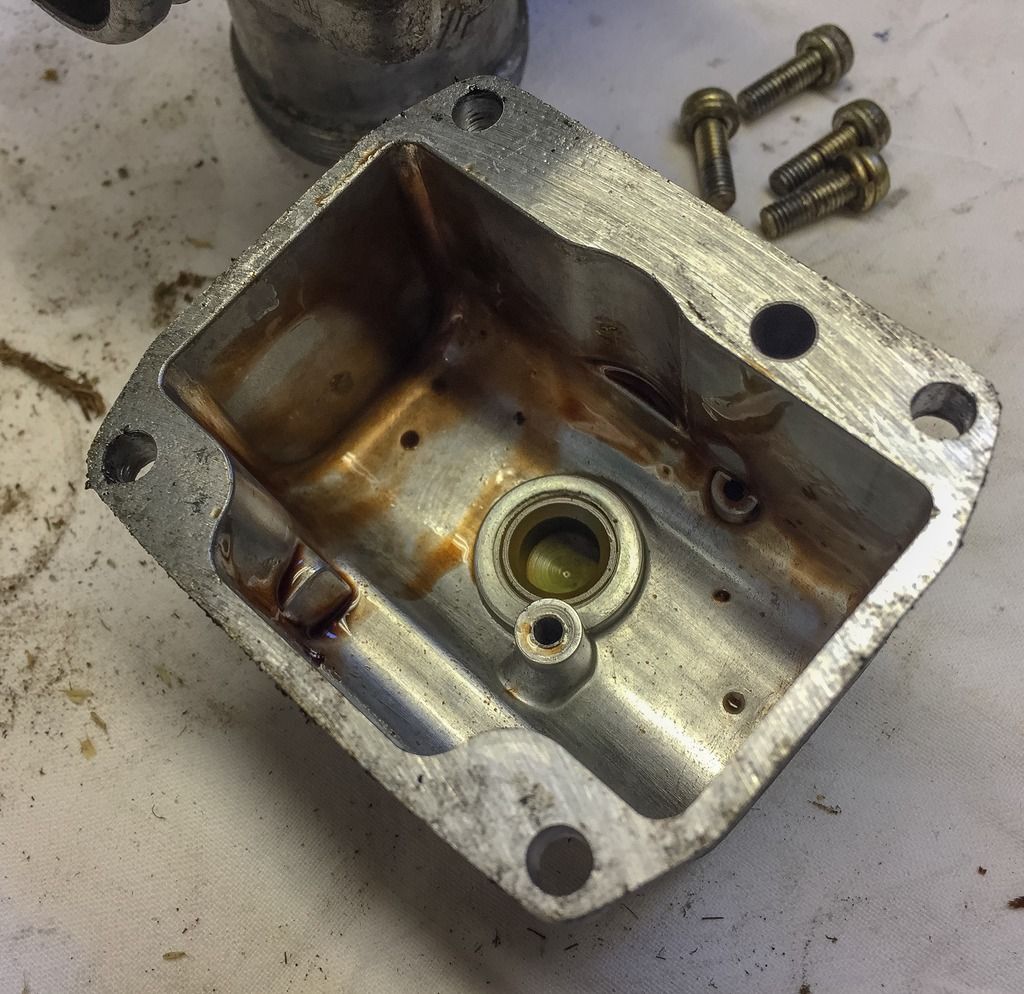 The inside of the bowl tells a whole lot. Nothing really upsetting here either. Just the odd drop of two stroke oil. Still liquid. Super nice!
 One dismantled and cleand carb. Two waiting. You can see the gasket didn´t make it. Well, I´m not surprised. They often stick to one of the surfaces and become almost impossible to remove intact. No biggie, they are availabe...
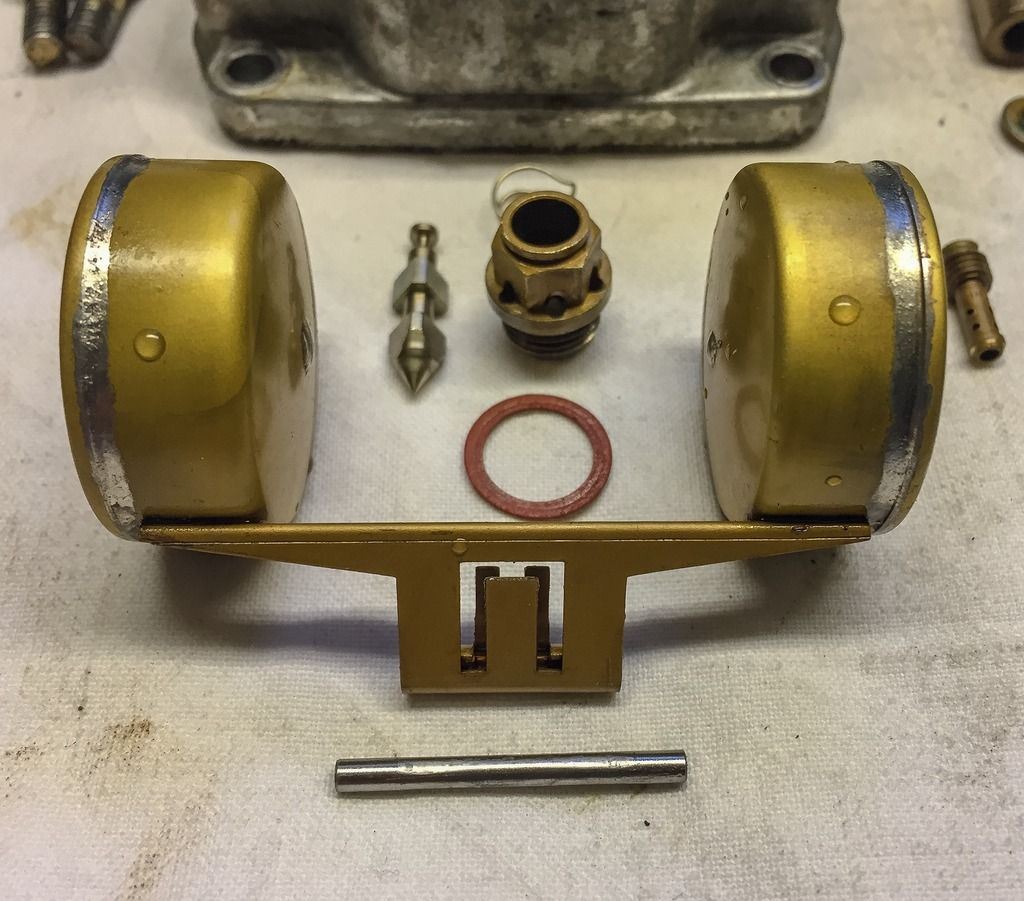 Here´s some interesting stuff! Take a look at that float and particularly the float valve... That valve is very different from the street ones. This is superb in quality and is attached to the float with a small spring you can see in the back. Check out the float valve housing... Look at those extra holes supplying lots and lots of fuel to the valve. This beast doesn´t consume gas, IT DESTROYS IT!
I read somewhere in "Esso`s" diary that he used 32 liters of gas on a race with 30 laps. That´s a lot! If the track is 5 km long it means approx 2 liters of gas per 10 kms.
Holy Moly....
 The carb body, carefully cleaned in white spirit. You can actually feel how lightweight these are compared to the street carbs. Much larger in size and still considerably lighter.
I´m having trouble trying not to shake while handling them. It would be a true catastrophe dropping one...
You can see I also removed the needle jet from the housing. The jet needle and the needle jet need to be thouroughly cleaned as well. They both do look good, but I´m thinking I´ll get me an ultrasonic cleaner and go through all three carbs with their respective parts in it.
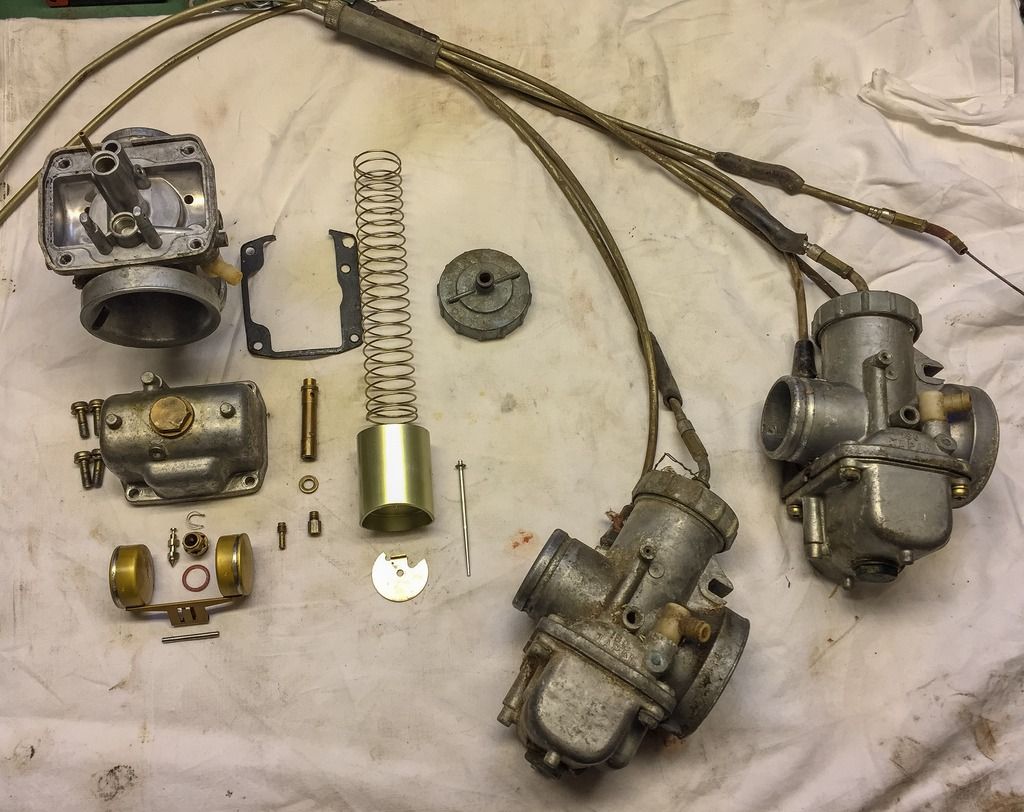
 Ok, time to start putting it back together again.... Just a moment to look at the parts. They are truly beautiful sitting there on the bench.
 So, one cleaned, two to go. And then there´s the cables...
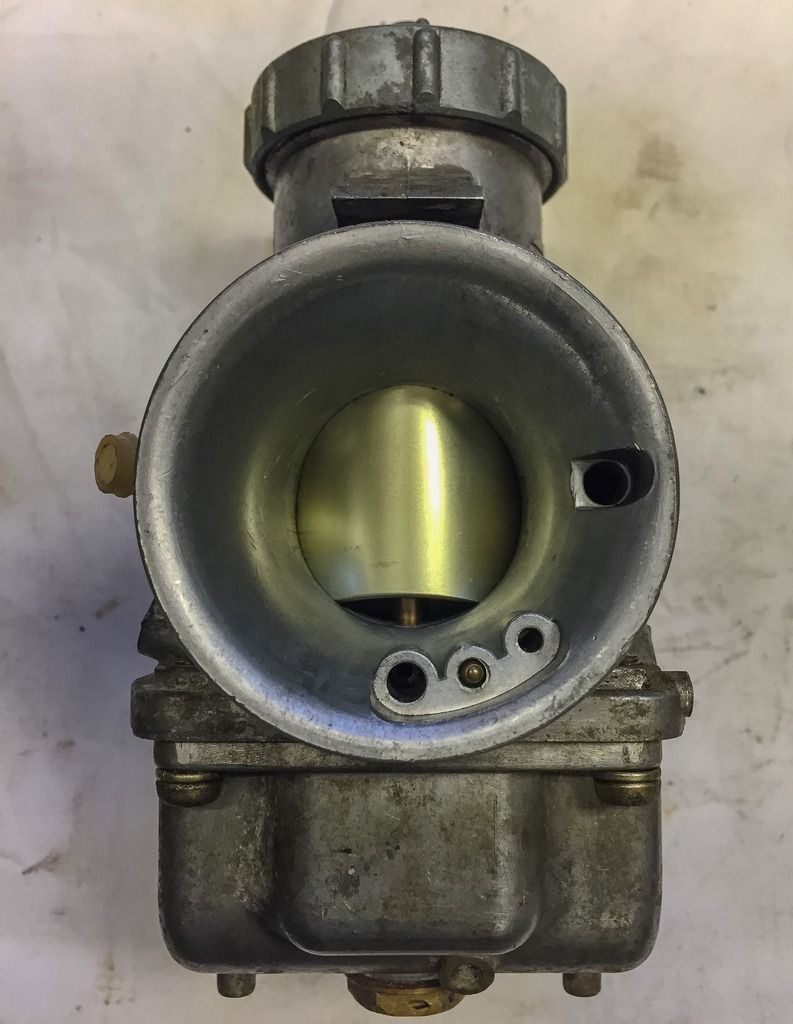 I couldn´t spare you this view from the airfilter side of the cleaned carb. Imagine that throttle wide open and the amount of air/fuel it can suck....
All in all a really nice couple of hours in the garage with some real quality time.... I´m so lucky to have my own garage in the basement so I can drop everything and get back later within a couple of minutes. Superb way to end a hectic day when the rest of the family is sleeping. Fettling with an old bike is truly relaxing!
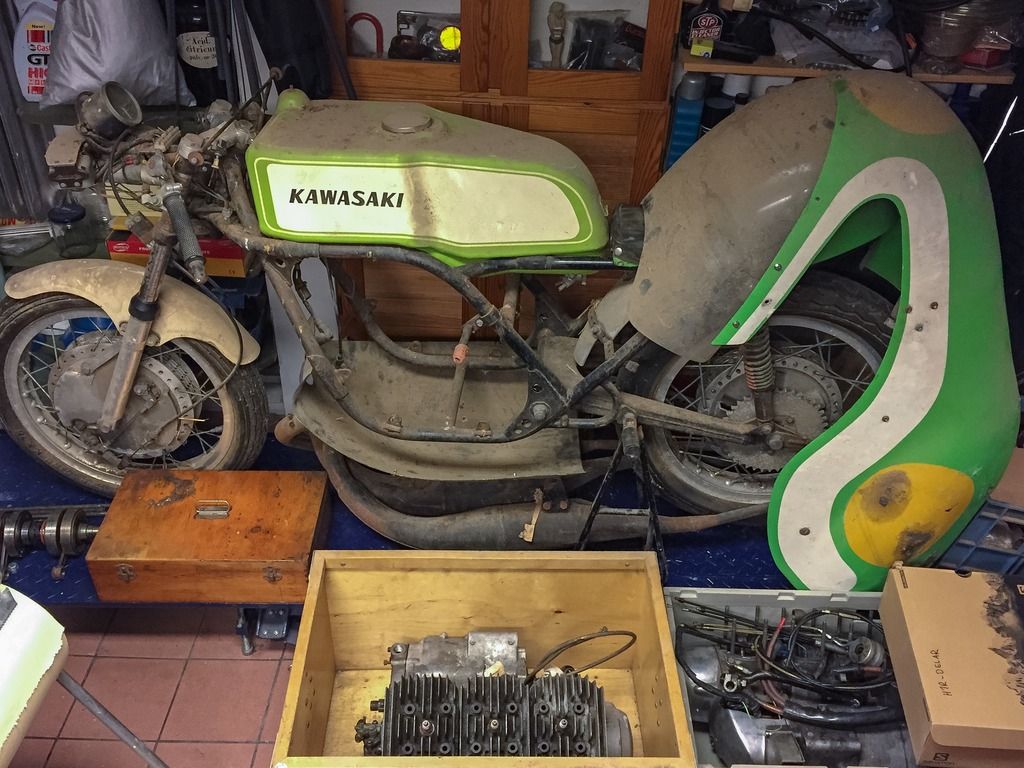
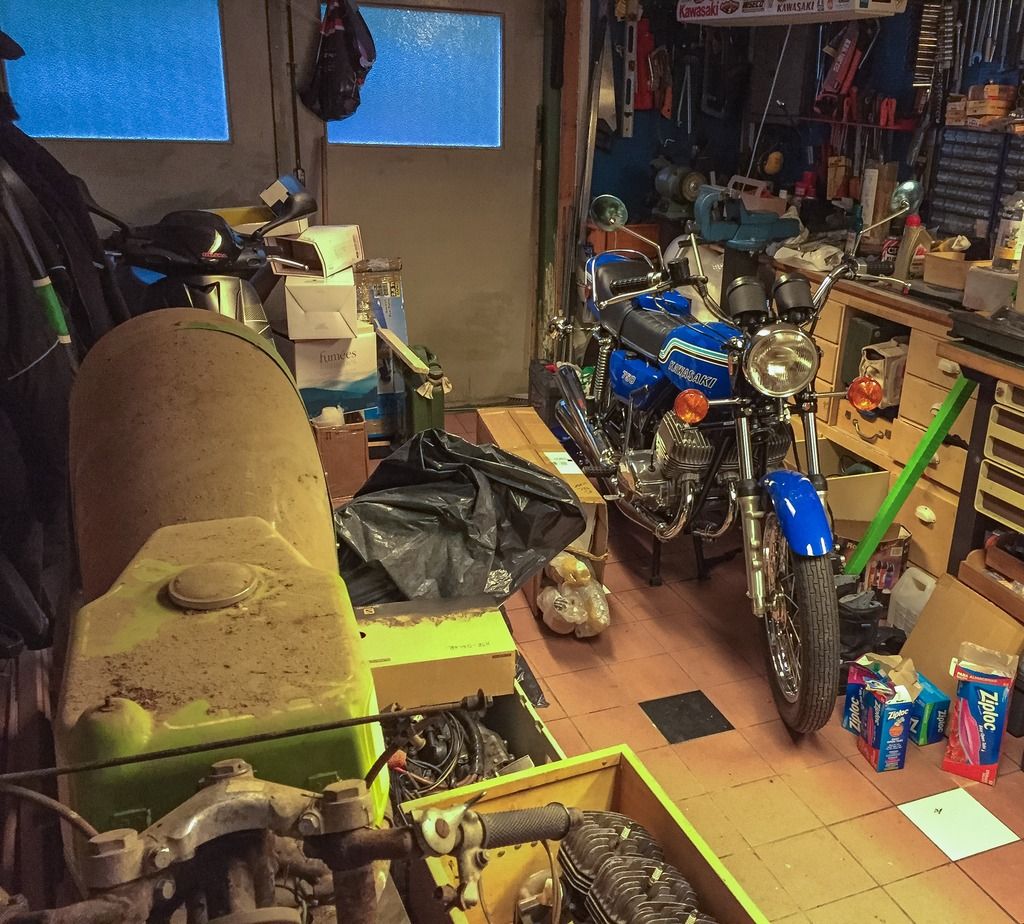 Here we are... The H1R and its bigger cousin, the H2 750 1972. My garage isn´t that big (sorry to say...) but it is mine and it is homy!
The engine in its crate, ready to go to Ebbe in Malmoe, hopefully within a couple of weeks. Until then I´m going to clean the other two carbs and maybe start looking on other parts to clean up. I guess I´m going to have to get rid of the dust and dirt... But I sort of like it the way it looks there on the lift. Maybe another day.
Please don´t hesitate to cantact me if you have any qustions what so ever regarding this project or maybe one of your own. I am a true enthusiast when it comes to motorcycles in general and triples in particular...
Thanks for reading!


The original rubber lids are still in place.
I´m going to try and find new ones, though. They are a bit cracked. Other than that the carbs look OK.


don´t come undone while riding.
I´ve never had that happeing on my street bikes, but these racers were driven quite differently, I guess...


Center carb and the marking.


I read somewhere in "Esso`s" diary that he used 32 liters of gas on a race with 30 laps. That´s a lot! If the track is 5 km long it means approx 2 liters of gas per 10 kms.
Holy Moly....

I´m having trouble trying not to shake while handling them. It would be a true catastrophe dropping one...
You can see I also removed the needle jet from the housing. The jet needle and the needle jet need to be thouroughly cleaned as well. They both do look good, but I´m thinking I´ll get me an ultrasonic cleaner and go through all three carbs with their respective parts in it.


All in all a really nice couple of hours in the garage with some real quality time.... I´m so lucky to have my own garage in the basement so I can drop everything and get back later within a couple of minutes. Superb way to end a hectic day when the rest of the family is sleeping. Fettling with an old bike is truly relaxing!


The engine in its crate, ready to go to Ebbe in Malmoe, hopefully within a couple of weeks. Until then I´m going to clean the other two carbs and maybe start looking on other parts to clean up. I guess I´m going to have to get rid of the dust and dirt... But I sort of like it the way it looks there on the lift. Maybe another day.
Please don´t hesitate to cantact me if you have any qustions what so ever regarding this project or maybe one of your own. I am a true enthusiast when it comes to motorcycles in general and triples in particular...
Thanks for reading!
Inga kommentarer:
Skicka en kommentar